



Leather Mandalorian Helmet Build Guide: Flat Pattern to Chrome Finish

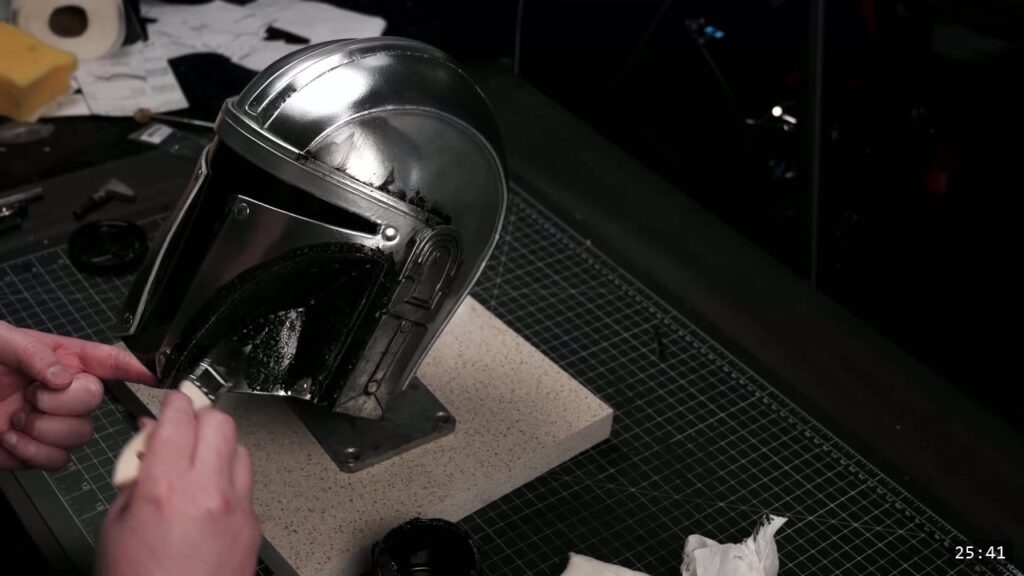
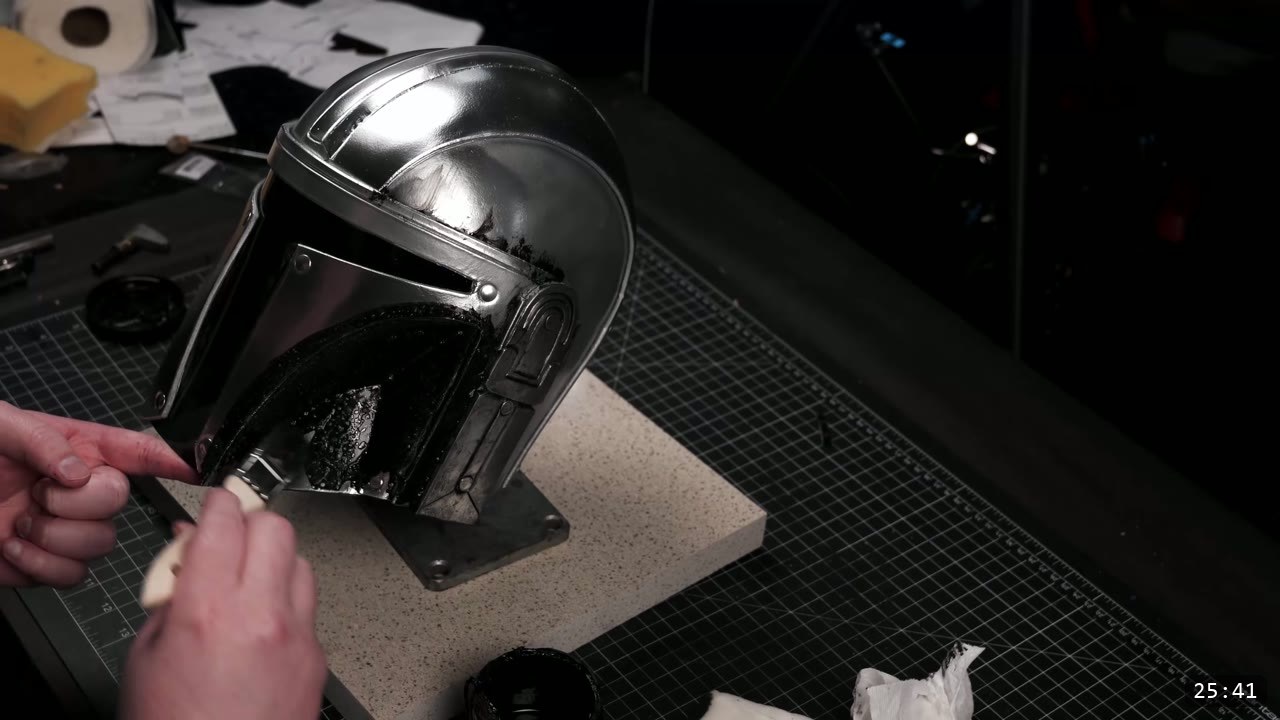
You build a leather Mandalorian helmet from a flat printed pattern, not a kit. You trace the pieces onto natural vegetable-tan leather, skive and shape them, glue the panels with contact cement, cross-stitch the two core halves together, then dye, seal, and finish with liquid chrome. This is an advanced build. It uses a skiver, contact cement, stitching tools, and an airbrush, not just a hammer. This guide walks the whole thing alongside the video, so you can watch each step and read the details the video moves past quickly.

What you are building, and what it takes
This is the pattern build, so you cut and shape everything yourself. The reward is a full Mandalorian silhouette: domed crown, T-visor, cheek plates, and a mirror-chrome finish. The tradeoff is that it asks for real leatherwork. If you are brand new, build a kit or a simpler molded helmet first, then come back to this one.
What you need
The pattern. The Mandalorian helmet pattern is pay what you want, so you can tip or download it free. It prints across tiled pages that you trim and tape into a full template. As drawn it fits roughly a 22 inch head, and the whole pattern scales up or down.
Leather. Natural vegetable-tan, 10 to 11 oz. Nine ounce is the sweet spot, 7 to 8 is about the thinnest you would want, 11 is about the thickest. Veg-tan is not optional here. The whole build relies on the leather taking and holding a molded shape, and chrome-tan will not do that.
Tools.
- Cutting: heavy-duty shears and a box cutter, or your cutter of choice.
- Marking: a fine ballpoint pen or a stylus, a straight edge, and a swivel knife if you want to carve the design lines.
- Edging: a safety skiver (a fresh razor works too), a glass panel to skive against, and an edge beveler.
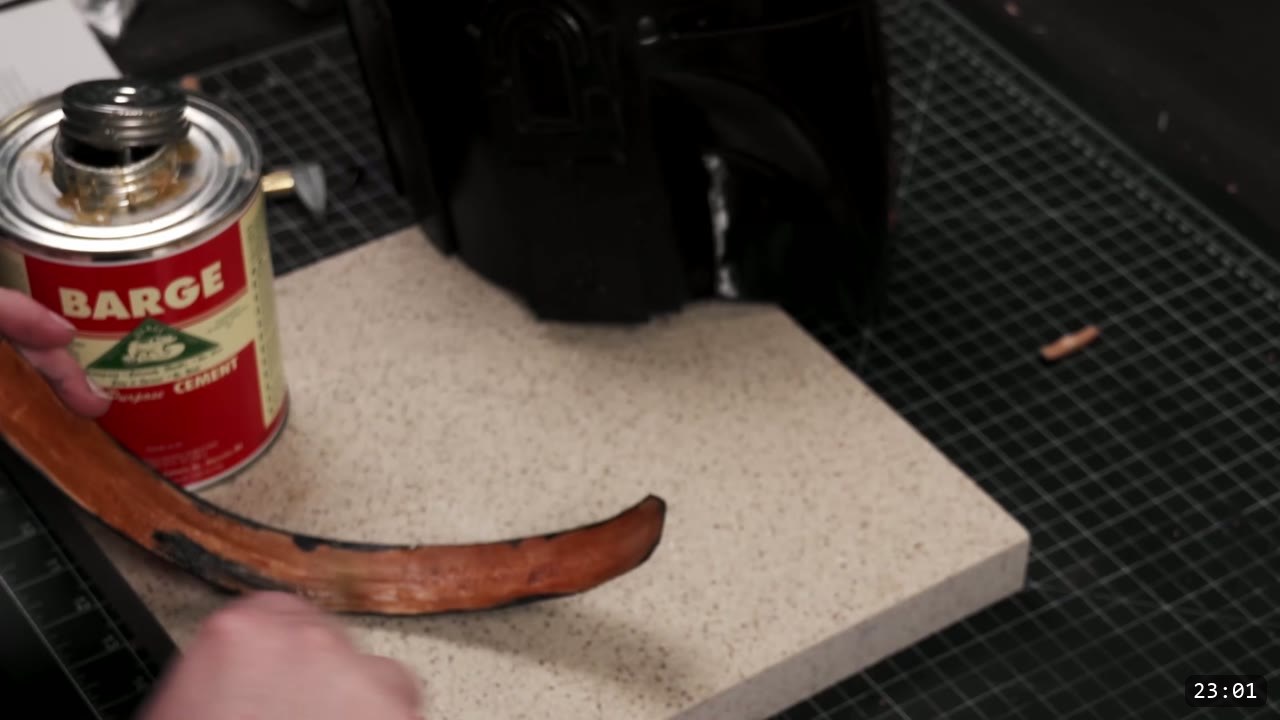
- Gluing: Barge contact cement, a medium wool dauber or a small brush, a roughing tool (an exacto or coarse sandpaper works), and a smooth-faced hammer.
- Shaping: a granite slab with a sharp 90 degree edge, a pair of pliers for inside creases, and a bone folder or slicker for burnishing.
- Stitching: stitching chisels or stitching pliers, two needles, and sturdy thread. If you can break the thread by hand, it is not strong enough.
- Color and seal: black Fiebing’s Pro Oil Dye, nitrile gloves, and Weaver’s Tough Coat acrylic finish with a sponge.
- Visor and finish: a tinted welting face shield trimmed to fit, black double-cap rivets, liquid chrome (Molotow) with an airbrush or acrylic silver or pewter, and acrylic paint for antiquing.
Step 1: Print and prep the pattern
Print the pattern on tiled pages. Trim each page to the lines and tape them into one template, or trim away the printer margin with a straight edge. Check the sizing before you cut leather: as drawn it fits about a 22 inch head, and you can scale the whole thing to your needs.
Step 2: Trace onto veg-tan and cut
Lay the pattern pieces out efficiently on the leather and trace them. Cut with heavy-duty shears, and use a box cutter for the long straight lines. Take your time on the cuts. Clean edges here save you work at every later step.
Step 3: Transfer and carve the design lines
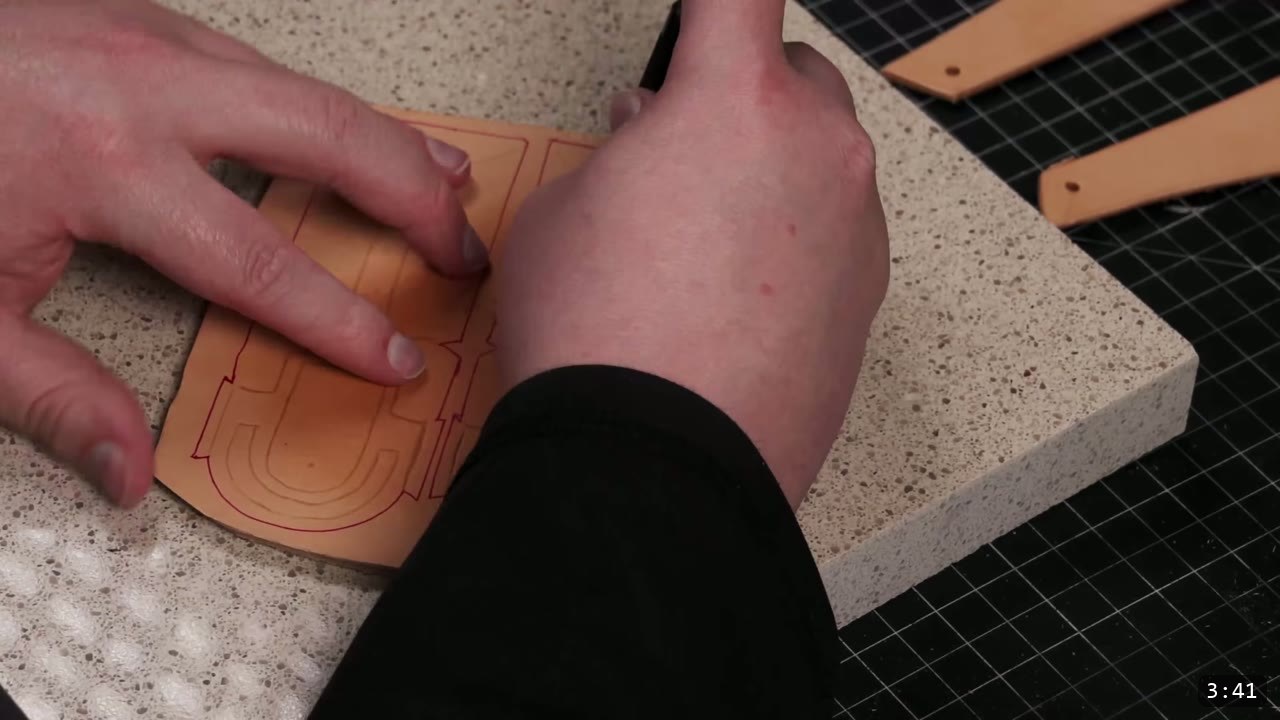
Trace the design and reference lines onto the leather with a fine ballpoint pen or a stylus. A few of these are design lines you may want to carve in with a swivel knife for detail, so make sure they sit in the right position first. Use a straight edge on the straight runs. Only a few small edges need beveling on this piece.
Step 4: Skive the overlaps, thin the rivet areas
Skive the edges of any piece that overlaps another. A safety skiver handles most of it, and a fresh razor works if you take the thickness down gradually. Skiving is easier against something hard and smooth like a glass panel. Thin the leather down anywhere rivets or creases will land. This is the step most people find fiddly, so go bit by bit. It is worth slowing down here, because clean skived overlaps are what let the panels sit flush later.
Step 5: Shape the core halves
Do your best to emulate the shape shown in the video while the leather is still workable. It does not have to be perfect on the first pass; you can finesse the shape later. This is wet molding, and it is the reason the build needs vegetable-tan leather. If you want to go deeper on this one skill, watch Hand-shaping Leather for Armor Making.
Step 6: Glue the panels with contact cement
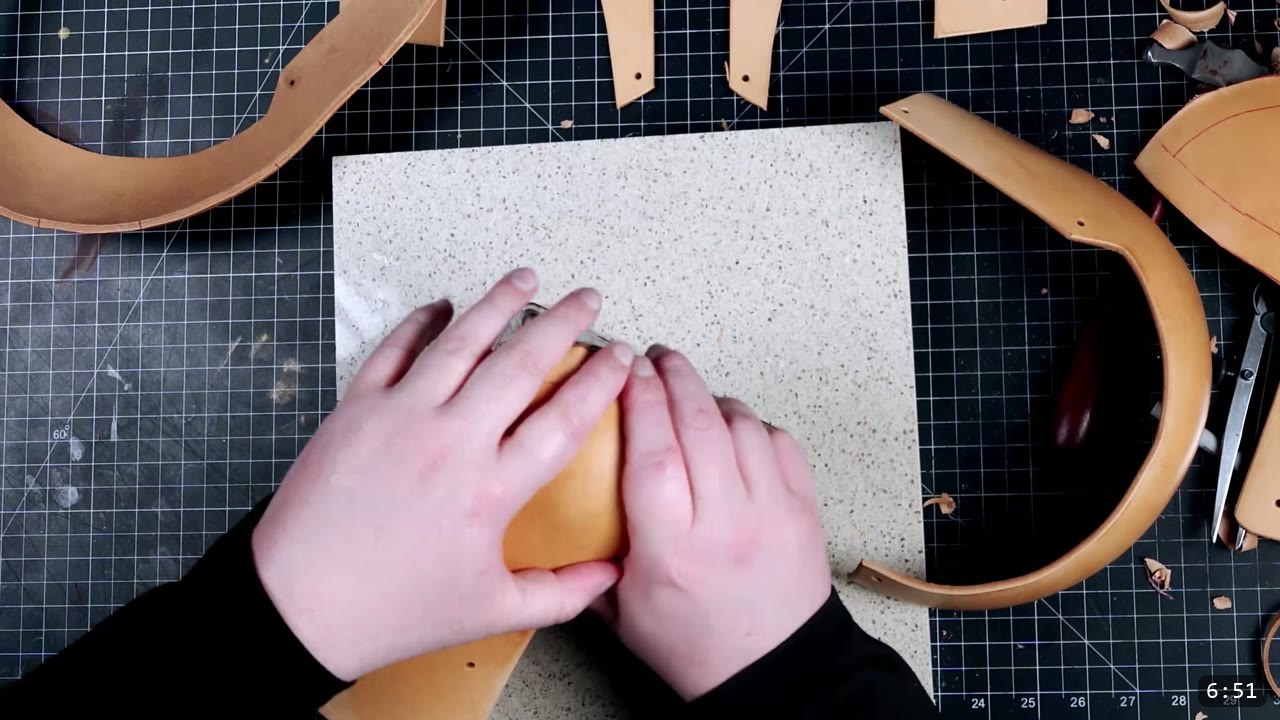
Most of the assembly is Barge contact cement, which is a strong glue that needs a little prep. Rough the areas that will bond with a roughing tool, an exacto, or coarse sandpaper so the glue grips. Brush a moderate coat of Barge up to the guidelines with a wool dauber, or a small brush if you need more control, and stay off the show surface, because glue blocks dye from absorbing. Let the glue set, then lightly tack the pieces together on your reference lines to confirm the alignment. When you are happy, commit the seam with pressure and a few taps of a smooth-faced hammer. If the helmet will see abuse, you can reinforce the glued panels with rivets.


Step 7: Build the visor’s compound shape
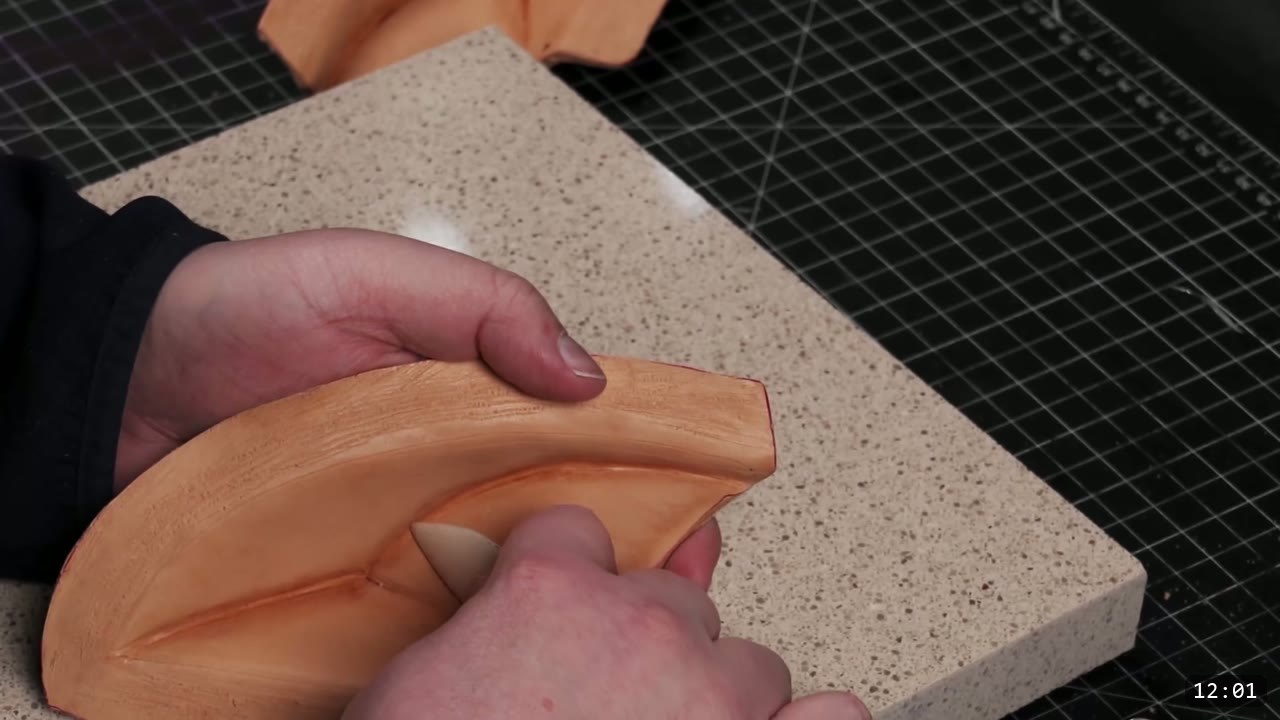
The visor is a compound shape, so it takes the most fitting. Skive its edges down thin, and take the divided area in the middle fairly thin along those edges. Thin the crease areas too. Form the outward creases by folding the leather over on itself and tapping it, or tapping it against a sharp 90 degree edge like a granite slab. Form the inside creases by crimping along the guideline with a pair of pliers. Once the basic shape is there, burnish the flat planes with a bone folder or slicker to clean up the creases. Test-fit as you go and mark your own fresh guideline before gluing, because the leather stretches and changes dimensions slightly as you work. Do not trust the printed pattern lines completely at this stage.
Step 8: Cross-stitch the two core halves
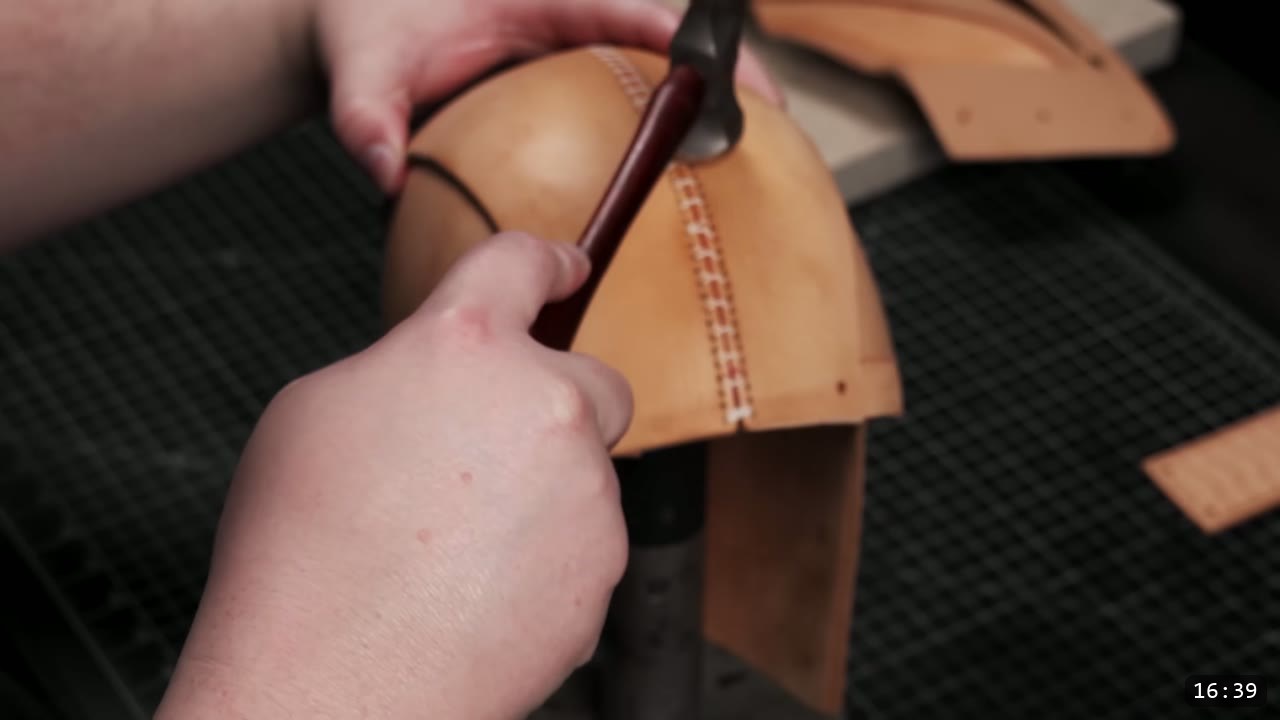
When both halves of the helmet core are assembled, join them with cross stitching. Make a few alignment references first. Punch the stitch holes with stitching chisels or a pair of stitching pliers, then run a repeating X with two needles, tightening the thread on every stitch. A few stay stitches first keep the piece manageable and even. Any sturdy thread works, as long as you cannot snap it by hand. When the seam is sewn, hammer the threads flush to smooth the seam, protect the thread, and clean up the look. Do a final forming pass to finesse the shape.

Step 9: Dye
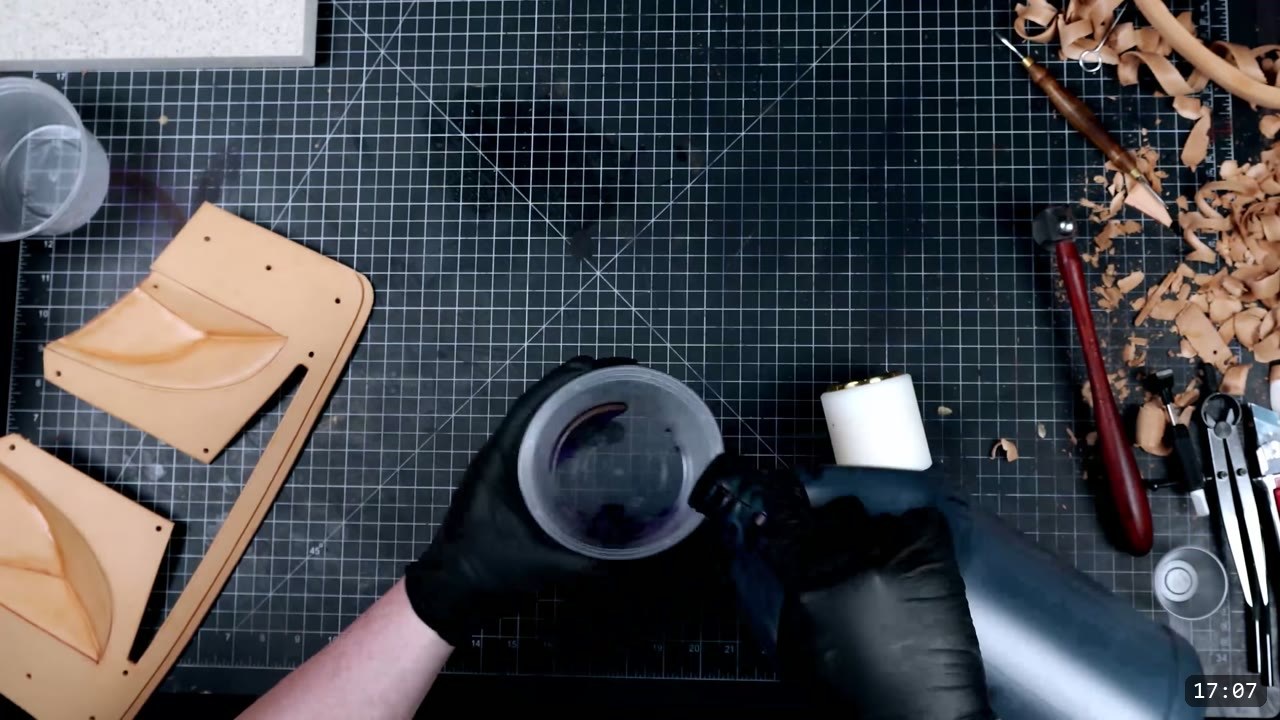
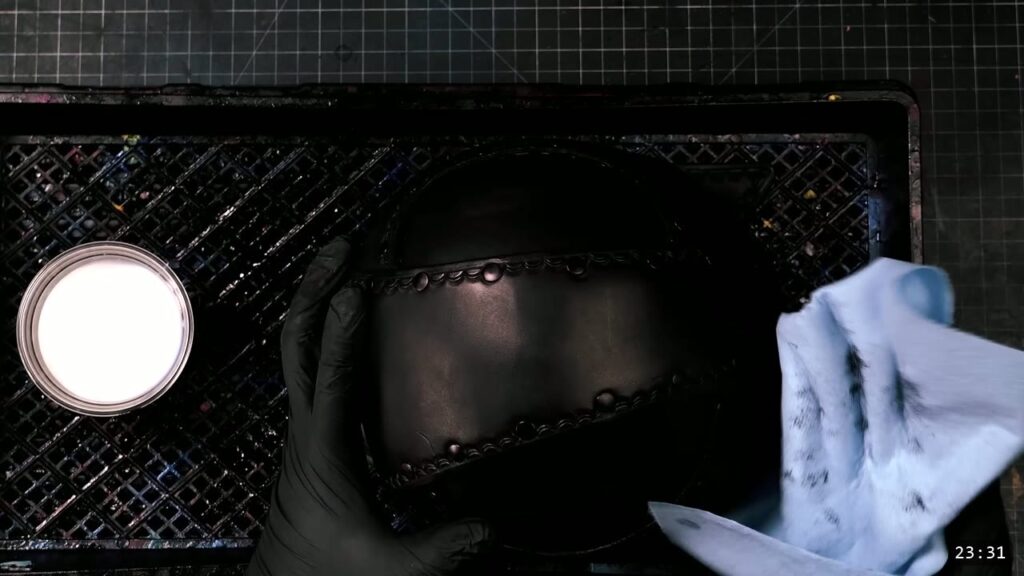
Add a light layer of black dye. The video uses Fiebing’s Pro Oil Dye, and black is the right base color when you are going to airbrush a metallic finish over it. Test your color on scrap first, or on the underside if this is your first piece and you have no scrap.
Step 10: Seal
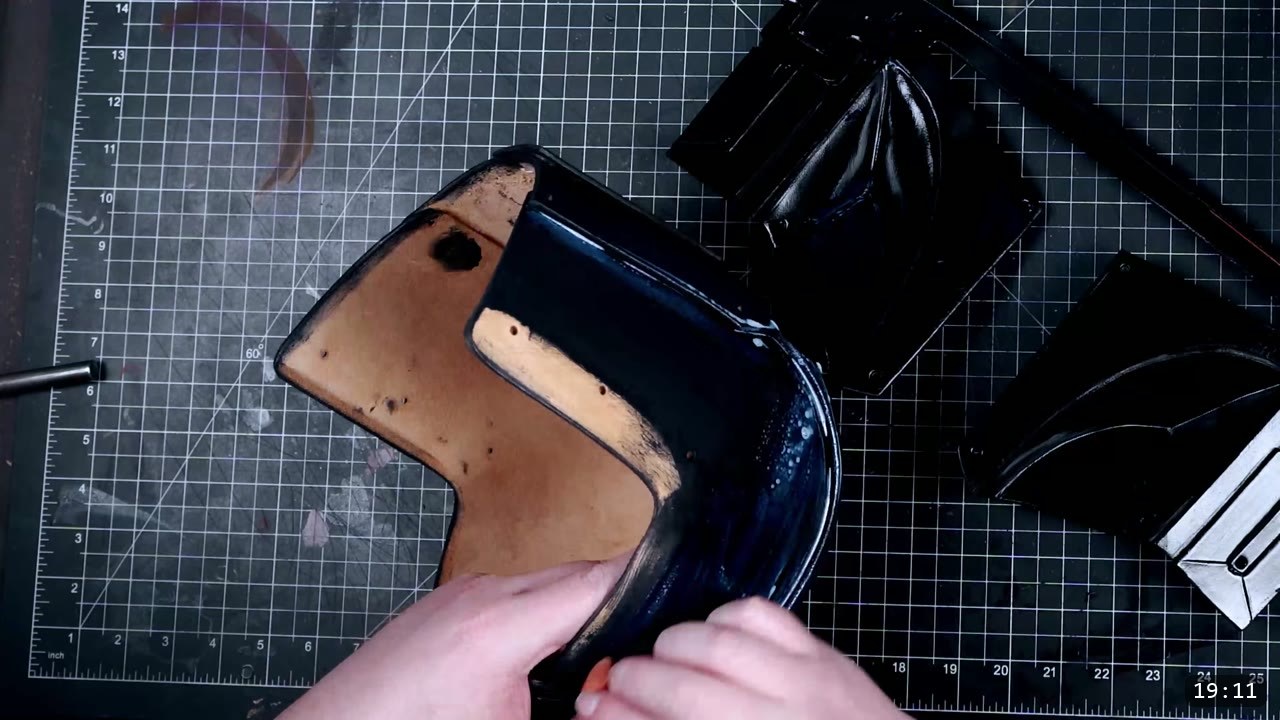
Seal the leather with a single light coat of Weaver’s Tough Coat acrylic finish, applied with a sponge, inside and out. It firms the piece up as it protects it. Do all your shaping, forming, and stitching before this point. Once the leather is dyed and sealed, the finish resists water and the piece will not fully re-wet or reshape, so color and seal are the last leatherworking steps.
Step 11: Fit the lens and attach the visor
For the eye slot, a tinted welting face shield trimmed to fit works well. The video tried clear shields and a two-way mirror covering too, but kept the dark tint. Before you mount the visor, finish skiving down any high spots from the cheek pieces and trim away anything that would overlap the eye slots. Attach the visor assembly to the helmet core with black double-cap rivets. Depending on your leather thickness and how you shaped the helmet, adjust the side rivet placement slightly to pull the visor snug against the core.
One change worth considering: the cheek pieces can make the helmet hard to put on. If you want the visor removable, merge the side overlay pieces into the base of the visor and use snaps instead of rivets.

Step 12: Add the top trim
The last leather piece is the top trim strip, which covers the stitched seam. Lay it where it goes and scribe a guideline for the glue, fit it against the back section, and trim it so it rests flush. Glue it down with contact cement.
Step 13: The metallic finish
For a simple metallic look, acrylic silver or pewter does the job. For the mirror finish in the video, airbrush the surface with liquid chrome. The video uses Molotow liquid chrome, which is a marker refill. It likes a wide wet coat, and a light battery-powered airbrush struggled to cover a piece this size, so a full airbrush works better. Be honest with yourself about this one: because it is a marker refill, its long-term durability and the right topcoat over it are unproven. It looks excellent, but treat it as experimental.
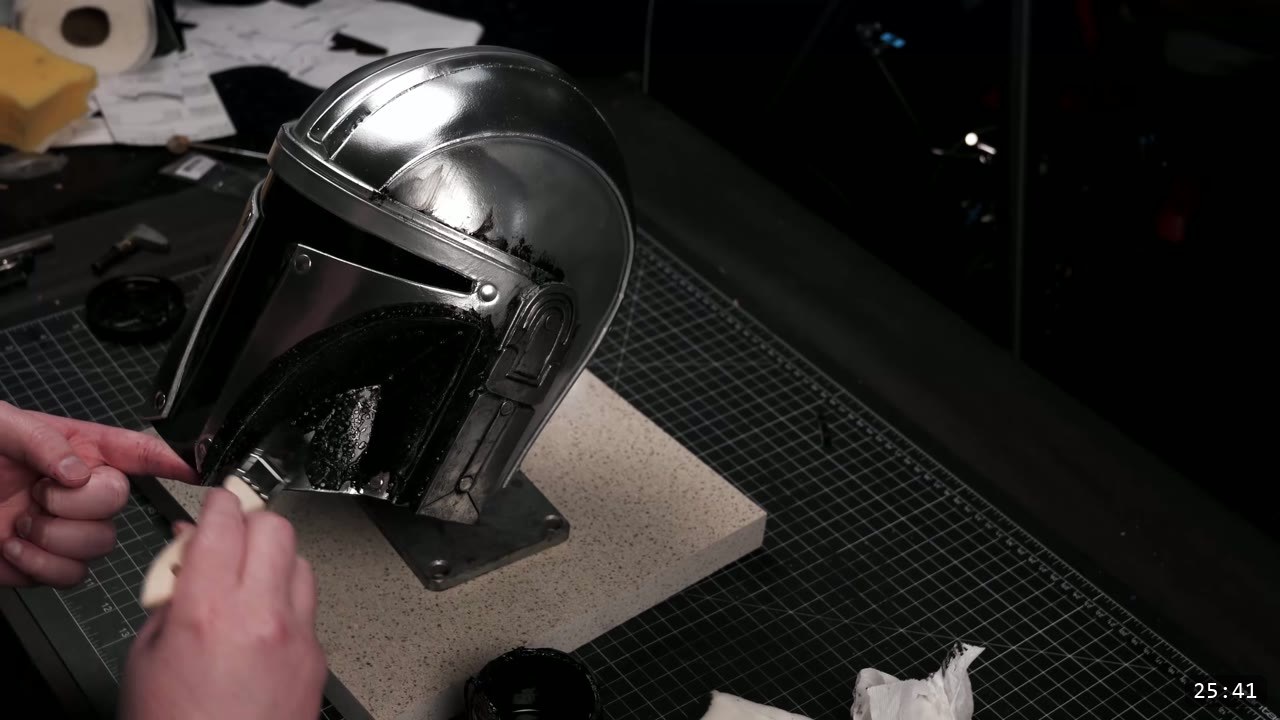
Step 14: Antique and call it done
To add depth, work a little acrylic paint into the recesses with a sponge and a brush to antique the piece. That is the build. The finished helmet varies a little from the on-screen reference on purpose: the design added seam lines on the core and extra rivets to make it realistic to craft in leather. Treat it as a strong starting point for your own Mandalorian design.
FAQ
Is this a beginner project?
No. It is an advanced build that uses skiving, contact cement, wet forming, cross stitching, and airbrushing. If you are new to leather armor, start with a kit or a simpler molded helmet, then come back to this one.
What leather should I use?
Natural vegetable-tan, 10 to 11 oz, with 9 oz as the sweet spot. Veg-tan is required because the build relies on the leather holding a molded shape. Chrome-tan leather will not work.
Do I need the pattern, or can I freehand it?
The pattern does the hard geometry for you. It prints on tiled pages, fits about a 22 inch head as drawn, and scales up or down. It is pay what you want on the site, so you can tip or download it for free.
How do I get the mirror-chrome look?
Airbrush liquid chrome, such as Molotow, over a black dyed base. For a simpler metallic finish, use acrylic silver or pewter. The chrome is a marker refill, so treat its durability as experimental.
Can I make the visor removable?
Yes. Merge the side overlay pieces into the base of the visor and attach with snaps instead of rivets, so the cheek pieces do not fight you when you put the helmet on.
What goes behind the eye slot?
A tinted welting face shield trimmed to fit, riveted in behind the eye slot with black double-cap rivets, gives you a dark visor you can see through.
Where to go next
- Get the pattern: Mandalorian Helmet pattern, pay what you want.
- New to leather armor? Start with 5 tips for getting started with leather armor.
- Struggling with shaping? The Hand-shaping Leather for Armor Making walkthrough goes deep on wet forming.
- Want an easier molded helmet first? Build The Mountain leather helmet from a free pattern.
- Built one? Share it and tag Prince Armory Academy and Weaver Leather; we feature student work.



Responses