



The Mountain Leather Helmet Build Guide: A Free Pattern, Start to Finish

You build The Mountain leather helmet from a free printed pattern, not a kit. You print the pattern on tiled pages and tape it into one template, trace the pieces onto about 9 oz leather, then skive, glue, and stitch the crest combs and panels onto the helmet core. You wet mold the whole shape, finalize the criss-cross trim at the front, then dye, seal, and paint the trim to look metallic. This is a real leatherwork build with several parts that must line up, so take your time on alignment. This guide walks the whole thing alongside the video, so you can watch each step and read the details the video moves past quickly.

What you are building, and what it takes
This is a pattern build, so you cut and shape every piece yourself. The reward is a horned fantasy helmet with a fanned crest and a metallic-painted trim. The tradeoff is that it asks for patience and a few core leather skills: skiving, gluing, stitching, and wet molding. A lot of this project is simple, but the pieces have to line up, so alignment is where your attention goes.
What you need
The pattern. The Mountain helmet pattern is free. On the Prince Armory Academy shop it is listed as the Queen’s Guard Helmet Pattern, a pay-what-you-want page where you can name your own price or download it for free. It is presented as a tiled PDF, so you print it on a common household printer, then tape the pages into one full sheet. Lay it all out and tape it together before you cut anything, so the pieces line up during assembly.
Leather. About 9 oz veg-tan. The build relies on the leather taking and holding a wet-molded shape, so a firm veg-tan is what you want.
Tools.
- Cutting: a box cutter and leather shears, or a fresh-bladed scalpel on a cutting mat. Use what you are comfortable with.
- Marking: a fine point marker (a wide tip throws your dimensions off) and a ballpoint pen for transferring guidelines.
- Skiving: a super skiver from Tandy Leather with a fresh blade, or various blades if you prefer.
- Gluing: Eco-Flo leather glue and a small wool dauber. Good contact cement works if this is cosplay or display and you add gluing prep.
- Edge work: a belt sander or a sanding block, a stitching groover, and edge bevelers (a number two craft tool beveler for the crest, a size one for the rest).
- Shaping: a bone creaser or slicker, and any firm forming tool (a wood handle or an edge slicking tool both work).
- Stitching: a heavy duty sewing machine, or hand saddle stitching, or rivets along the edge.
- Color and seal: black Pro Oil Dye from Fiebing’s, a high density sponge, a buffing rag, and a satin sheen acrylic finish.
- Trim finish: masking tape, pewter metallic paint, a brighter metallic silver, a paper towel, and optional rivets for the criss-cross.
Step 1: Print and tape the tiled pattern
Print the PDF on tiled pages. Tack the pages together with masking tape first, check the alignment, then join them with transparent tape once you are satisfied. Lay the whole thing out as one big sheet so the pieces line up during assembly. Your pattern may differ slightly from the one in the video; small adjustments and extra indicators were added for the final version.
Step 2: Trace onto leather and cut
Trace the pattern onto your leather with a fine point marker. Transfer the registration marks too, because they help you line pieces up during assembly. When you cut, make broad cuts first to separate the pieces off the hide, then come back and cut each one carefully. Broad cuts first save you from wrestling the whole hide around while you make the fine cuts. Take your time and keep the cuts smooth and clean.
Step 3: Transfer the assembly guidelines
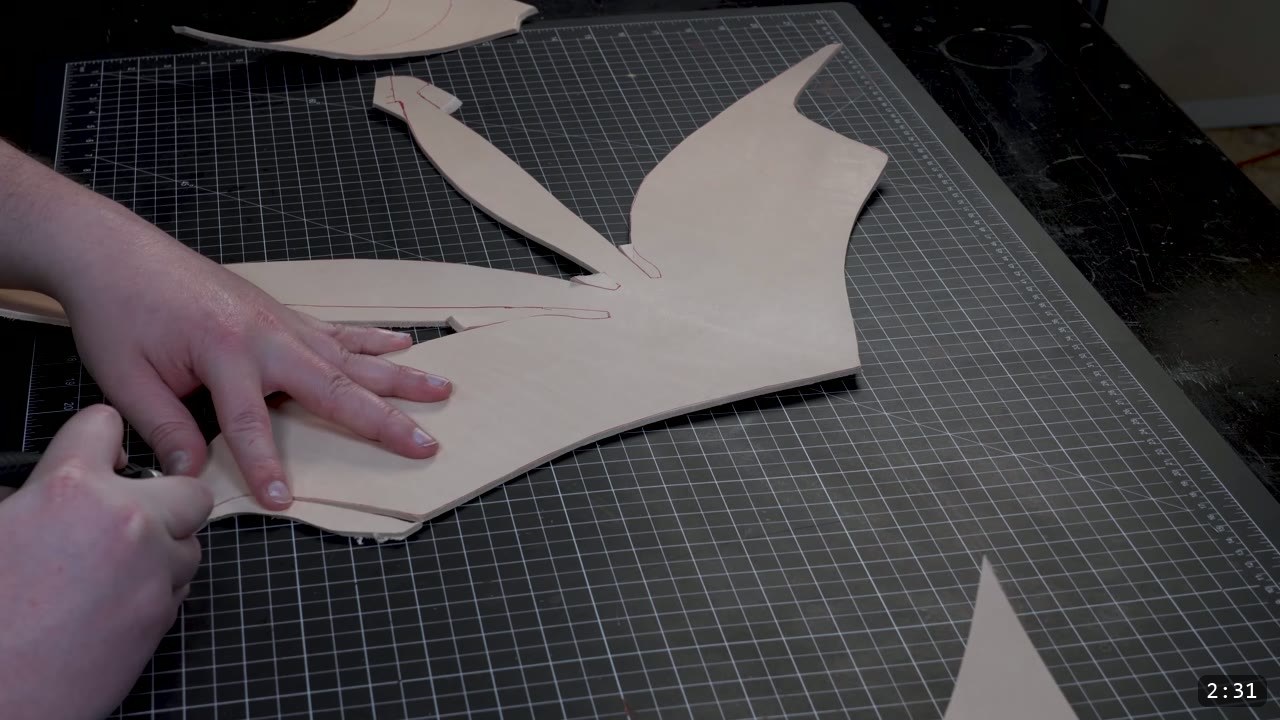
Mist the leather lightly with water. Once it absorbs a little, it will take an impression. Lay the pattern back over each piece and trace the solid inner lines with a ballpoint pen, pressing firmly. You do not need to trace the dotted lines; those are stitch lines, and you will mark them later with a stitching groover or a wing divider.

Step 4: Skive the edges
Skive the edges of the pieces that overlap: the tops of the wide side panels of the helmet base, and four of the six crest pieces (Prince calls them crest pieces, but combs is the armoring term). A super skiver with a fresh blade takes off about half the thickness with more taper toward the edge, then a light pass thins it a bit more. You can skip skiving, but it is more work in the long run. Skiving makes the tabs easier to wet form, leaves a smoother inside without sharp ridges, and lets pieces taper cleanly together.
Step 5: Glue and line up the crest combs
Glue the crest pieces together with Eco-Flo leather glue along the edges, applied with a small wool dauber. Prince skips extra glue prep here because the stitching holds everything. The side crests are not symmetrical and will not lay flat or line up on their own, so join them evenly along the edges and lean on the registration marks. The center pieces are symmetrical, so you just sandwich them flush. Small clamps keep light pressure on the parts while they dry.


Step 6: Sand, groove, and bevel the crest edges
Once the crest pieces look clean, smooth the edges. A worn 120 grit belt on a belt sander is fast, but a sanding block or sandpaper does the same job; this step is purely cosmetic. Run a stitching groover for a narrow band around the edge for the stitching and decoration, and bevel the edges while you are here. The number two beveler gives the crest a rounder edge; a size one handles the rest of the pieces.
Step 7: Sew the crest combs
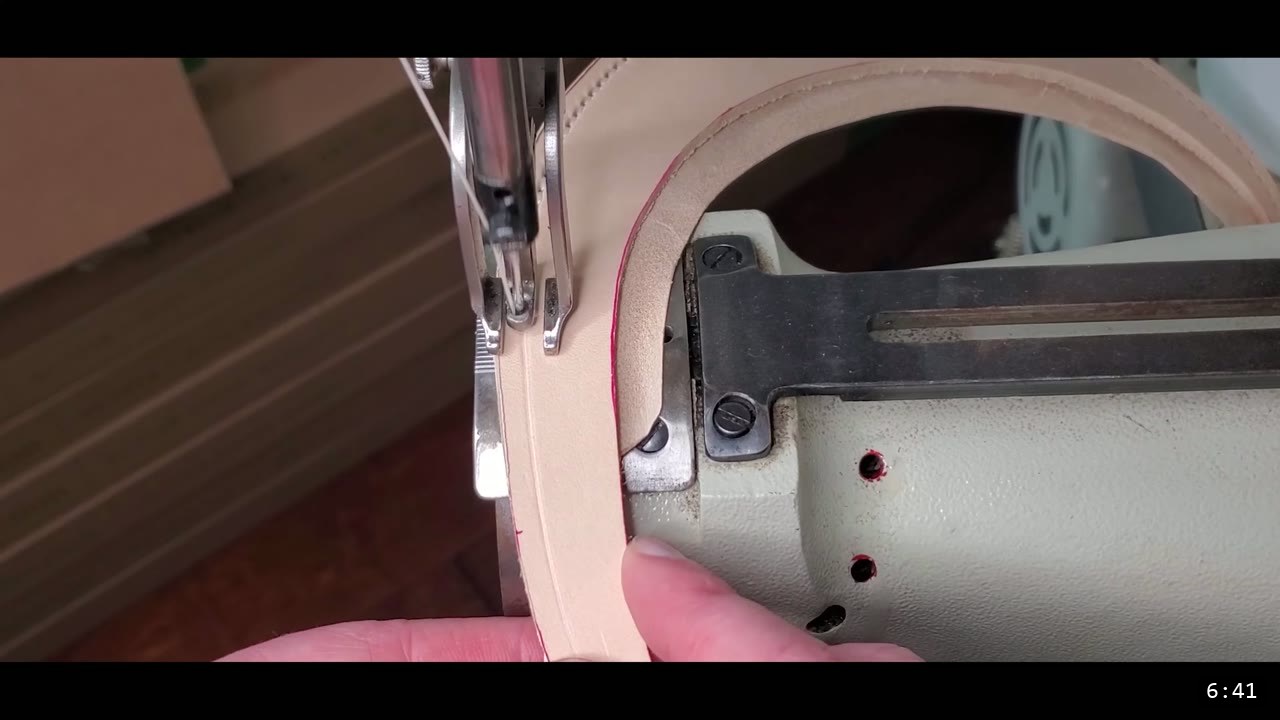
Sew the glued crest combs. Prince uses a heavy duty sewing machine, but you have options: hand saddle stitch them, rivet along the edge, or, for cosplay or display only, rely on a good contact cement with a little extra gluing prep. Machine or hand, the seam runs along the grooved line you cut.
Step 8: Fold out and wet form the tabs
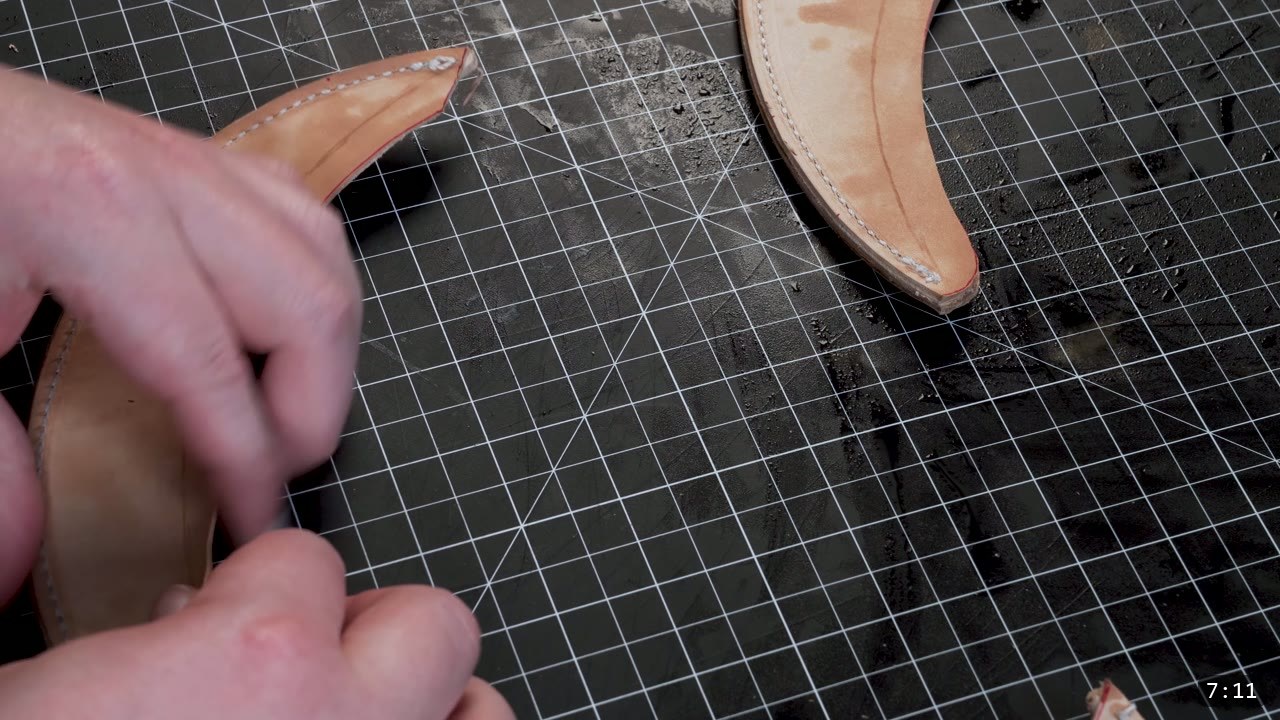
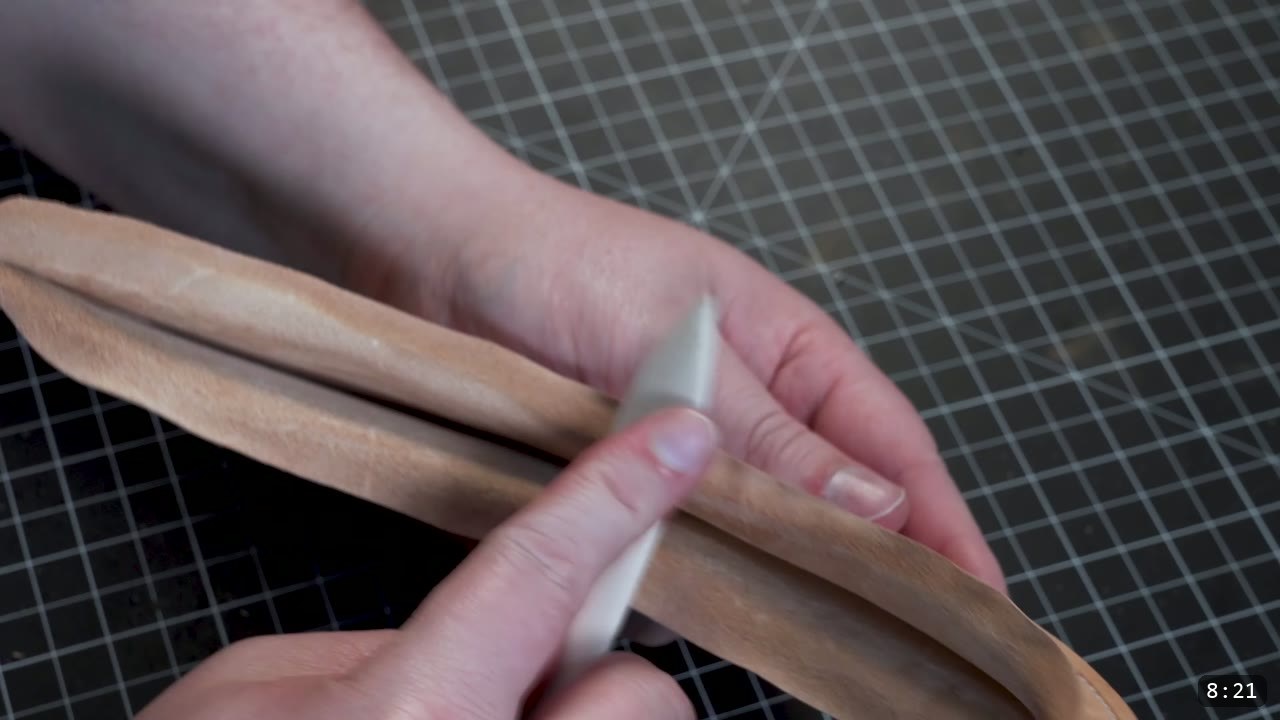
Wet form the tabs so the combs will seat against the helmet core. The earlier skiving makes this easy: stretch each tab out and finesse the shape. A bone creaser works the sharper angle on the tab along the guideline you transferred earlier. Reforming the tab now makes the next assembly step easier.
Step 9: Glue and sew the crest to the helmet core
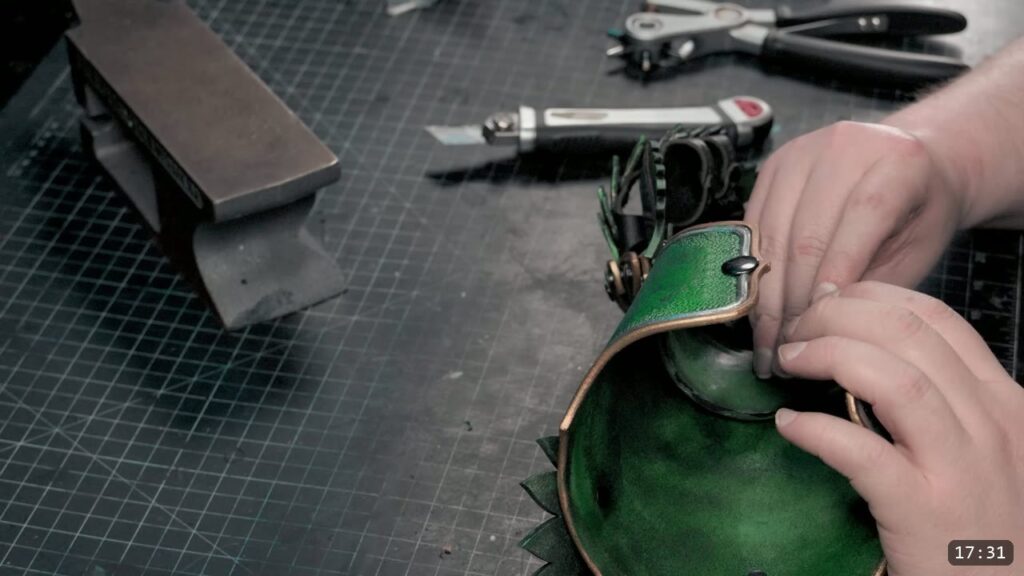
Do the center crest and center panels first, while the sewing machine can still reach the area. Once the glue is tacky, start at the back with a snug fit and press the pieces together, making sure the tabs line up at the front. If they do not line up, pull them apart and reseat the crest. Work the geometry where pieces pair up with a bone creaser, burnish the edges, and press each tab firmly into the paired surface for a good glue bond, then sew around the crest. Attach the side crests the same way. Wait to glue the side panels to the outsides of the side crests until you have machine access, so you do not sew yourself into a corner on the complex shape. If you hand stitch, you can glue and sew it all in one pass.

Step 10: Fit the criss-cross bottom trim
The bottom trim pieces criss-cross with the side crests at the front. In the video they are offset slightly from the back, but the final pattern is adjusted so the points of the bottom trim line up cleanly to the back center. Do a test fit before you glue: a different leather thickness, imprecise cuts, or stretched pieces can shift the dimensions. Fit the pieces to prioritize the criss-cross feature at the front. This piece is meant to be trimmed once you are happy. Clamp it, play with the position until the look is right, then mark it, glue it, and sew it.

Step 11: Wet mold the helmet
Now wet mold. Wet the leather with warm water; the easiest source is the shower, so give it a quick bath, long enough for a complete saturation. Case it just enough that you can set it aside for an hour or so. You will know it is ready when some areas lighten back up and the leather feels firm. If it is soggy and limp, wait longer. Press out from the inside with your forming tool, stretch the center of the spots you want the most depth, then blend until the shape looks consistent and natural. Blend from the front and the back as needed. You do not need anything expensive; a firm wood handle or an edge slicking tool does it. Do all of your molding now, before any dye or seal.

Step 12: Finalize the criss-cross overlap
Finalize the criss-cross feature last, after wet molding, because molding can shift the geometry and an early attachment can end up lumpy or bowed. Looking at the helmet face on, the right side overlaps the left from the top and flows under the left at the bottom. These pieces are small enough to wet mold into alignment if they look off. When you are satisfied, trim the excess but leave a tab. To hide the seam, trim the ends independently so the overlapping layer covers it.

Step 13: Rivet the criss-cross (optional)
The reference is not riveted, but Prince rivets the criss-cross for stability. The first rivet goes at the higher crossing, hidden under the top layer; he rivets the top one as well. This is not marked in the pattern, because any shaping or stretching can throw off the alignment, so examine the design and find your own center point on the overlap before you set a rivet. If you want a cleaner look instead, just glue the layers together.

Step 14: Dye
Keep this simple. Use a black Pro Oil Dye from Fiebing’s and a piece of high density sponge to apply a generous coating inside and out. Once the dye is applied and dry, buff the surface with a rag to remove the excess pigment. Test your color on scrap first, or on the underside if this is your first piece and you have no scrap.

Step 15: Seal
Seal the leather with a satin sheen acrylic finish. It gives a protective coating, seals the leather from bleeding dye and from the elements, and firms the leather up so it is more rigid. This is why color and seal come last: once the leather is dyed and sealed, the finish resists water and the piece will not fully re-wet or reshape, so all of your shaping and molding has to be done before this point.
Step 16: Paint the trim metallic
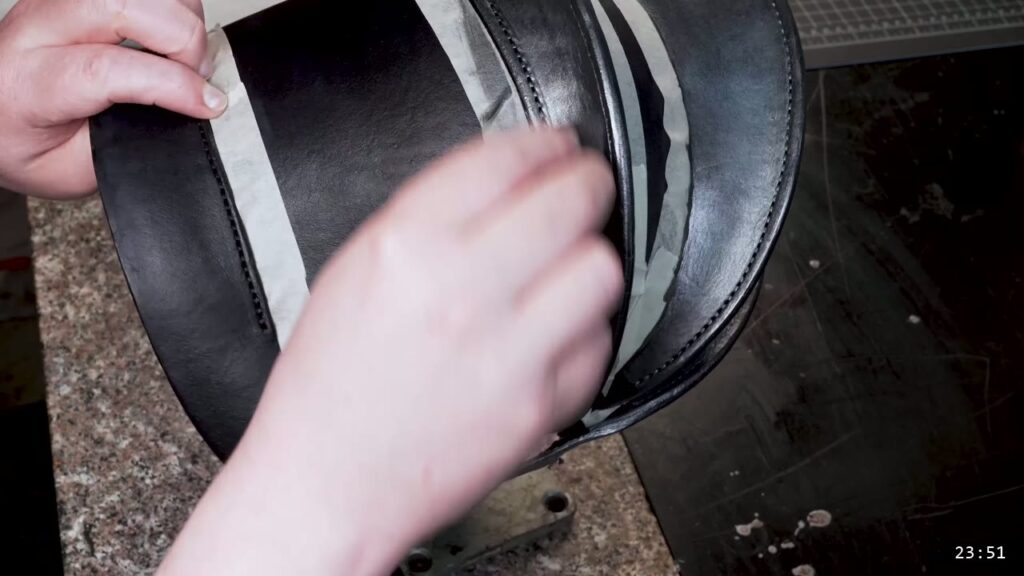
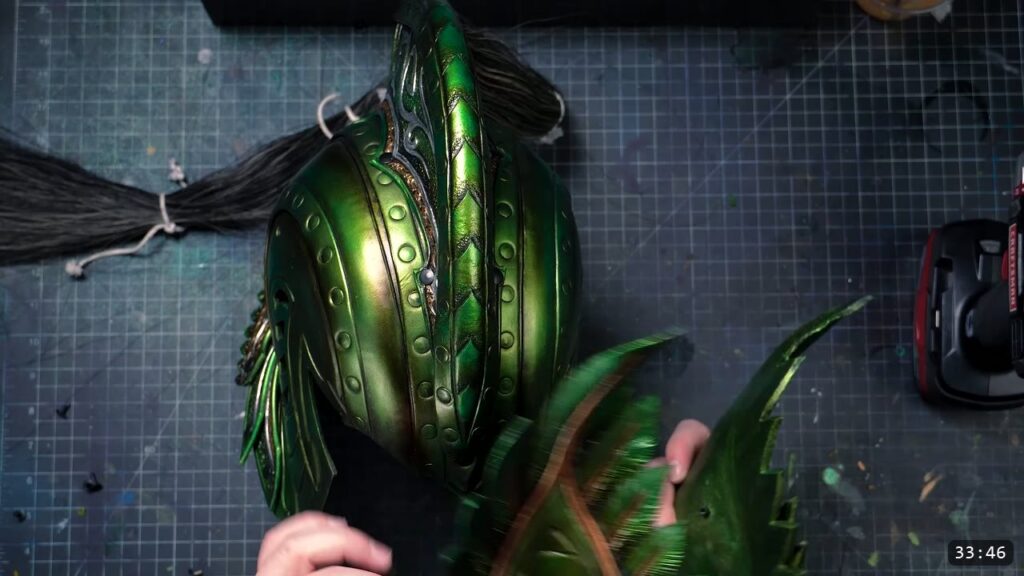
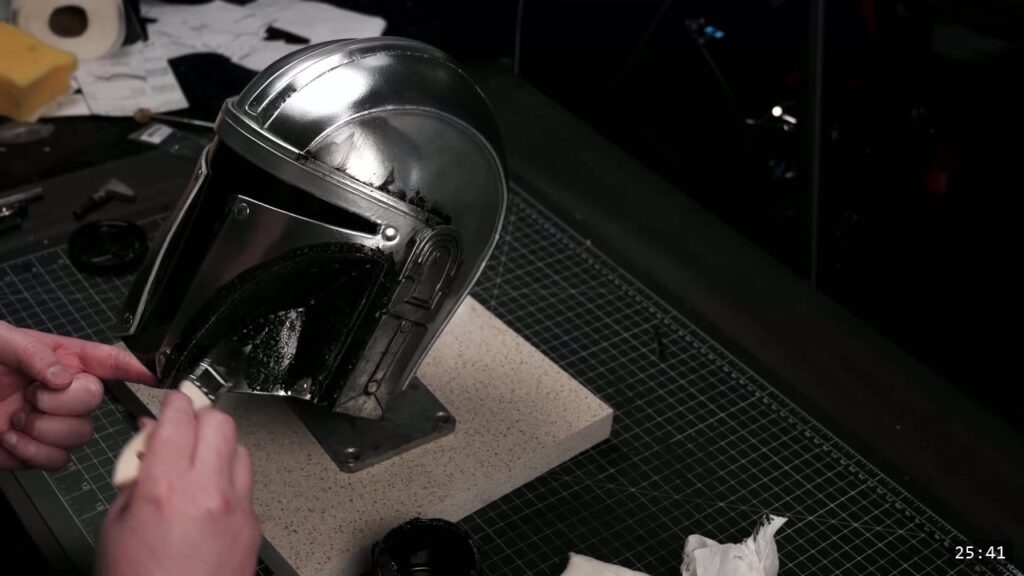
To make the trim look metallic, mask around the trim pieces first. Give the trim a base coat of pewter metallic paint. Then crumple a paper towel and lightly blot a texture over it with a brighter metallic silver. Let it dry briefly, then dab, smudge, and buff areas to vary the texture. Remove the masking tape and clean off any accidental marks. There are more involved methods for a more realistic metal look, but this one is fast and gets the job done.

FAQ
Is this a beginner project?
Not quite. A lot of the steps are simple, but the build uses skiving, gluing, stitching, and wet molding, and several pieces have to line up. If you are brand new, build a kit or a simpler helmet first, then come back to this one.
Do I have to buy anything to get the pattern?
No. The pattern is listed on the shop as the Queen’s Guard Helmet Pattern on a pay-what-you-want page, so you can name your own price or download it for free. It is a tiled PDF you print on a normal printer and tape into one full template.
What leather should I use?
About 9 oz veg-tan. The build depends on the leather holding a wet-molded shape, so a firm vegetable-tan leather is what you want.
Do I need a sewing machine?
No. A heavy duty machine is fast, but you can hand saddle stitch the seams, rivet along the edges, or, for cosplay or display only, use a good contact cement with extra gluing prep.
When do I dye and seal?
Last. Do all of your shaping and wet molding first. The acrylic finish seals and firms the leather, and once it is on, the leather resists water and will not fully re-wet or reshape.
How do I get the metallic trim?
Mask around the trim, base coat it in pewter metallic paint, then blot a brighter silver over it with a crumpled paper towel and buff to vary the texture.
Where to go next
- Get the free pattern: the Queen’s Guard Helmet Pattern is pay-what-you-want, so name your price or download it for free.
- New to leather armor? Start with 5 tips for getting started with leather armor.
- Struggling with the molding? The Hand-shaping Leather for Armor Making walkthrough goes deep on wet forming.
- Want another fantasy helmet? The advanced Fantasy Helmet Pattern is the next step up, and its full build tutorial is free to watch.
- Prefer a beginner helmet kit path? The Warrior Armor Helmet Pattern and the Warrior Armor Bundle are the easiest on-ramps. Browse more in the shop.
- Built one? Share it and tag Prince Armory Academy; we feature student work.




Responses