



Leather Tassets Build Guide: Fantasy Armor Tassets from a Flat Pattern

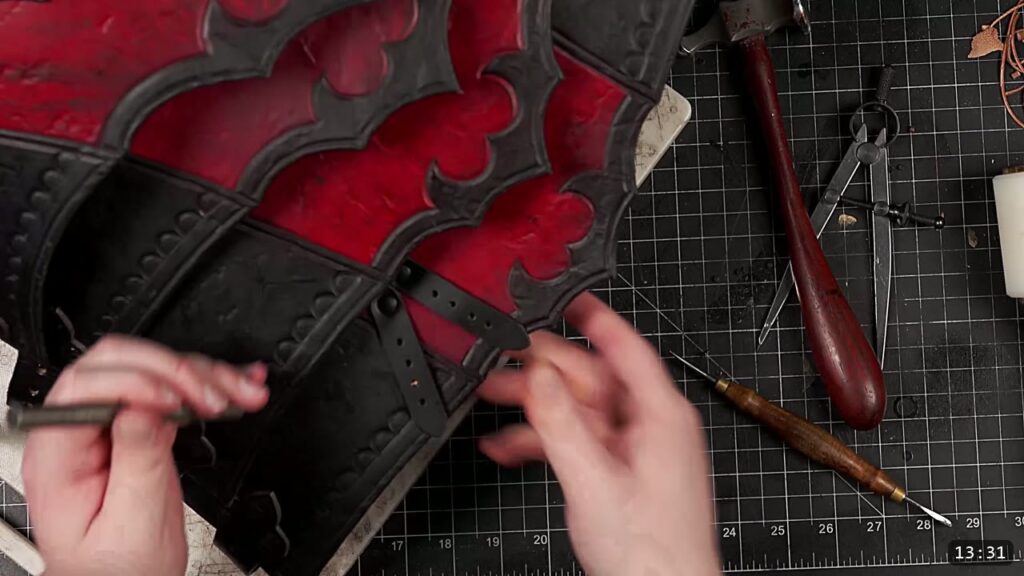
You build leather tassets from a flat printed pattern, not a kit. You trace the pieces onto natural vegetable-tan leather, carve and tool the decorative border, dish each piece for shape, then dye, seal, and hang them from your breastplate with riveted straps and buckles. This is the ninth piece in the Fantasy armor series, so it skims a few basics the earlier videos cover in full. This guide walks the whole build alongside the video, so you can watch each step and read the details the video moves past quickly.

What you are building, and what it takes
Tassets are the plates that hang from the waist to guard the hips and thighs. This pattern gives you two styles and a few widths, so you can build a small front piece, medium side pieces, and a large back piece, or mix them. It is part of a full suit, so it is not a first project. If you are new, build a kit or a simpler piece first, then come back and hang these off your breastplate.
What you need
The pattern. The Fantasy Tassets Pattern prints across tiled pages that you tape together and cut out. It includes two styles plus a few widths: a small tasset meant to hang at the front, a medium for the sides, and a large for the back. You can also merge the wide and medium patterns for a slightly wider, asymmetrical look. It is a PDF pattern you download and print; the styles scale for extra sizes.
Leather. Natural vegetable-tan. The video uses Weaver’s Premium Select Vegetable Tan in 10 oz. Veg-tan is what lets the border carving hold and the pieces take a dished shape.
Tools.
- Cutting: a box cutter to separate the big sections, and heavy shears for the final cuts.
- Marking: a ballpoint pen or a stylus for the decorative lines, an edge groover run in reverse for the narrow border, and a compass for the inner border. Either tool can do both lines; setting one tool per line saves resetting.
- Carving: a swivel knife for the border lines.
- Edging: an edge beveler and a hand slicker to burnish while the leather is damp.
- Tooling: a smooth beveling stamp to make the carved lines pop.
- Punching: a handheld hole punch. The force-multiplying kind takes far less effort.
- Color and seal: gloves, Fiebing’s Pro Oil Dye in red and black, and Weaver’s Tough Coat with a sponge.
- Assembly: black double-cap rivets for the center-piece straps, black Chicago screws for the side pieces, and 5/8 inch black buckles with straps.
Step 1: Print the pattern and choose your tassets
Print the pattern with the tiled-page option so it does not shrink onto one sheet. Tape the pages together and cut the shapes out of the paper. Decide your layout first: small at the front, medium on the sides, large at the back, or a merged wide-and-medium pair if you want an asymmetrical style. Build and arrange them however you want; these are just the default suggestions.
Step 2: Trace onto veg-tan and cut
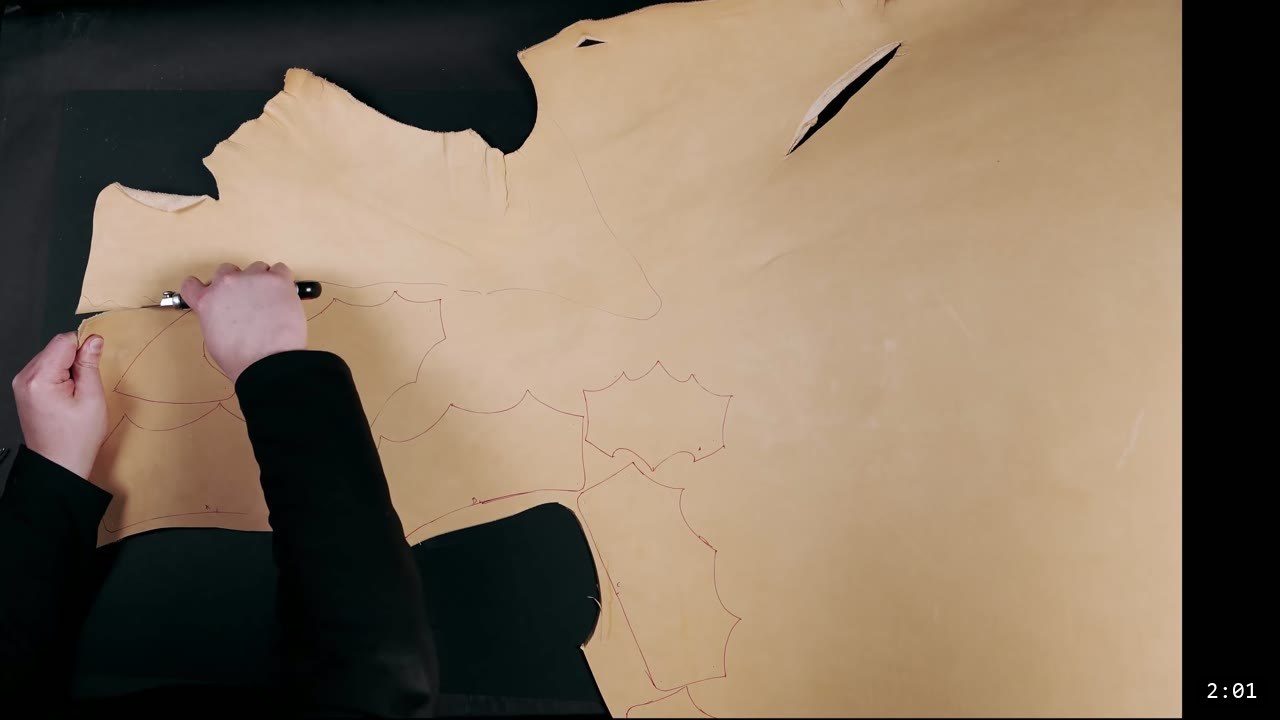
Lay the pattern pieces out on the leather as efficiently as you can and trace them. When you cut, separate the big sections into manageable pieces with a box cutter first, then finish the cuts with heavy shears. Take your time; clean cuts here save work at every later step.
Step 3: Mark and carve the decorative border
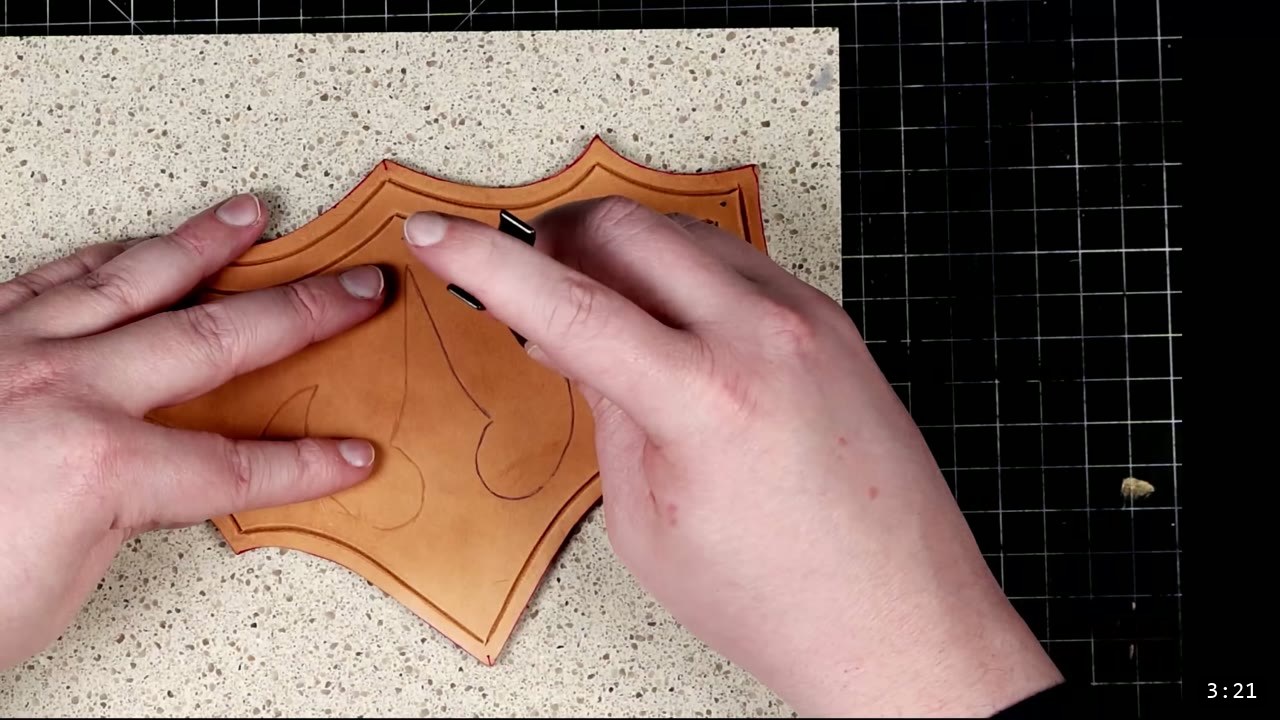
Transfer the decorative lines with a ballpoint pen or a stylus. Mark the narrow border by running an edge groover in reverse, and set the inner border with a compass. Then cut the border lines in with a swivel knife. Carving a simple border may seem like extra work, but it gives a crisp line, and it is good built-in practice for the more advanced pieces later. If you would rather move fast, you can skip the knife and just use the edge groover for easy border lines.

Step 4: Edge and burnish
Edge every piece for comfort and looks. The video uses Weaver’s Edges, which have a thick handle that is easy to hold. While the leather is still damp, burnish the edges lightly with a hand slicker.

Step 5: Tool the lines
With the border and decorative lines cut, make them pop by tooling them with a smooth beveling stamp. This sinks the background beside each line so the design stands up off the surface.
Step 6: Dish each piece for shape
Give each piece a little shape by dishing it slightly. A shallow dish reads as armor instead of a flat plate. This is light wet molding, and it is the reason the build wants veg-tan. Do all your shaping now, before you dye and seal. Once the finish is on, the leather resists water and will not fully re-wet or reshape, so dishing has to happen while the leather still cases up. If you want to go deeper on shaping, watch Hand-shaping Leather for Armor Making.
Step 7: Punch your holes
Punch the holes for your hardware. A handheld hole punch does the job, and the force-multiplying design makes it far easier on your hand than a basic punch.
Step 8: Dye, then seal
Dye the pieces with Fiebing’s Pro Oil Dye. Do a quick pass of red across the inner areas first, then frame each piece by going over the borders in black. A second coat of black touches up any spot the first pass missed. Test your color on scrap first, or on the underside if this is your first piece and you have no scrap. When the color is set, seal with Weaver’s Tough Coat and a sponge, then even it out with a final pass using a sponge you have wrung mostly dry. Sealing is the last leatherworking step; the finish firms the piece as it protects it, and after this the leather will not reshape.


Step 9: Build the straps and hardware
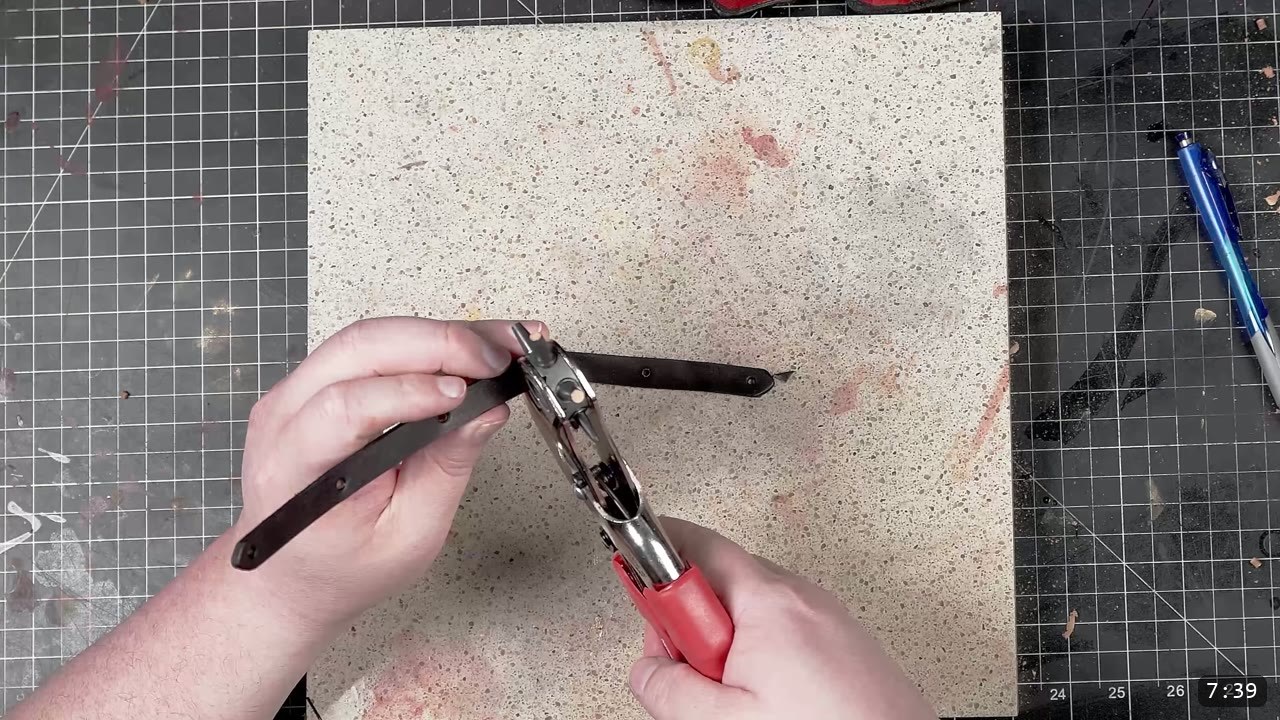
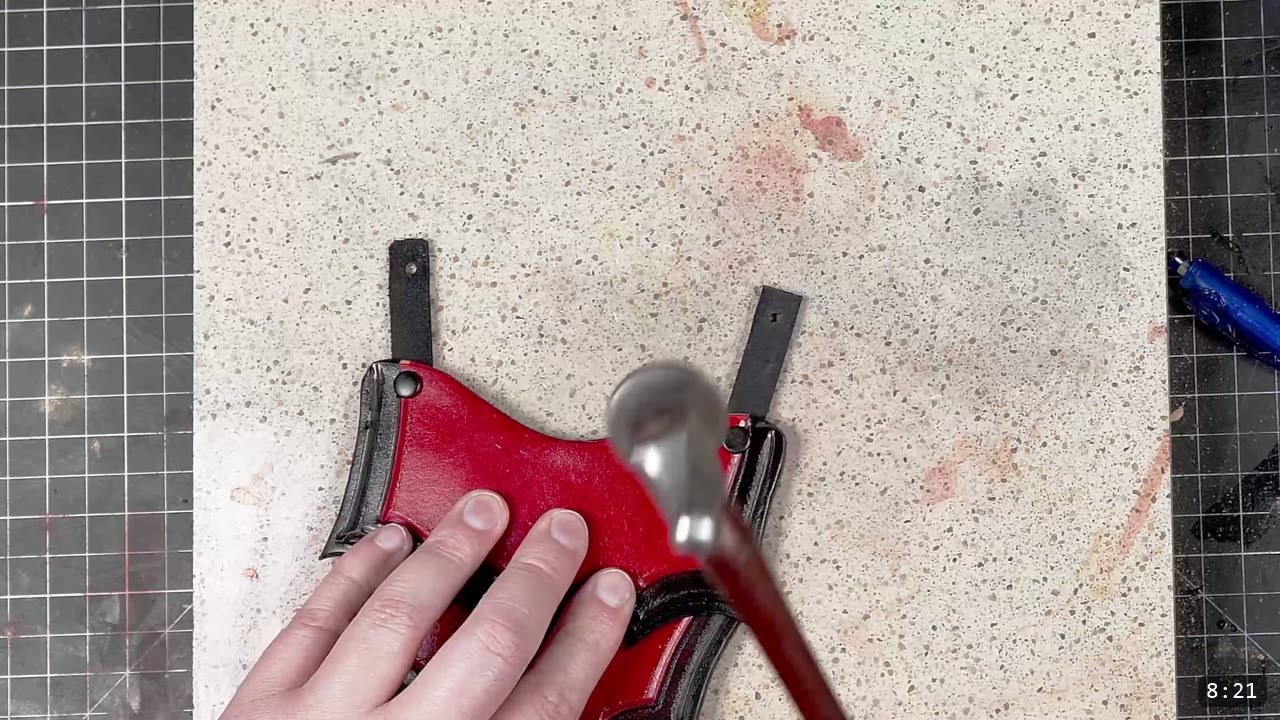
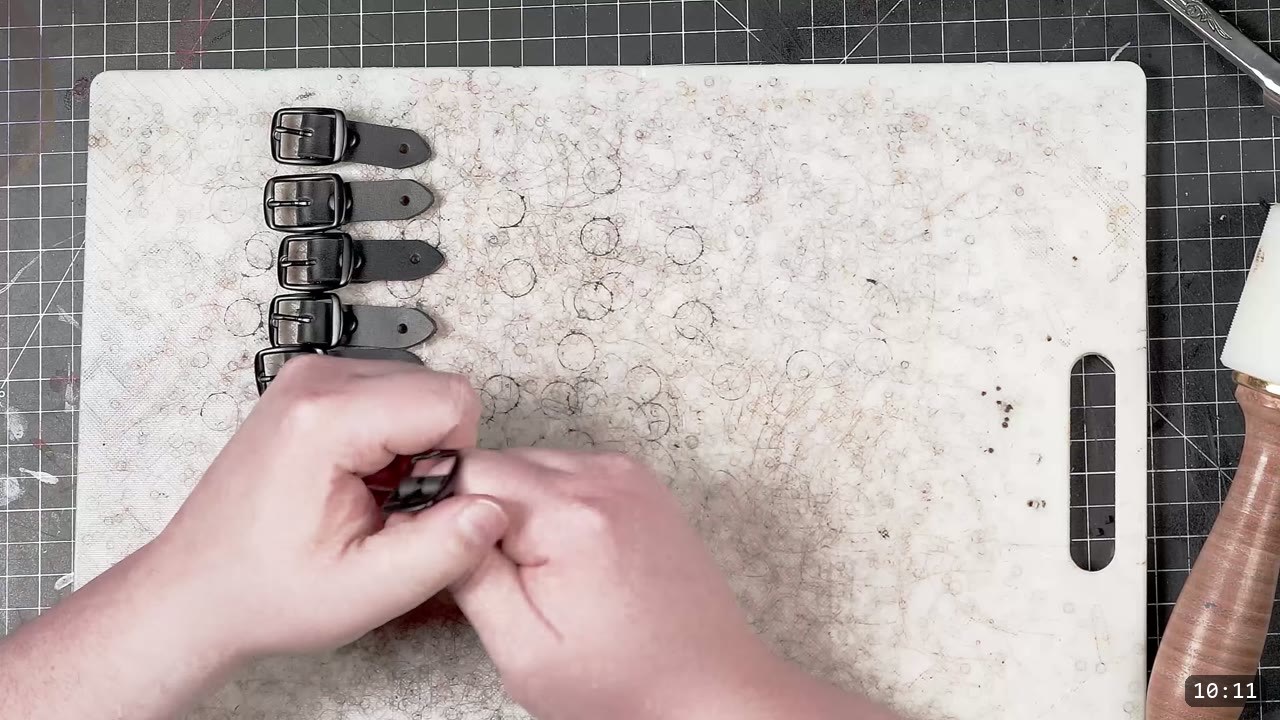
Now assemble. Use black double-cap rivets to attach the straps on the center pieces, and black Chicago screws to join the side pieces. Punch and set the strap ends, then set your rivets against a solid surface so they seat cleanly. The tassets themselves attach with small buckles; the video uses 5/8 inch black buckles. Prince points to his dedicated How To Make Leather Buckles video for the finer detail there.
Step 10: Mount to the breastplate and wear-test
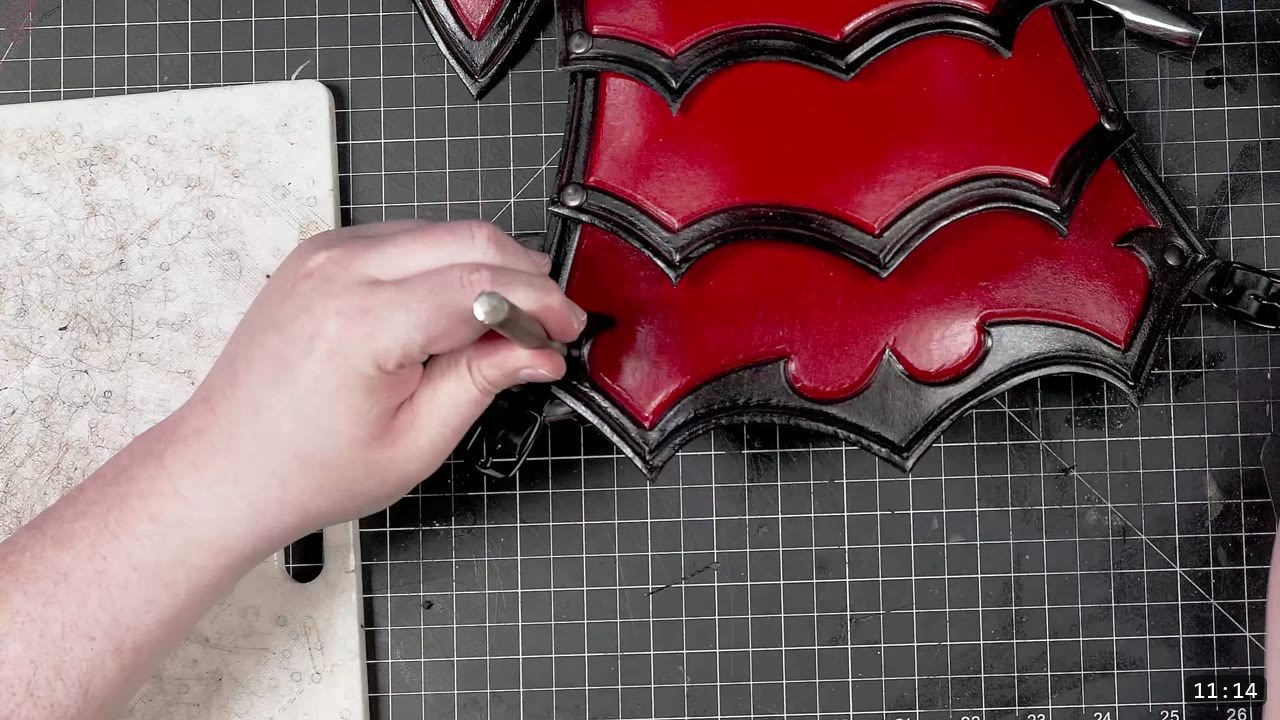
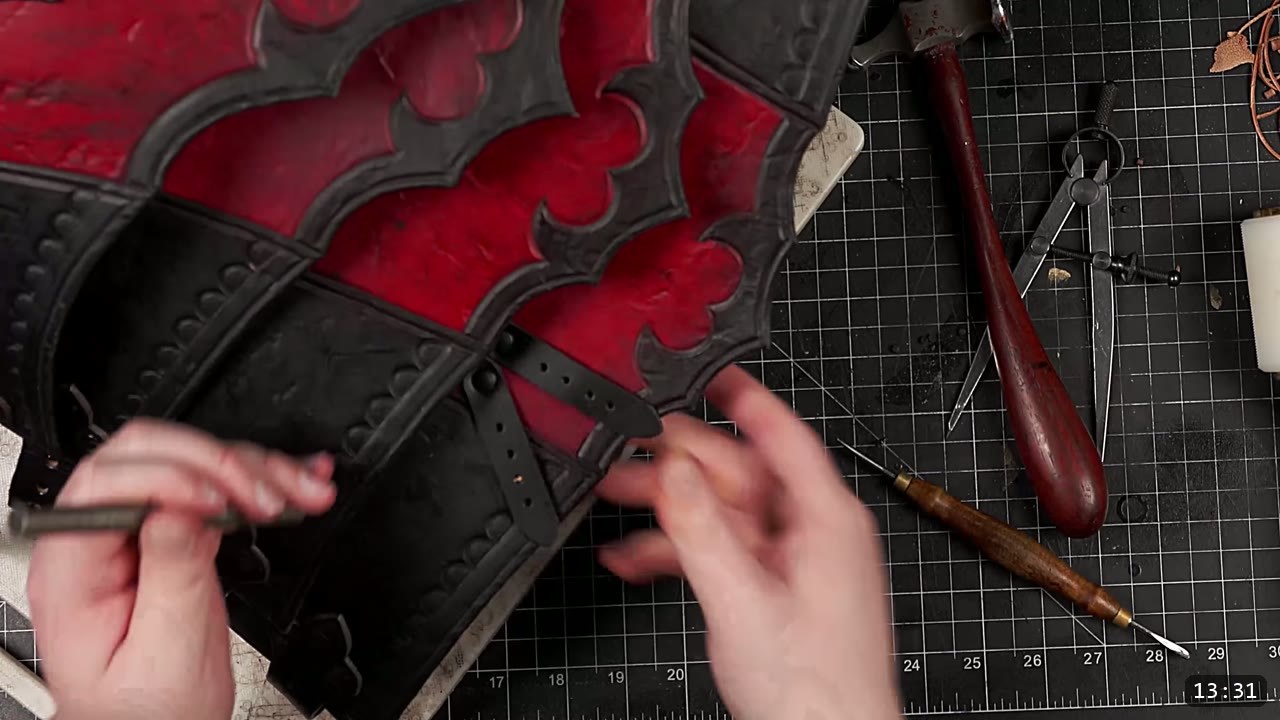
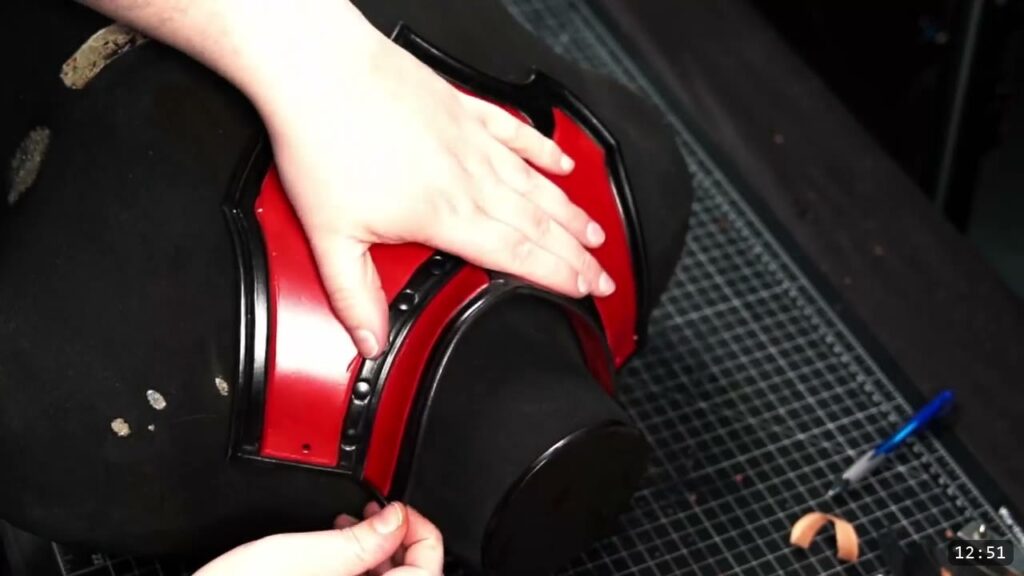
Mounting is flexible. As a general rule, set your buckle hardware so the tongue end hangs either down or back. Before you commit any strap to the breastplate, test a few configurations and do a wear test as you mark your holes, so the fit and mobility are right. In the video the medium tassets are mounted with a bias to the sides and angled slightly for a more dramatic look, and a longer strap in the back adds adjustment. Copy that or set your own.
Step 11: Getting it on and off
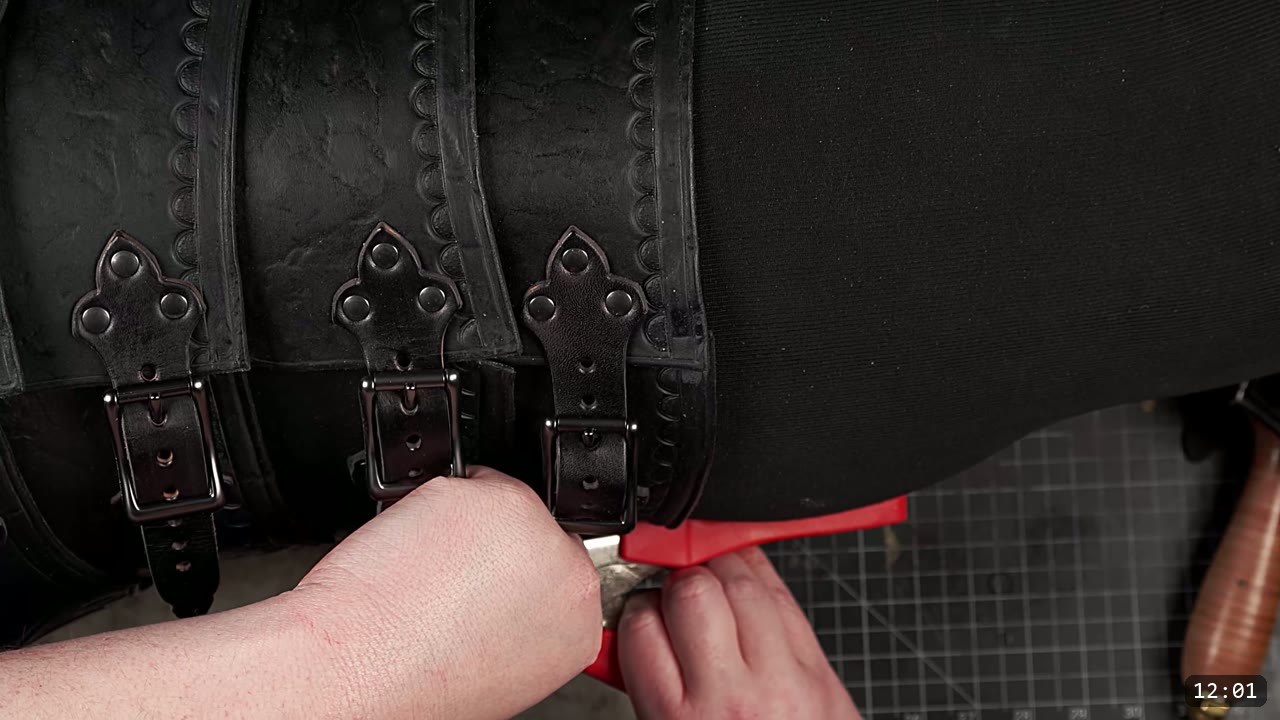
Once the initial adjustment is set the way you want, you do not have to rebuckle everything each time. To take the armor off, unbuckle the front buckle on one side of the tasset and the side buckles from the breastplate, then slip out from the side. Reverse it to put it back on.
FAQ
Is this a beginner project?
No. It is the ninth piece in the Fantasy armor series and it assumes you have the basics from earlier builds. If you are new to leather armor, start with a kit or a simpler piece, then come back to the tassets.
What leather should I use?
Natural vegetable-tan. The video uses Weaver’s Premium Select Vegetable Tan in 10 oz. Veg-tan holds the carved border and takes the dished shape; that is what the build relies on.
How many tassets do I make?
Your call. The pattern gives a small front piece, medium side pieces, and a large back piece, plus a few widths. You can also merge the wide and medium patterns for a wider, asymmetrical style.
When do I dye and seal?
Last. Do all your carving, tooling, and dishing first. Once the leather is dyed and sealed the finish resists water, so it will not fully re-wet or reshape after that. Shape first, then color and seal.
How do the tassets attach?
With small buckles and straps. The video uses 5/8 inch black buckles, black double-cap rivets for the center-piece straps, and black Chicago screws for the side pieces. Mount the buckle hardware so the tongue hangs down or back, and wear-test before you commit the holes.
Where to go next
- Get the pattern: Fantasy Tassets Pattern.
- These hang off the breastplate: build the DIY Female Leather Breastplate from the same series.
- The piece before this one: the DIY Leather Gorget, filmed alongside the tassets.
- Struggling with the dished shape? The Hand-shaping Leather for Armor Making walkthrough goes deep on wet molding.
- New to leather armor? Start with 5 tips for getting started with leather armor, or build the beginner-friendly Warrior Armor Bundle first.
- Built a set? Share it and tag Prince Armory Academy and Weaver Leather; we feature student work.





Thank you for the blog posts. They really help to answer the questions the video raises.