



Custom Leather Armor: How I Design, Tool, and Color Test a Suit (Manticore Build)

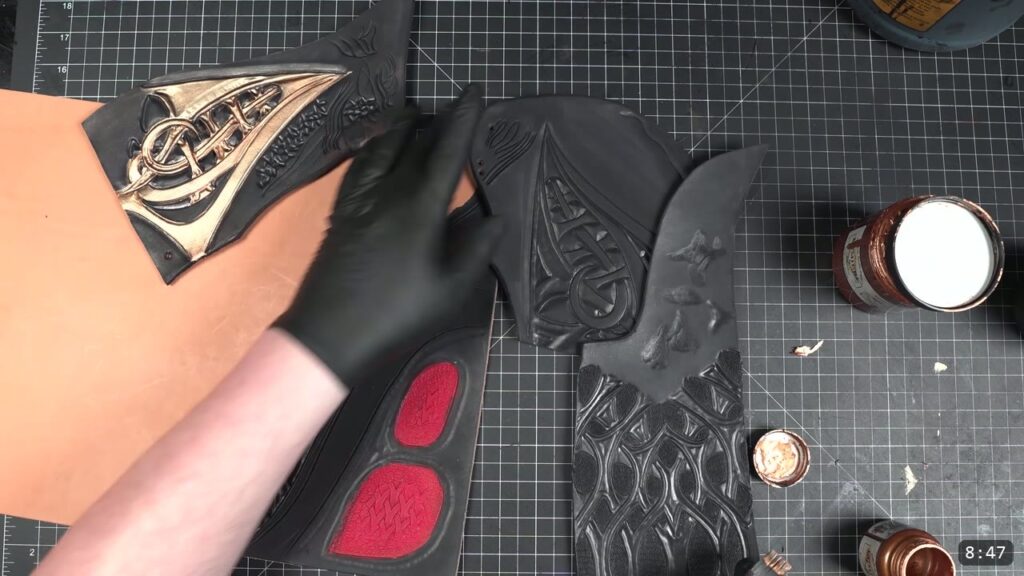
This is a look at the early design phase of a custom leather armor suit, not a step-by-step build of one finished piece. Before I commit a design to a whole suit, I pattern the parts on paper, tool a test sample to lock the theme, and run color swatch tests. This guide walks that process alongside the Manticore video, so you can see how a custom suit gets designed before a single armor piece is cut.
What this video is, and what it is not
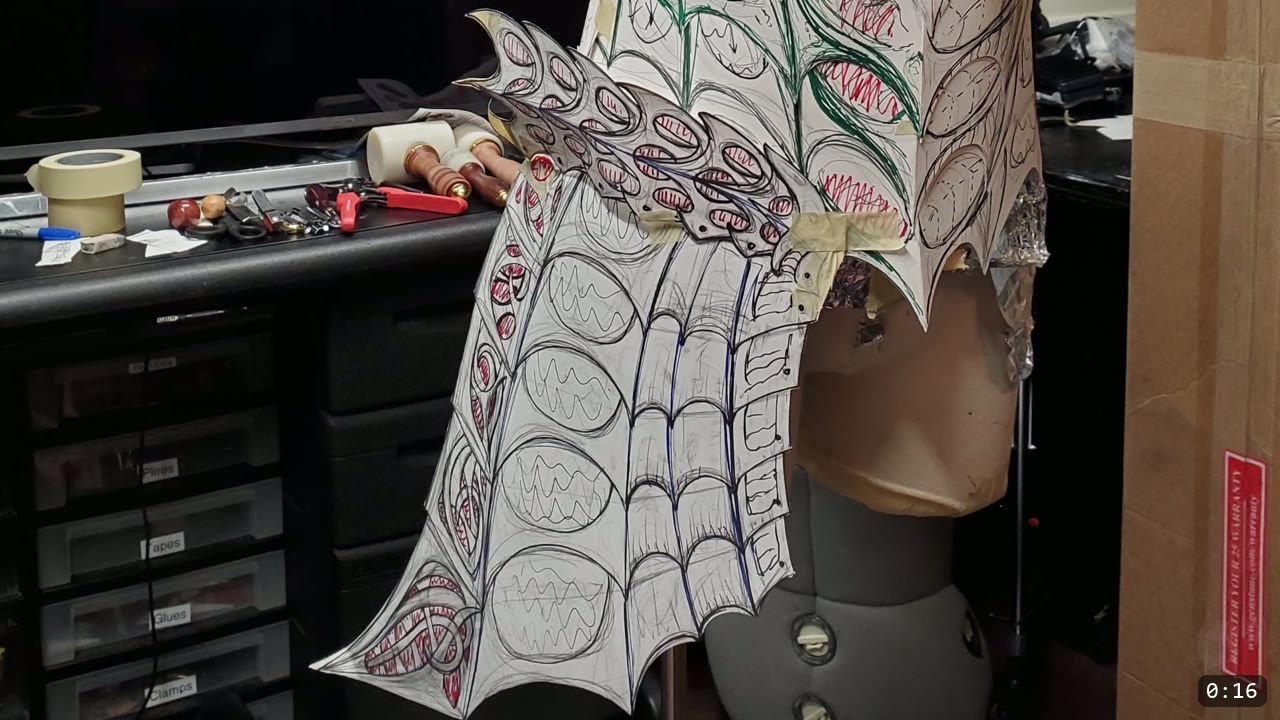
The Manticore is a custom commission for one of my earliest clients, the same person I once built the Lion Armor for. In this first video I am not finishing a piece. I am working out the initial design: the tooling theme and the colors. I usually do not start with a complete sketch of the finished result. I sketch to play with ideas and reveal interesting shapes and lines, then I start from a broad theme and improve the details as the project goes. Expect the design to keep evolving through the crafting process.
If you are brand new and want a finished piece to build, this is not that video. It is a window into how the design work happens before the build.
What you need to follow the process
- Natural vegetable-tan leather for the test sample. The piece in the video is a pre-cut sample from the Weaver Select line, and after working with it I would recommend it.
- Paper, a fine pen, and a form or mannequin to mock up the patterns in three dimensions.
- A swivel knife for carving the design lines.
- A small handful of stamps in one theme: geometric tools, pear shaders, bevelers, and texture stamps. You do not need buckets of tools. You can plan a piece strategically and buy one or two stamps per project.
- A dense surface to tool against, like a stone slab.
- Leather dye in your scheme colors and a metallic for the accents. The video settles on black, red, and bronze.
Step 1: Start from a theme, not a finished drawing
I do not lock the whole design up front. When I sketch, it is to explore shapes and lines, not to produce a final picture. I pick a broad theme for the suit and let the details sharpen as I go. That keeps room to improve the design while the leather is actually in my hands.
Step 2: Pattern the suit on paper first
I work the patterns out on flat paper before touching good leather. It can be hard to read the end result from flat paper, because the parts only become three dimensional after they are shaped. I mock the panels up on a form so I can see them in the round. Some of the shapes and details on these paper patterns will change during the build, and that is expected.
Step 3: Freehand a tooling test sample
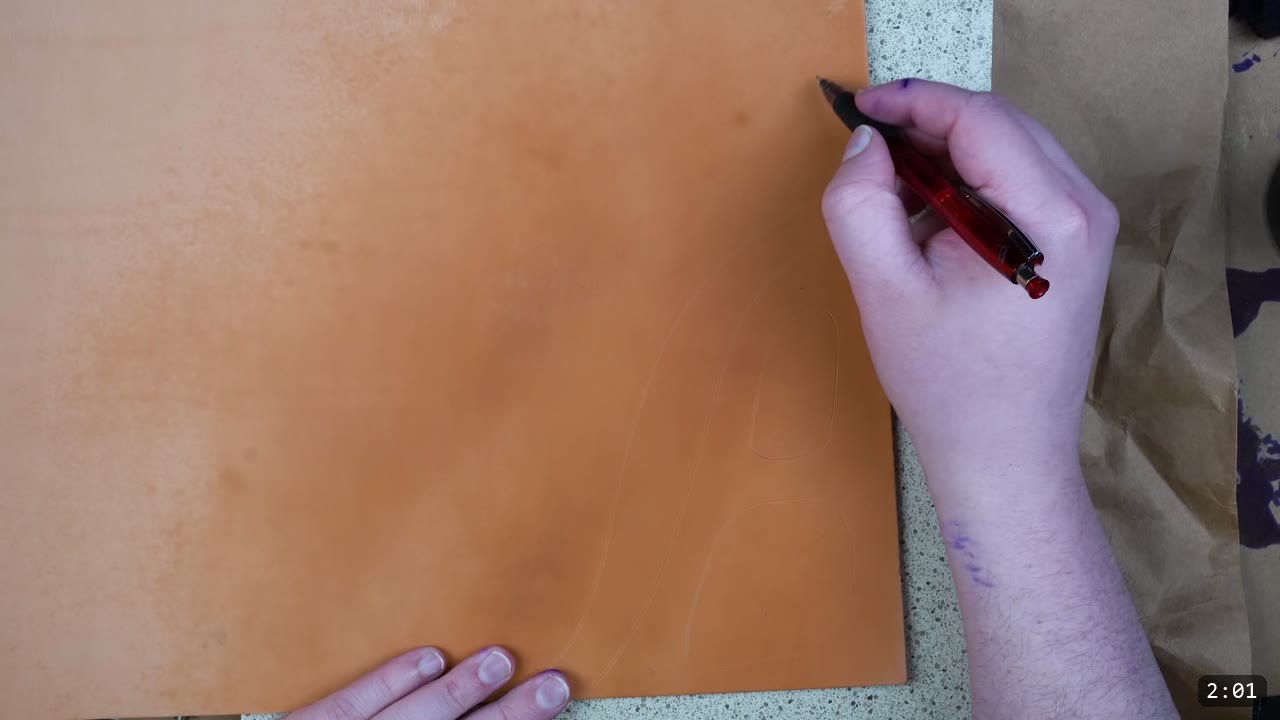
Before committing a tooling theme to a whole suit, I make a test sample. I freehand an approximation of the design scheme straight onto the leather. This piece will not go on the armor and does not need to be precise. I want some areas tooled with geometric designs and some filigree bits, and sketching it out helps me play with the proportions. The sample in the video is larger than I would normally use. I usually test on a smaller piece of scrap, but this one is big for the sake of demonstration.
Step 4: Carve the lines with a swivel knife
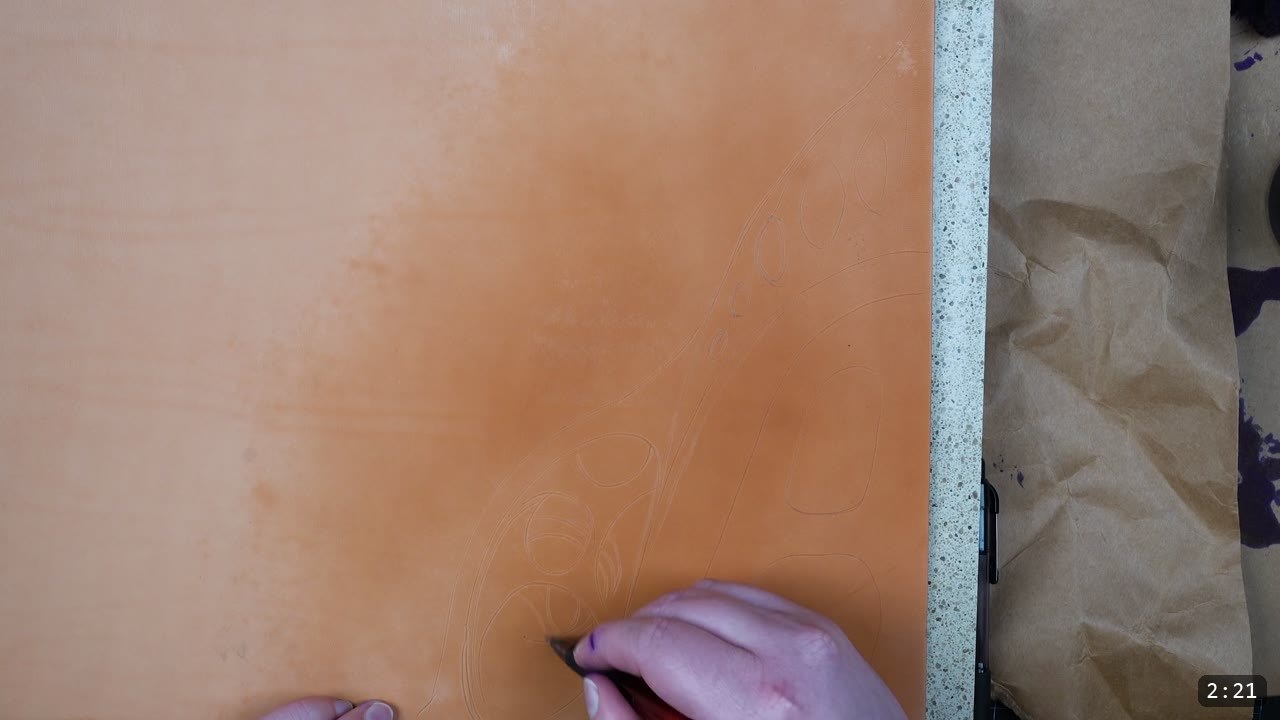
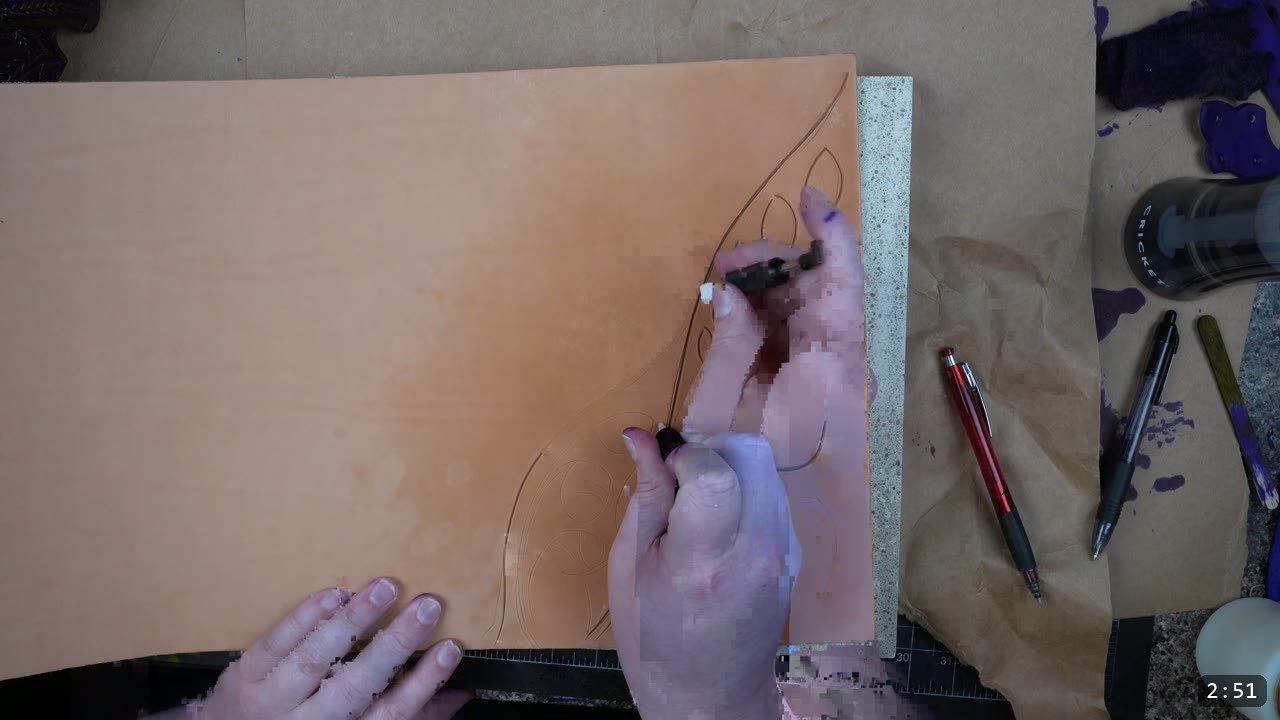
Once I have a general guideline drawn, I carve the lines in with my swivel knife. On the final piece I would take more care than I do on a demonstration sample. The carved lines set the skeleton of the design that the stamps and textures will fill in.
Step 5: Pick a few tools and tool the sample
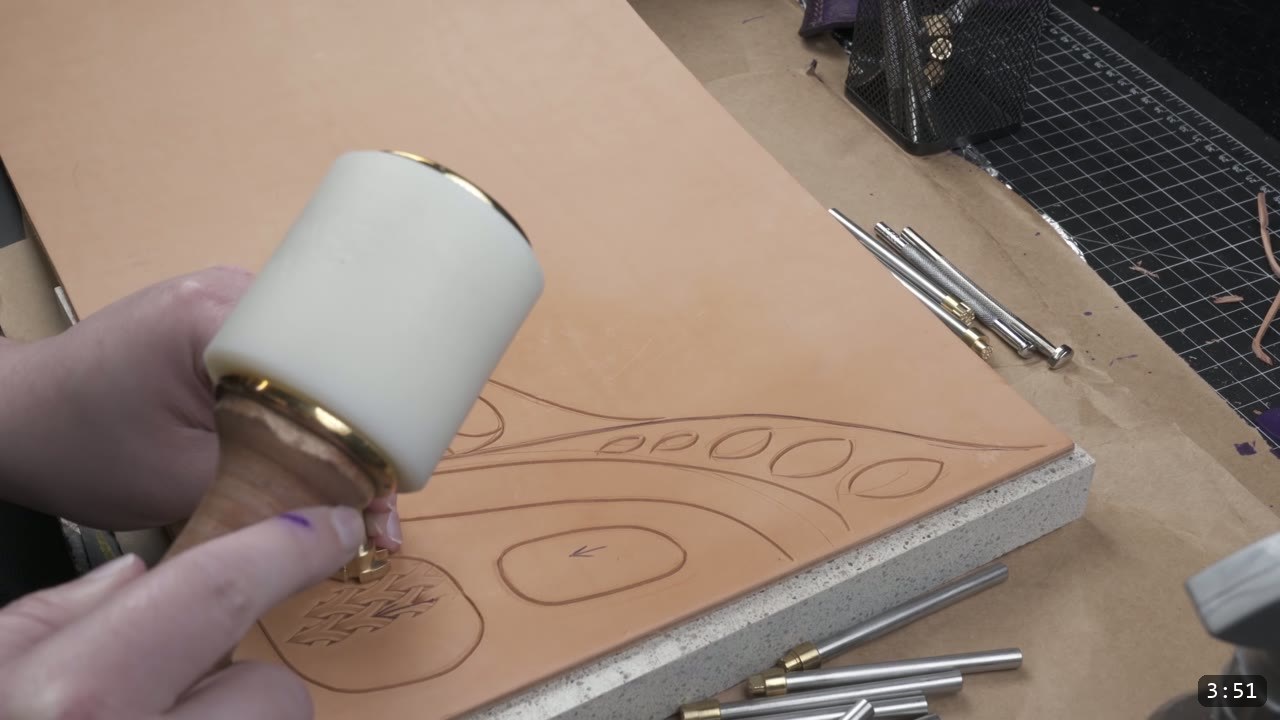
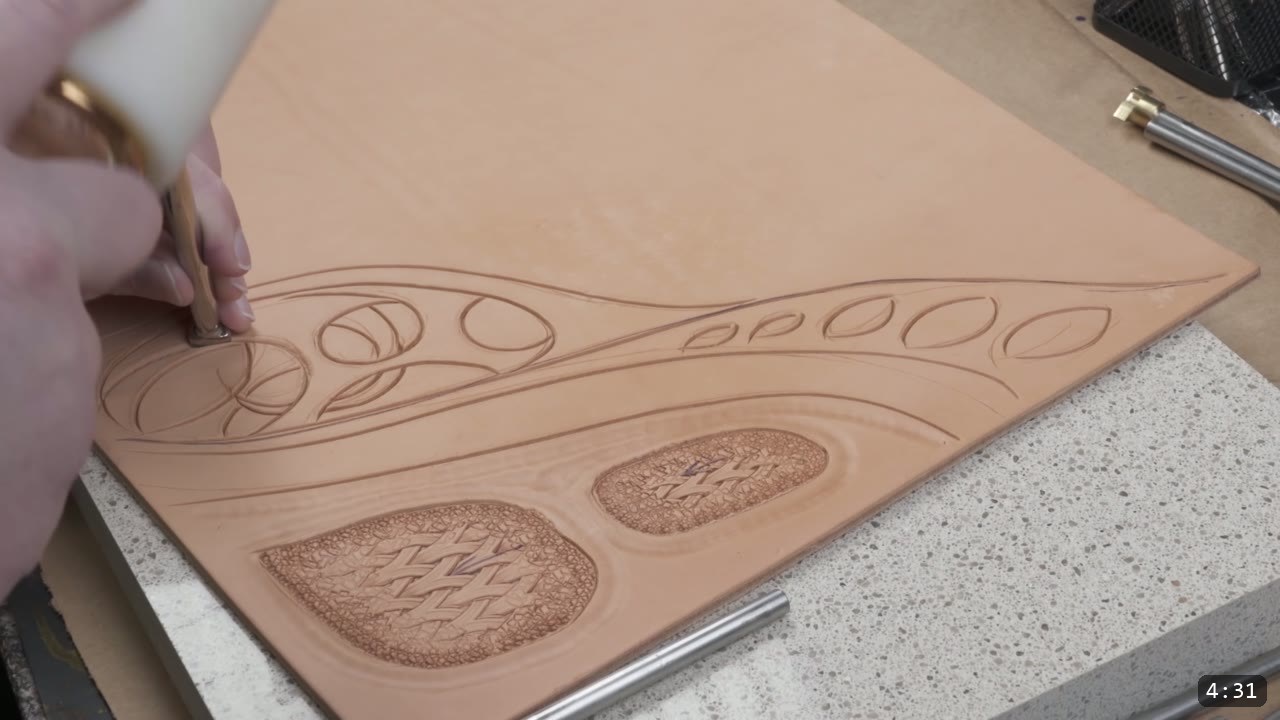
I pre-select a handful of tools in the general theme I want, then pick out the ones that work best. For this suit I am mixing geometric tools, pear shaders, bevelers, and textures. I mostly want the designs to look organic, with pockets of geometric tooling inside them. The exact way that gets tooled is something I work out with tests. I try different techniques and effects to see which looks best, then refine from there. If you do not own a lot of tools, this is the reassuring part: you can plan strategically and get a long way on one or two well-chosen stamps.
Step 6: Run color swatch tests
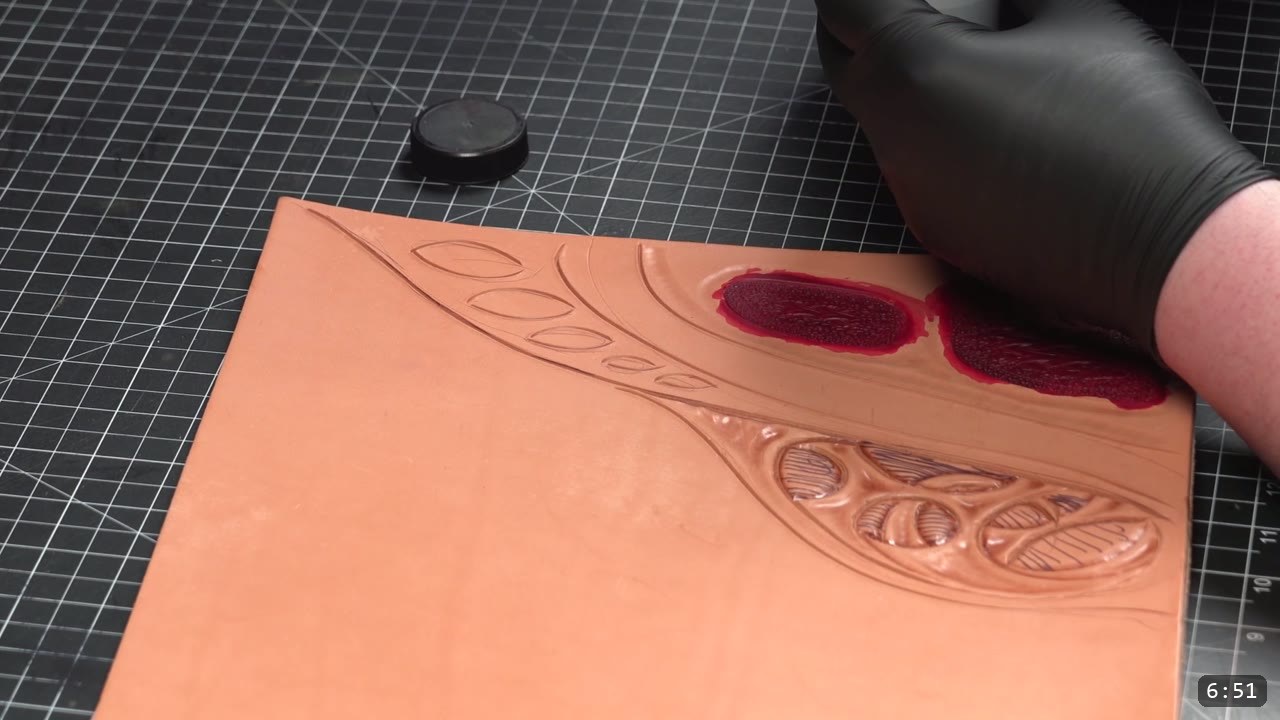
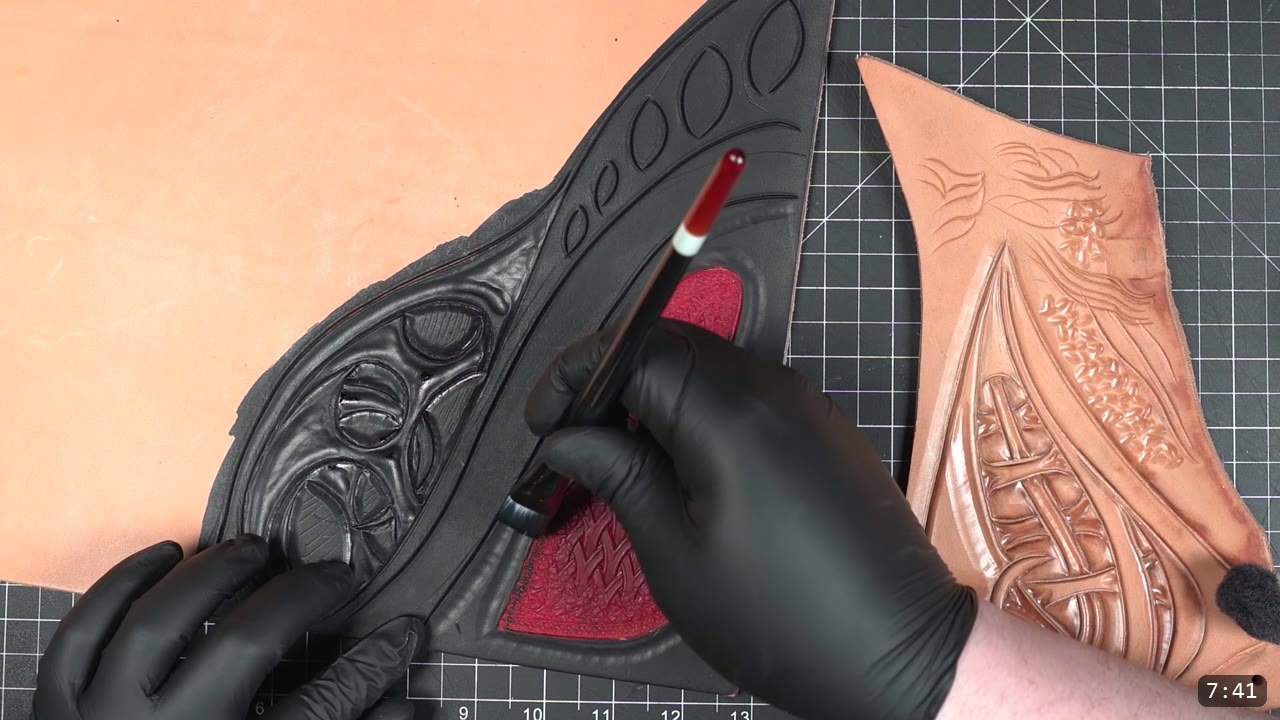
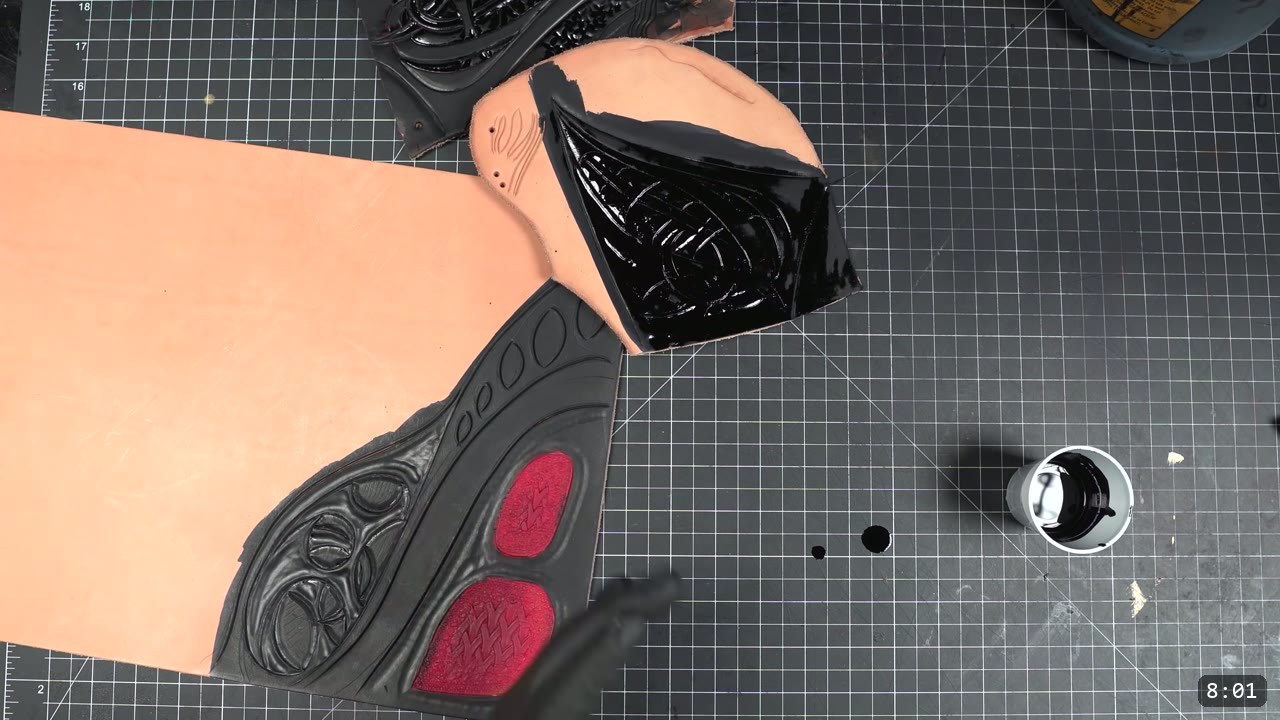
For color I do swatch tests for the same reasons I do the tooling test: to get a read before I commit. I went back and forth, and I settled on black, red, and bronze for the scheme. The client requested some red if possible, so that is a given. I like red as an accent in the geometric areas and the inside areas, the rest in black, and other details painted in metallic. Testing it on the sample lets me see how those colors sit together before the whole suit rides on the choice.
Step 7: Apply the scheme, black base with red and bronze accents
With the scheme chosen, I lay black over the base, keep red in the geometric and inside pockets, and pick out details in bronze metallic. Because this is a flat test sample, the color goes on last, after the tooling is done. That order matters on the real suit too. Do all the tooling and shaping first, then color, because once leather is dyed and sealed the finish resists water and the piece will not fully re-wet or reshape. Color is a one way door.

FAQ
Is this a beginner build I can follow start to finish?
No. This video covers the early design phase of a custom commission: patterning, a tooling test sample, and color tests. There is no single finished piece built here. That said, the approach to testing and the tool advice are useful at any level.
Do I need a lot of stamps and tools to design armor like this?
No. I pre-select from a larger set, but you do not need buckets of tools. You can plan a piece strategically and buy one or two stamps per project and still get great results.
What leather should I use for tooling tests?
Natural vegetable-tan, which takes carving and stamping well. The sample in the video is a pre-cut piece from the Weaver Select line, and I would recommend it for smaller test work.
Why make a test sample instead of tooling the armor directly?
To lock the theme and dial in the effects before committing them to a whole suit. I try different techniques on the sample, see which looks best, and refine from there. The same logic applies to color, which is why I swatch test before dyeing anything real.
What colors did you choose, and why?
Black, red, and bronze. The client asked for some red, so I use it as an accent in the geometric and inside areas, keep the base black, and paint other details in metallic bronze.
Does the design change once you start building?
Yes. Paper patterns only become three dimensional after the parts are shaped, and some shapes and details evolve through the crafting process. I start from a theme and improve the details as I go.
Where to go next
- Commission a custom suit, or see how custom work is done: Custom Armor at Prince Armory
- Worried you do not have enough tools? You Don’t Need Expensive Tools to Start Leathercraft
- More on stamps and tooling: Quick Tips For Leather Crafters
- Always test color first: Quick Tips on dyeing the Warrior helmet
- New to leather armor entirely? Start with 5 tips for getting started with leather armor
- How flat patterns become three dimensional: Hand-shaping Leather for Armor Making




Responses