



Female Leather Breastplate Build Guide: Warrior Armor from Cups to Buckles

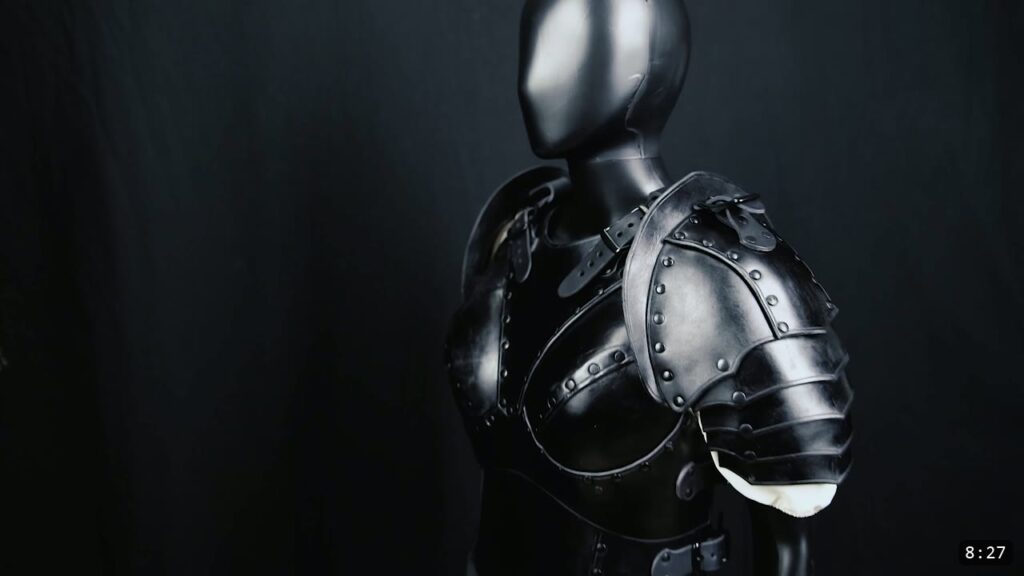
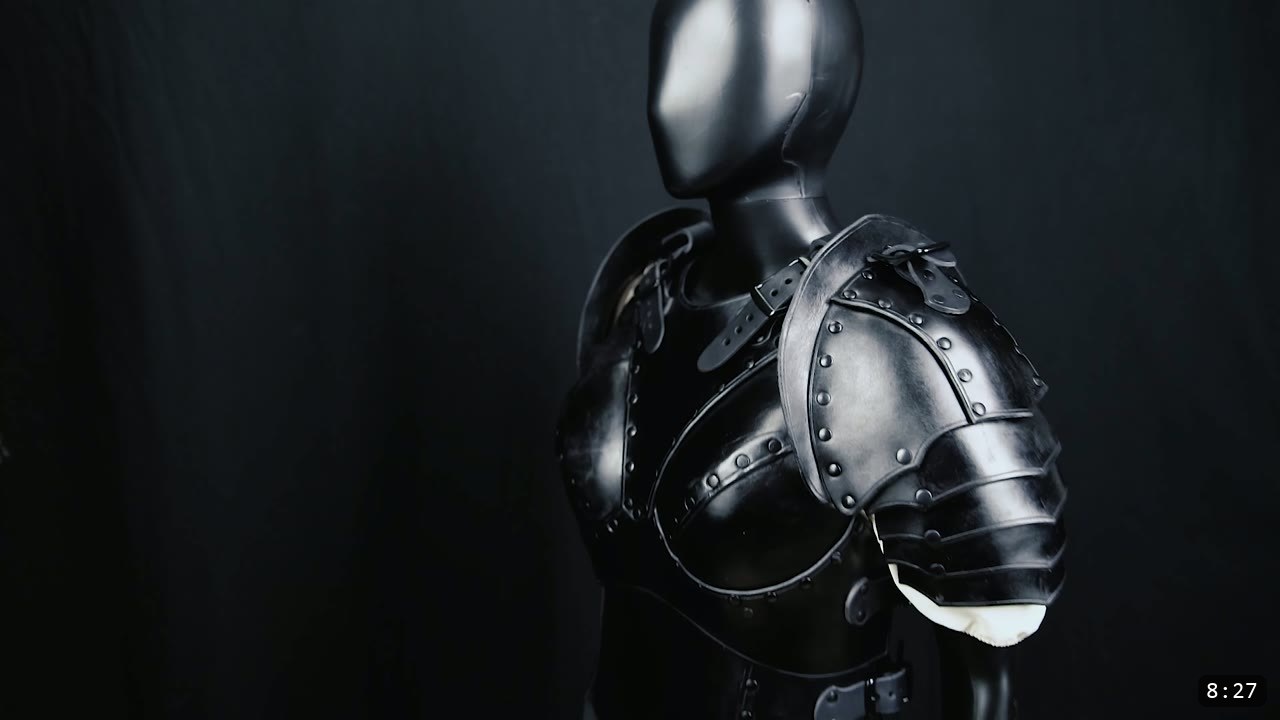
You build a female leather breastplate from a printed pattern using three materials, leather, rivets, and buckles, and two main tools, something to cut with and a hammer to set the rivets. It is the same build as the Warrior male breastplate with one difference: the front has wet-formed cups, which are a style option rather than a requirement. This guide walks the whole assembly alongside the video, so you can watch each step and read the details the video moves past quickly.
What you need
Leather. The video uses Weaver Select 9-10 oz vegetable-tan leather. Veg-tan matters here because the build relies on the leather taking and holding a molded shape when it is damp.
Rivets. Medium double-cap rivets carry most of the assembly. They are available at Weaver Leather.
Buckles. One inch buckles in the video, but the size is not critical. You can go wider or thinner, shorter or longer, to taste.
Tools. Something to cut with (a utility knife to break the hide into chunks, then shears for the parts), a hammer to set the rivets, and something to punch the holes: a handheld rotary punch, or a tube punch with interchangeable heads. Two cheap helpers make the rivets cleaner: a rivet setter, a dollar or two, and a smooth-faced hammer for tidying seams. A slicking tool for the edges is nice to have.
This is a pattern build, so cut and shape everything yourself. If you would rather buy the pattern than freehand it, the same breastplate builds from the Warrior Armor Female Breastplate Pattern.
Step 1: Print, trace, cut, and punch
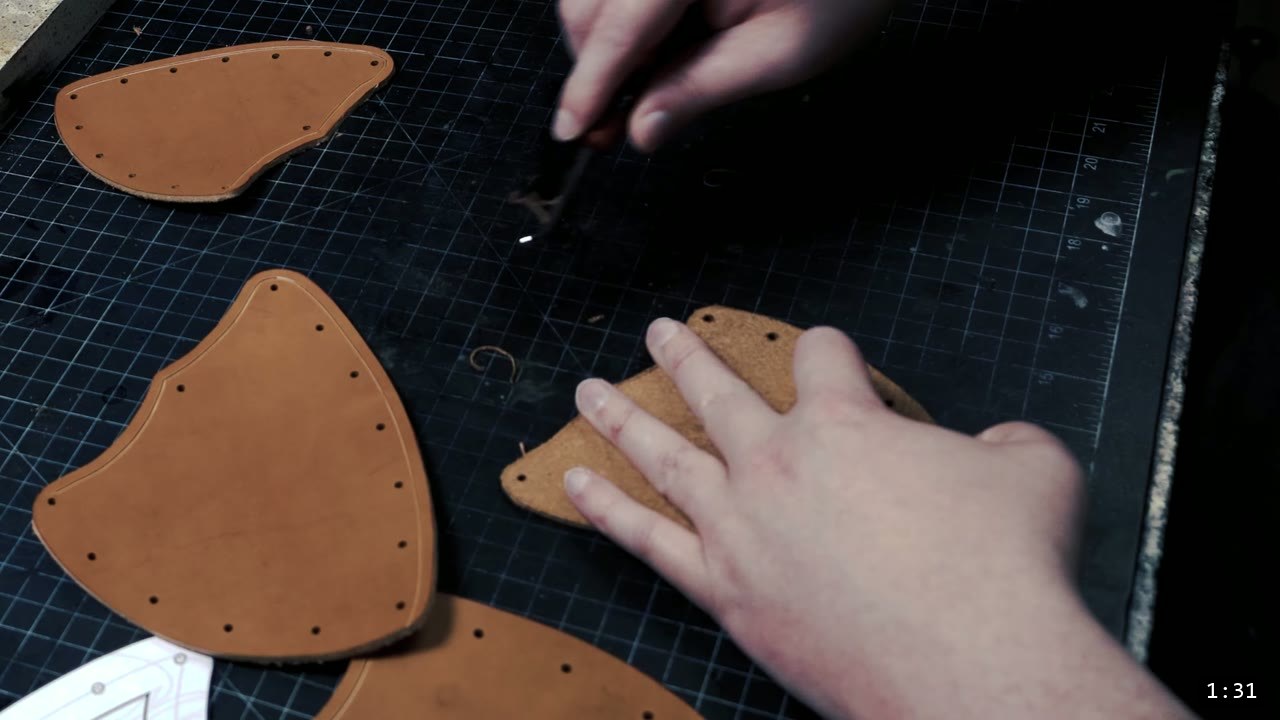
Print the patterns and trace everything onto the leather. The patterns scale up or down across a wide size range, so do a test fit and a mock-up with the paper pattern before you commit leather. Once the parts are traced, break the hide into smaller chunks with a utility knife and cut the individual parts out with shears. Mark and punch the rivet holes at this same stage, while the parts are flat and easy to handle. The pattern carries color-coded reference markers to help you keep the pieces straight during assembly.
Step 2: Groove and bevel the edges
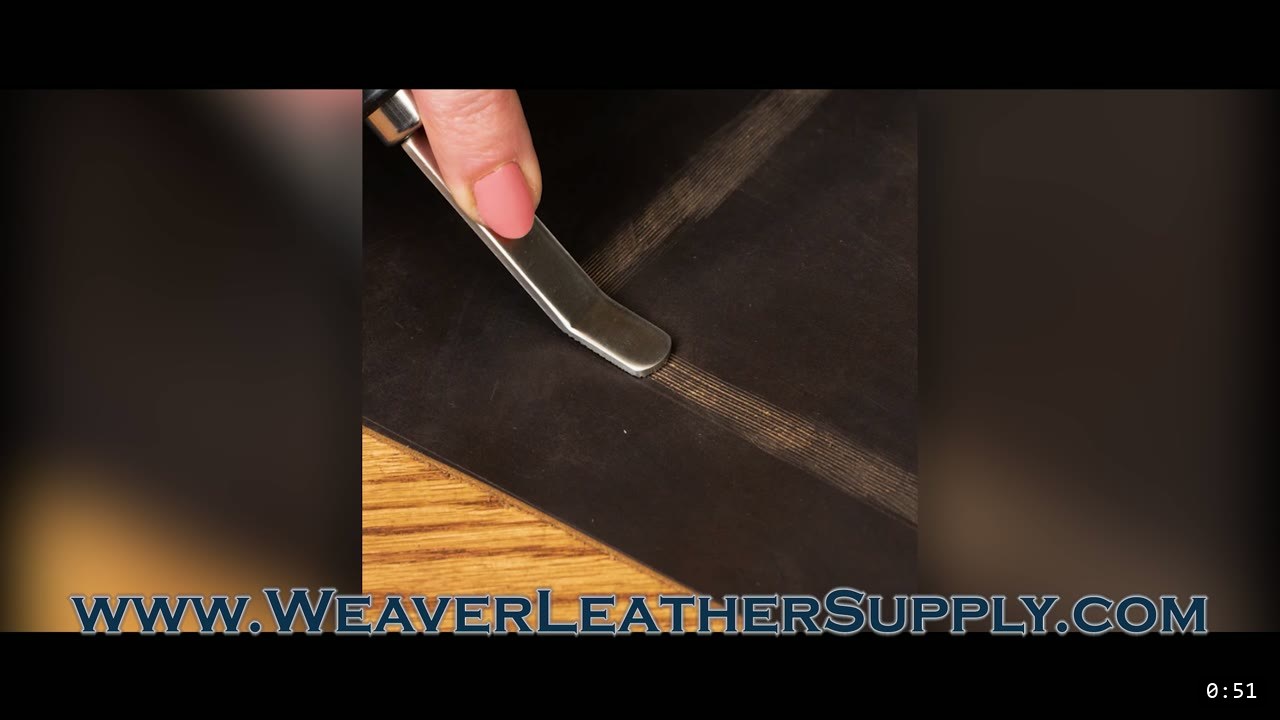
The Warrior series is meant to be a blank canvas. You can tool and decorate it as far as your skills go, but to keep this build simple, add a decorative groove and bevel the edges, and stop there. Where you take it from there is up to you.
Step 3: Wet form the cups
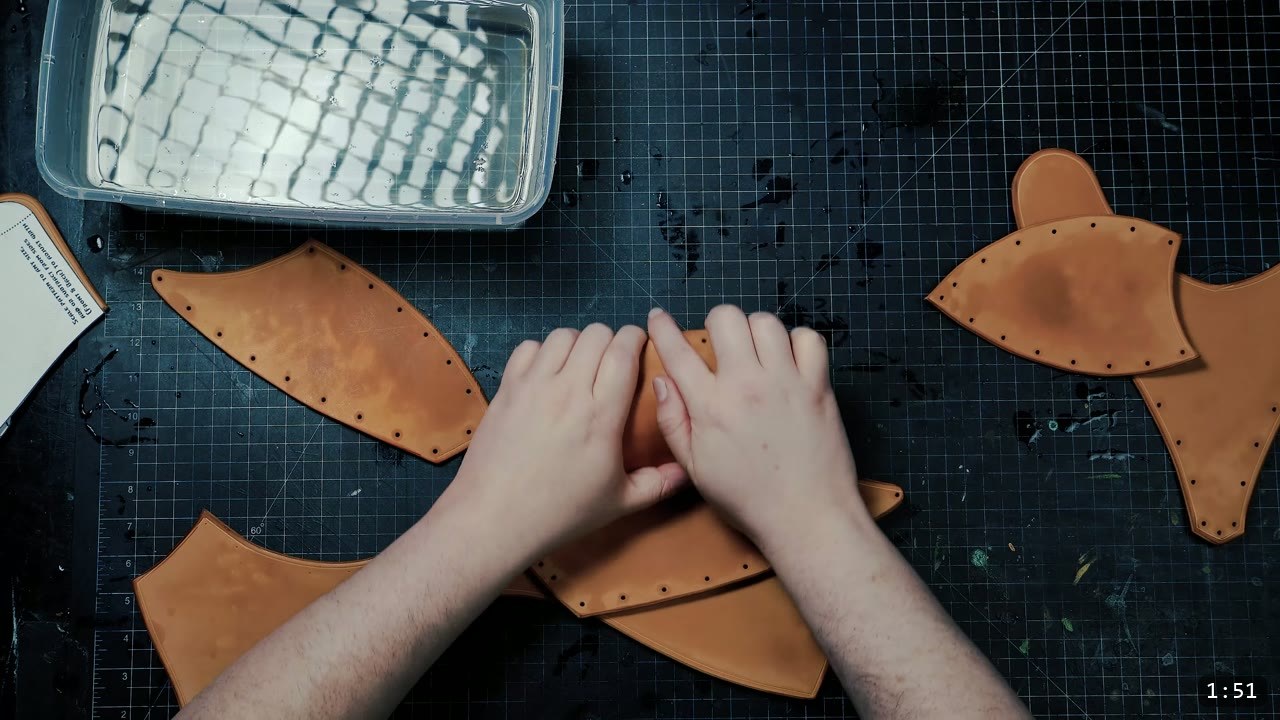
The cups are the one thing that separates this from the male breastplate. For the best results, wet form the cup pieces lightly. Dampen them and stretch each one over any spherical object, a baseball works, while the leather is still damp. It does not need to be deep or perfect; the assembly forces the rest of the shape.
Step 4: Rivet the cups together
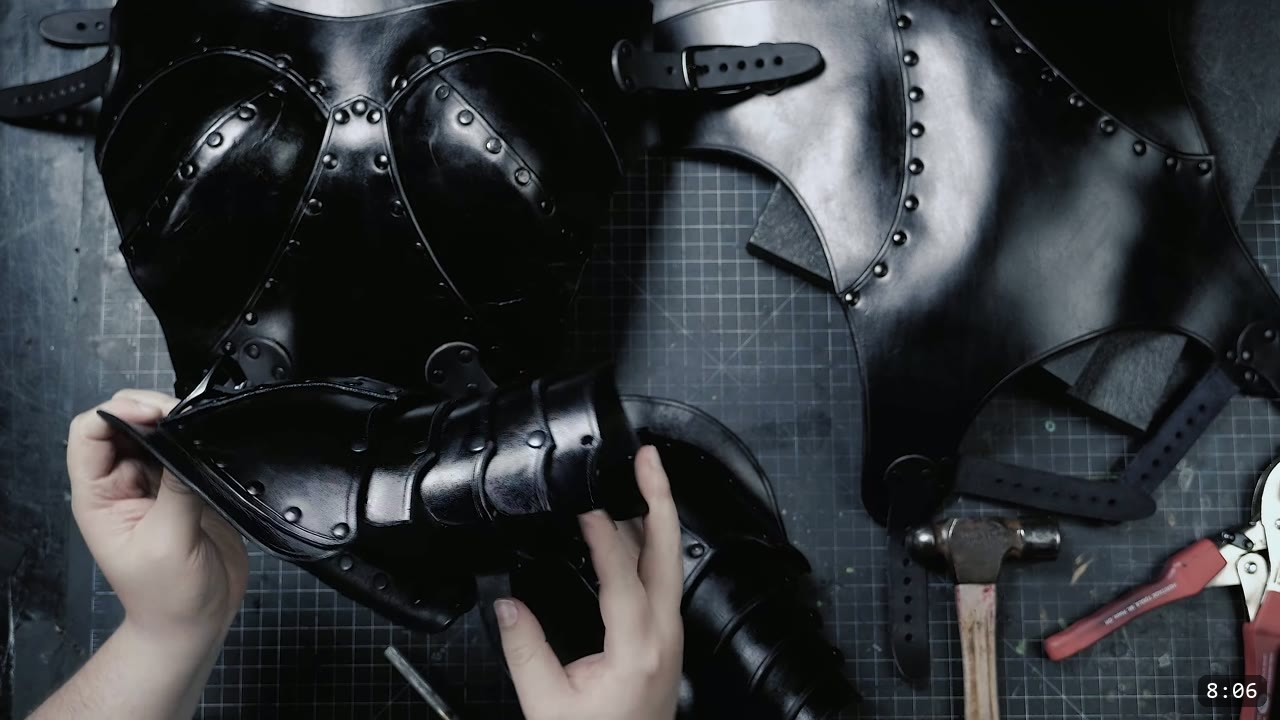
Rivet the two halves of each cup together. The pattern’s color-coded markers tell you which pieces pair up and which cup they form from the wearer’s perspective. Snap the double-cap rivets together by hand first to hold the parts, then set them. Set the rivets with a rivet setter, or set them flat directly with your hammer from the inside. Keep the leather damp while you assemble.
Step 5: Set rivets cleanly on the curved pieces
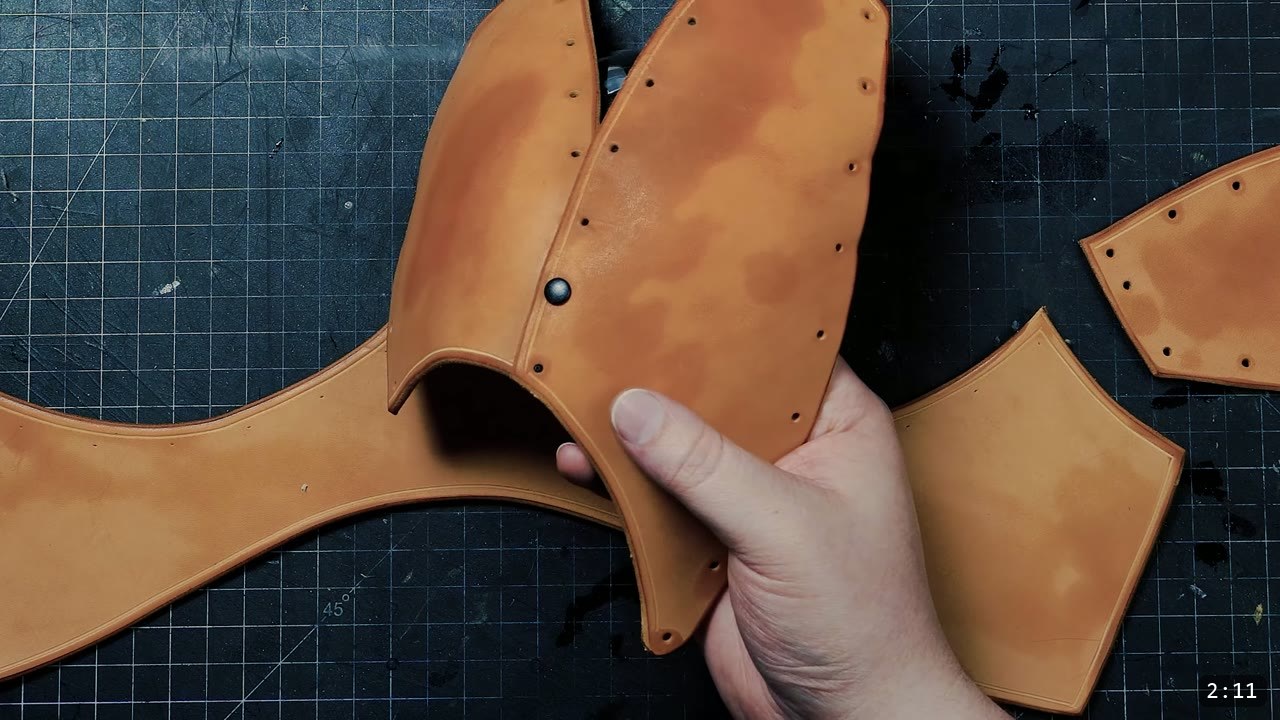
A rivet on a domed piece can be awkward to reach. You can temporarily invert a shaped piece to set the rivet more easily, and set it against something dense and solid. A smooth-faced mallet and a hard, round form under the leather give you clean sets. If a seam line looks lumpy afterward, planish the raised edges flat with the smooth-faced hammer.
Step 6: Attach the cups to the torso
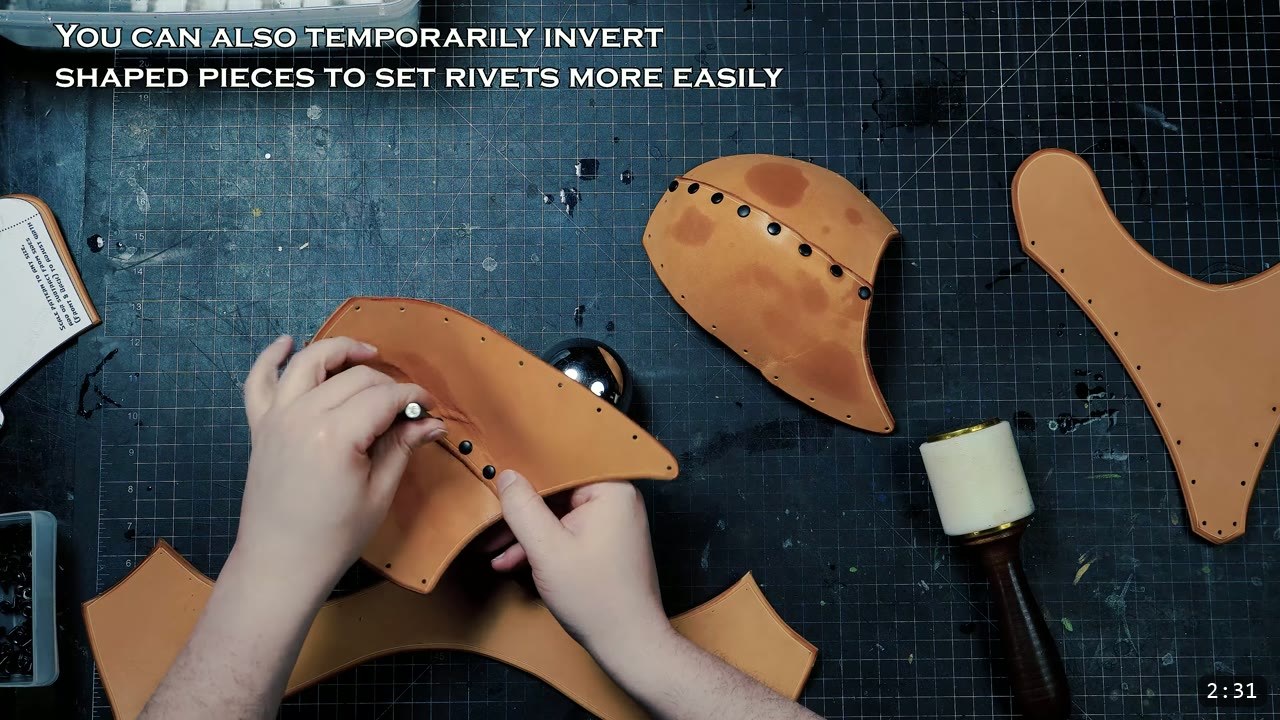
Attach each cup to the torso pieces. Rivet from the outside and work your way in toward the middle. Do one cup, then repeat the process for the other. Keep refreshing the moisture as needed to keep the leather pliable; this is fine at any point before you dye and seal, because bare leather re-wets freely.
Step 7: Join the front torso panels
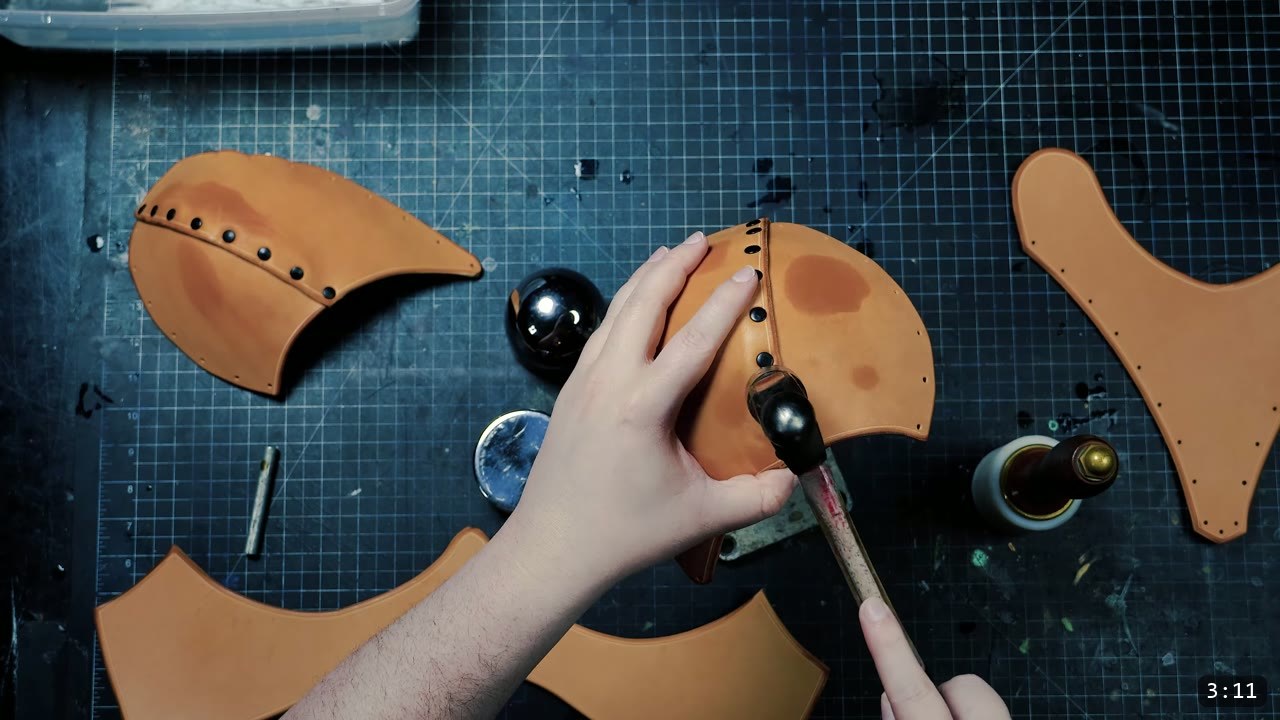
Take the center front piece and rivet it to the torso pieces starting from the center. The rivet holes should line up easily, and you can refresh the moisture any time before finishing to make the pieces sit right. When the front is together, burnish the edges with a slicking tool, and carefully slice down any inside corners or edges that could dig in when the armor is worn. You can round the cups a little more here by wet-molding them again over a spherical object.
Step 8: Assemble the abdominal and back plates
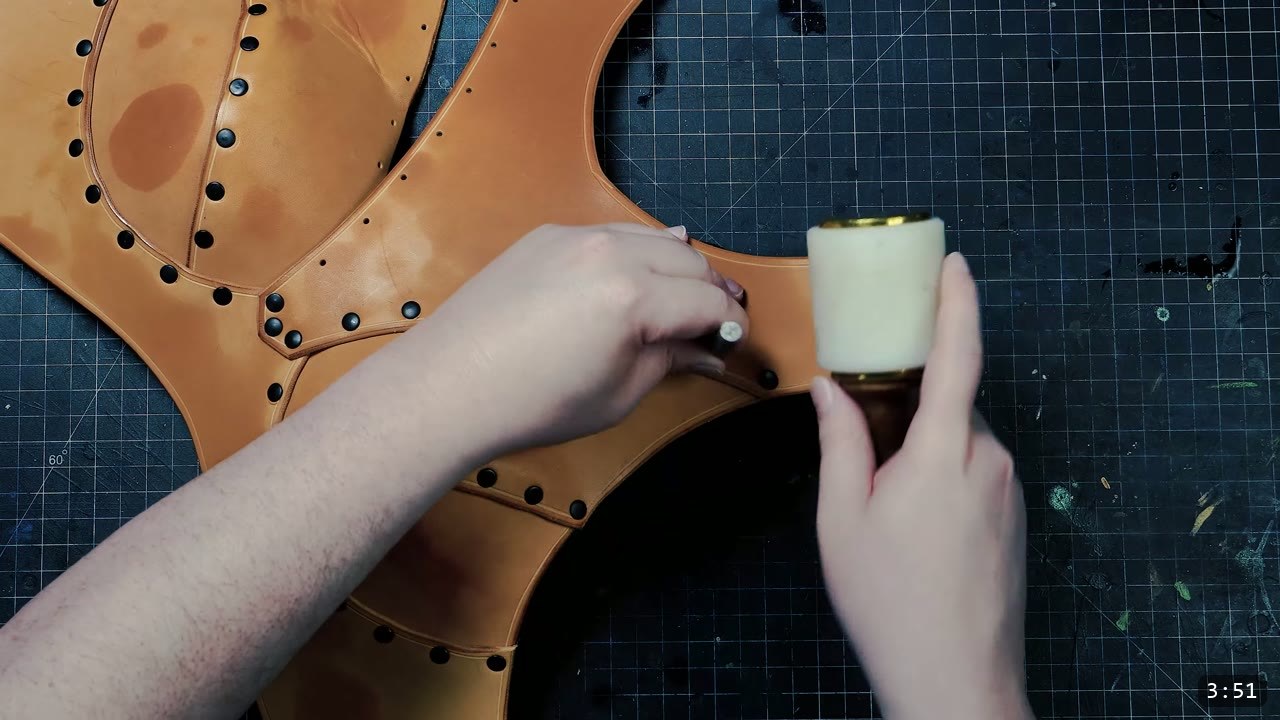
Assemble the lower abdominal plate by placing the two side pieces over the left and right sides of the center abdominal piece. For the back plate, the center piece overlaps the two side pieces; give the back plate a little shape as you go. The lower back plate assembles the same way, with the sides overlapping the middle plate.
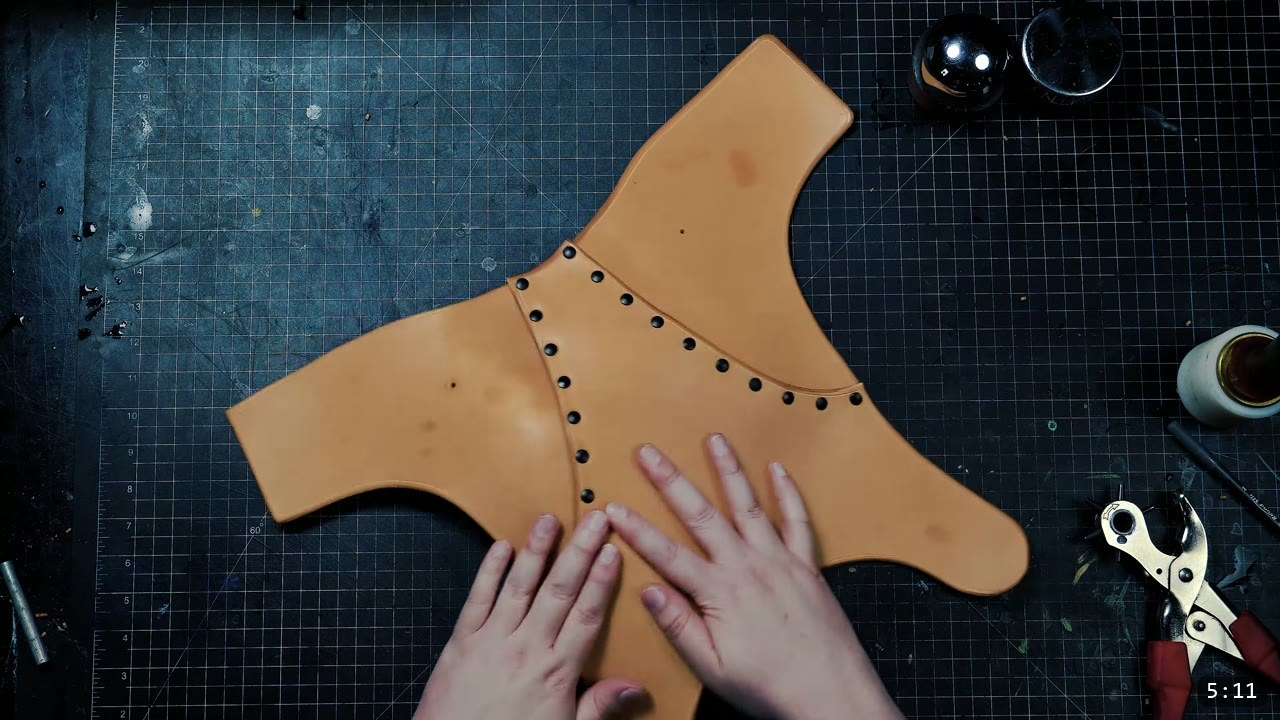
Step 9: Dye and seal
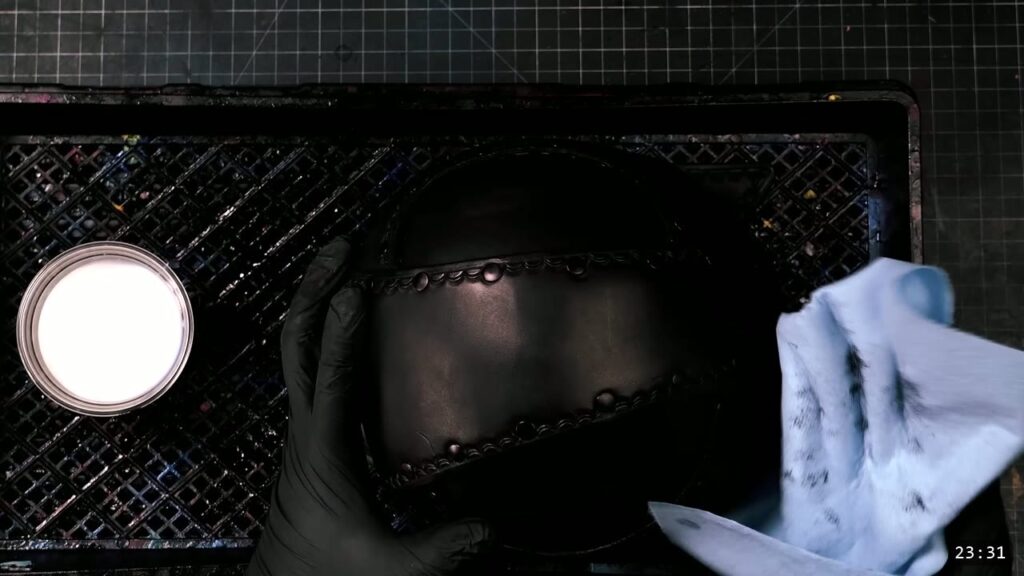
With all the shaping and assembly done, add color. The video uses black Pro Oil Dye, applied with a wool dauber and a sponge. Then seal with Weaver’s Tough Coat Clear, an acrylic finish. Both the dye and the finish also firm the piece up. Test your color on scrap first, or on the underside if this is your first project and you have no scrap. This is the last leatherworking step for a reason: once the piece is dyed and sealed the finish resists water, so it will not fully re-wet or reshape after this. Do all your forming before you get here.
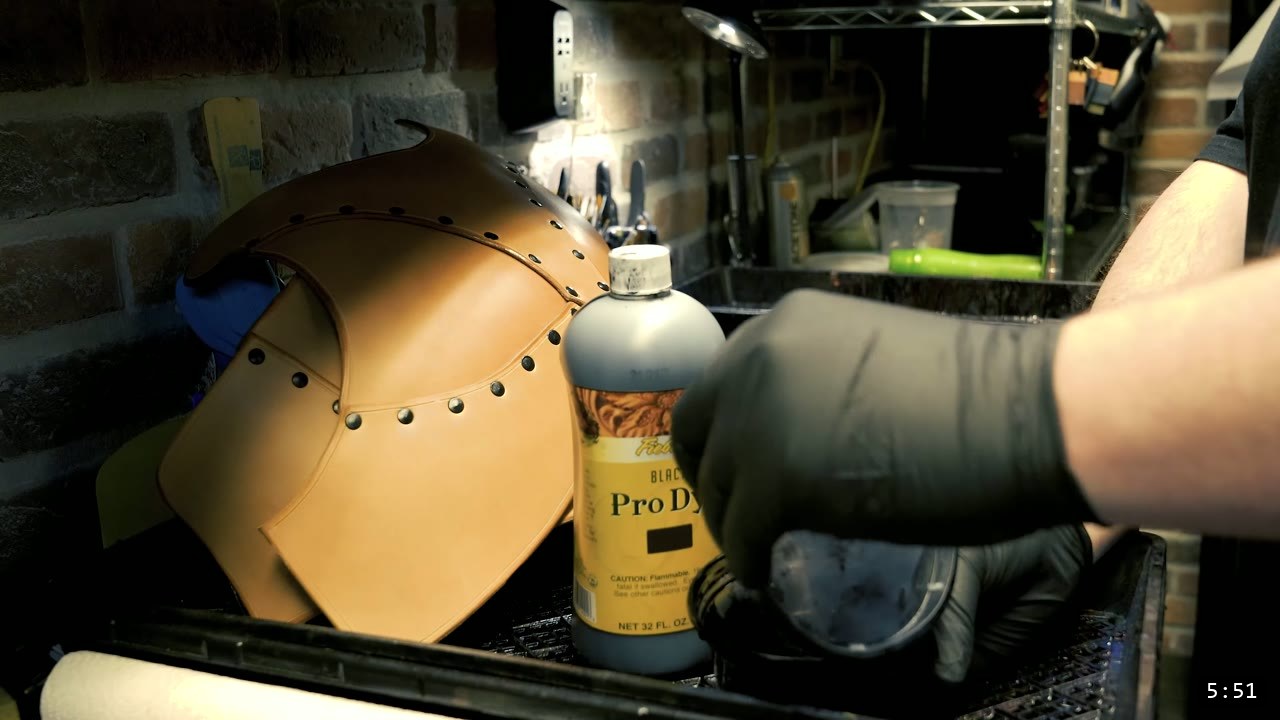
Step 10: Join the sections with retaining straps
To join the top and bottom sections, use a small retaining strap at each connection point. The strap adds a little flexibility between the sections. You can use the same vegetable-tan leather, or something more supple and lightweight if you have it; the video uses kangaroo leather, which is very thin but still very strong. The blue marks on the patterns show where the straps go, and they are all the same size. Rivet each strap to the bottom plates first, then connect it to the top plates.
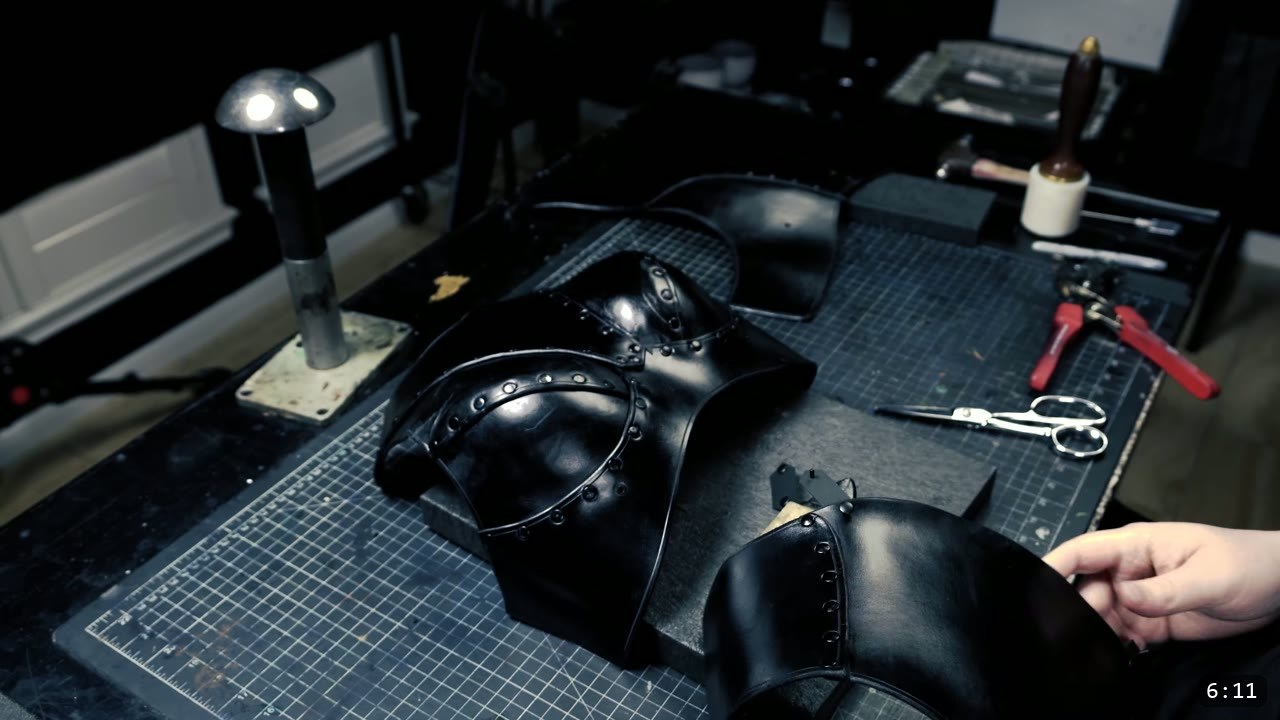
Step 11: Add the buckles
Buckle placement comes down to your own fit, so the hole locations are not on the pattern. Do a test fit and mark the buckle spots where you want them: either wear the piece and have someone mark the holes, or set the armor on a mannequin with dimensions close to yours. Then punch the holes and rivet the buckles in place. There is a separate guide and a free buckle strap pattern pack at the Academy if you want to make your own.
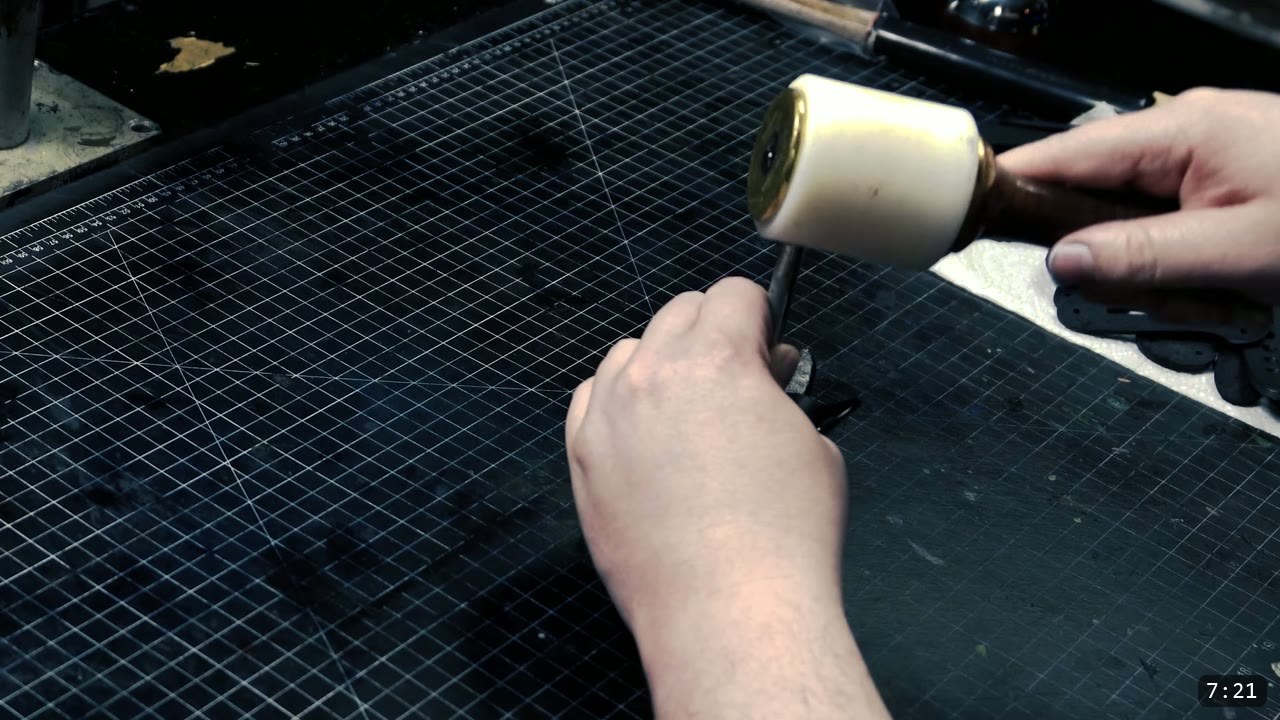
That is the whole build. This piece is part of the Warrior series, the most beginner friendly armor set, so it is a good first taste of leather armor even if you have never riveted a thing.
FAQ
Do I need leatherworking experience for this?
No. This is part of the Warrior series, the most beginner friendly armor set. The parts are cut from a pattern, the holes are marked and punched flat, and the design does most of the shaping for you as you rivet.
What is the difference between the female and male breastplate?
The build is almost identical. The female set adds wet-formed cups on the front, which are a style option. Everything else, the torso panels, the back plate, the straps, and the buckles, assembles the same way.
What leather should I use?
The video uses Weaver Select 9-10 oz vegetable-tan leather. Veg-tan is what lets the cups and plates take and hold a molded shape when damp.
What tools do I need?
Something to cut with, a hammer to set the rivets, and a hole punch such as a rotary punch or a tube punch. A rivet setter and a smooth-faced hammer are a dollar or two and make the work cleaner, but neither is required.
Can I re-wet the leather partway through?
Yes, any time before you dye and seal. Bare leather re-wets and reshapes freely. Once the dye and acrylic finish are on, the leather resists water and will not fully re-wet or reshape, so do all your shaping first and finish last.
How do I place the buckles?
Placement is personal, so the holes are not on the pattern. Test fit the piece on yourself or a mannequin, mark the buckle spots, then punch and rivet them in.
Where to go next
- Get the pattern: Warrior Armor Female Breastplate Pattern.
- Building the male version, or want to compare? How To Make a Leather Breastplate, Warrior Armor is the same build without the cups.
- Ready for the full set? The Warrior Armor Bundle is the beginner path through breastplate, helmet, pauldrons, and the rest.
- Want to get better at the cups? Wet forming is the skill that carries. Watch Hand-shaping Leather for Armor Making.
- New to leather entirely? Start with 5 tips for getting started with leather armor.
- Built one? Share it and tag Prince Armory Academy and Weaver Leather; we feature student work.





Responses