



DIY Leather Pauldrons: A Beginner Build for Warrior Shoulder Armor

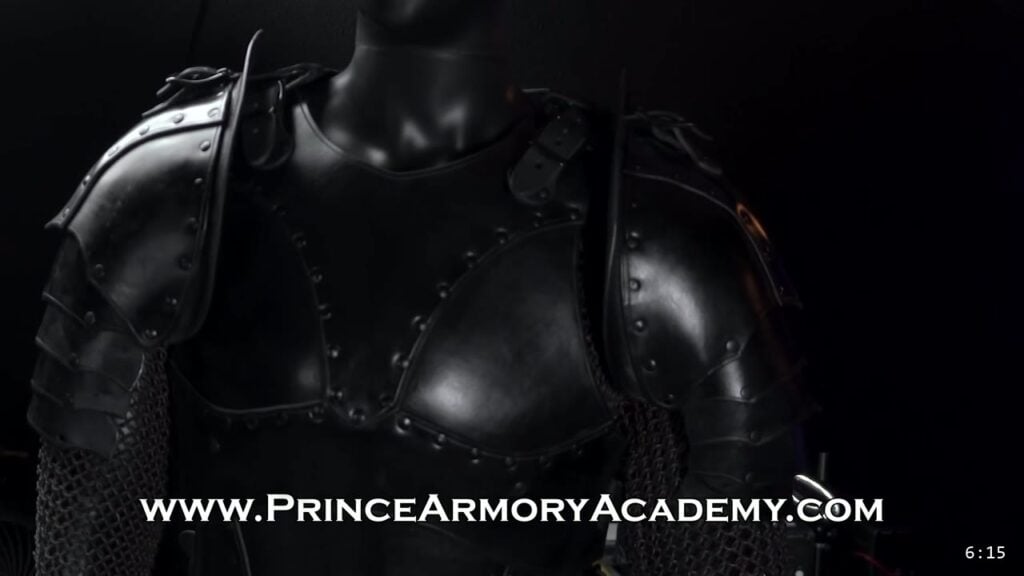
Leather pauldrons are layered shoulder armor built from a flat pattern, not a kit. You cut the lettered pieces from 9 to 10 oz vegetable-tan leather, wet-form the domed parts, and rivet the shoulder cap together. Then you link the lower plates, the lames, with Chicago screws so they pivot with your arm. Dye and seal it, add a strap, and mount it to your breastplate. This build is beginner friendly and mostly assembly, so this guide walks each step alongside the video and slows down where the video moves fast.

What you are building, and what it takes
A pauldron is a shoulder cap with a fan of overlapping plates below it. This is the Warrior series version: geometric, minimal shaping, and built to sit on the warrior breastplate. It is a good first articulated piece because most of the work is cutting and riveting, not deep sculpting.
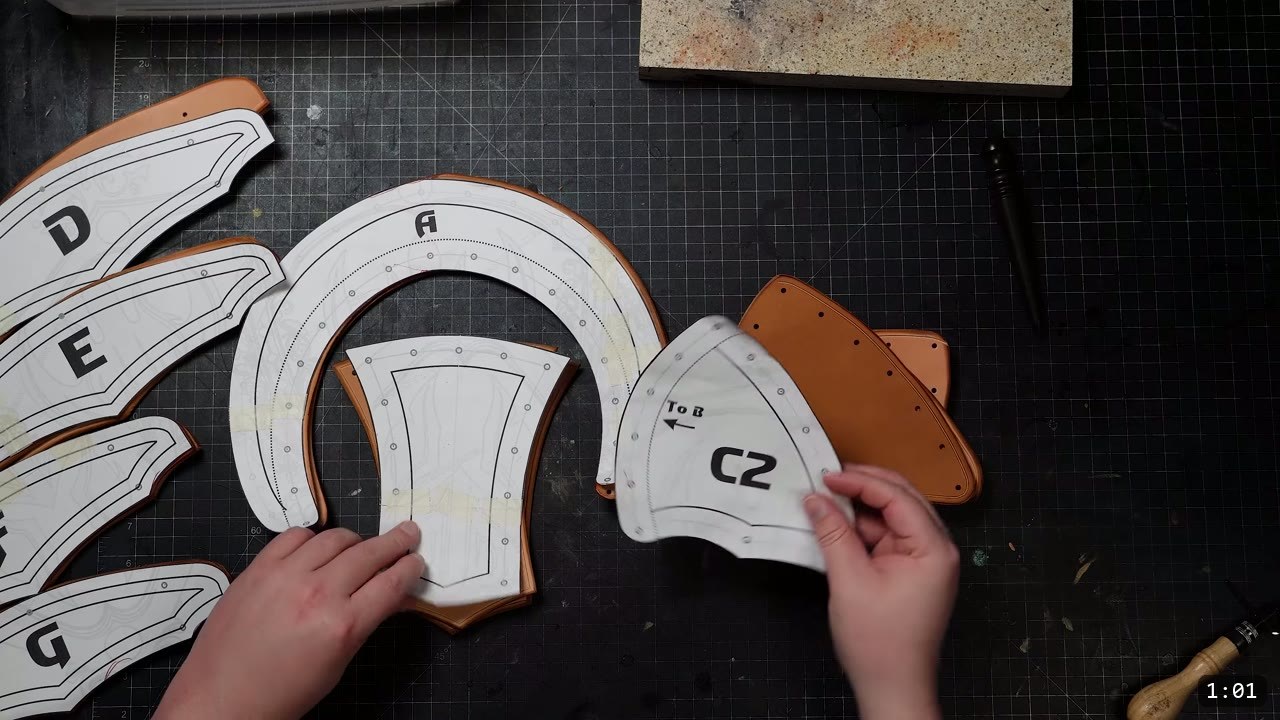
You cut everything yourself from the pattern. The pieces are labeled A through G. On the pattern, dotted lines mark areas that overlap another piece, and solid lines mark decorative edges or overlaps. Keep the reference marks, because they tell you the correct orientation when you assemble.
What you need
- Leather: 9 to 10 oz vegetable-tan. That weight holds a shape and lets you decorate it.
- The pattern: the Warrior Pauldrons Pattern prints on tiled pages and scales up or down.
- Cutting: heavy-duty shears and a craft knife.
- Edging: a stitching groover for the decorative groove, and an edge beveler.
- Assembly: black double-cap rivets and a rivet setter for the shoulder cap, and Chicago screws for the lames.
- Holes: a rotary punch, and ideally an oblong punch for the strap slot.
- Color and seal: a black oil dye and Weaver’s Tough Coat.
- Hardware: buckles and straps to mount it to the breastplate.
Step 1: Cut, groove, and bevel
Trace the pattern onto the leather, mind the reference marks, and cut the pieces out. To keep this build simple, the only decoration is a groove run in from the edge and a bevel on the edges. The pattern leaves plenty of room for tooling if you want to push further later, but a clean grooved and beveled edge already looks finished.
Step 2: Soak, then wet-form the domed pieces
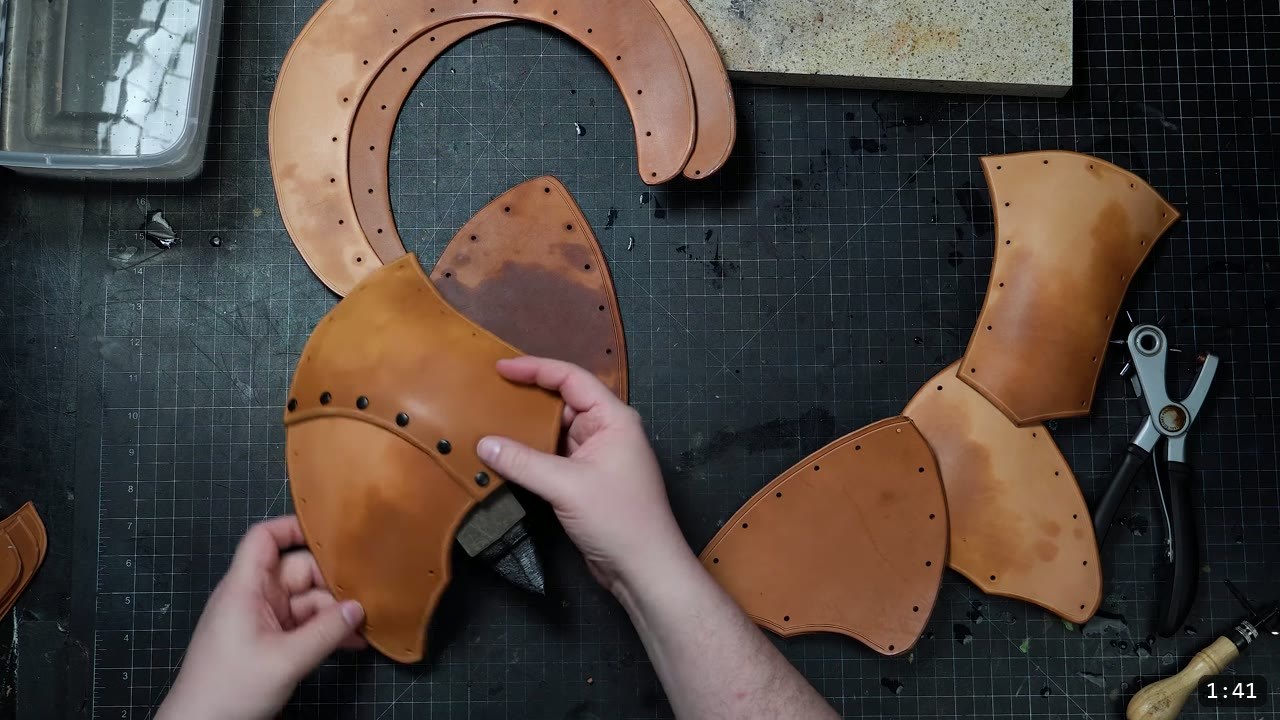
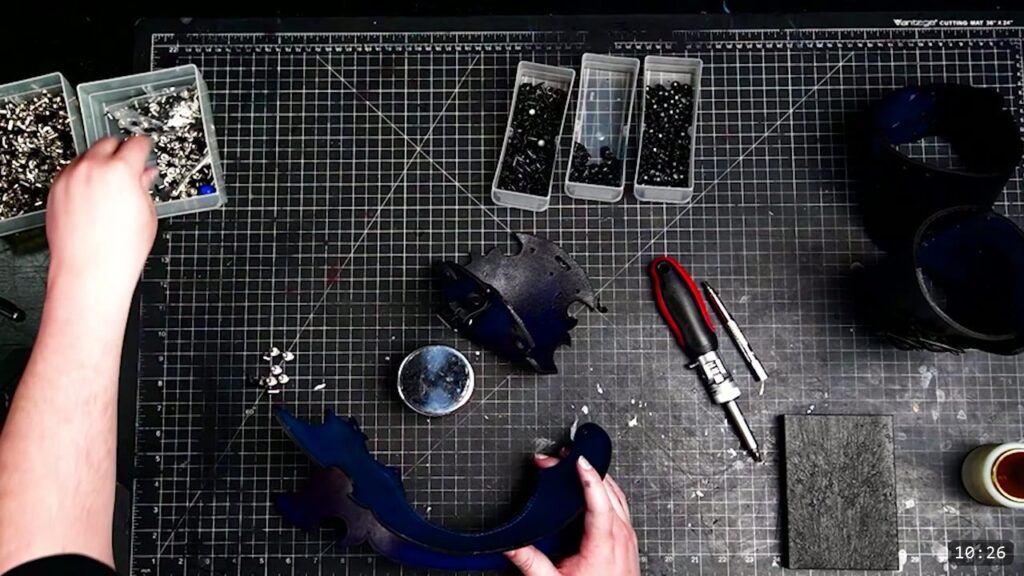
Submerge each piece in water for just a few seconds. That damp state is what lets you tool and shape the leather. For the best result, wet-form a shallow dome into the center piece B and the two side pieces C1 and C2. Stretch each one over any domed surface. A polished steel sphere works well, but anything round does. Wet forming is the one skill worth practicing on armor, and if you want to go deeper, watch Hand-shaping Leather for Armor Making.

Step 3: Rivet the shoulder cap
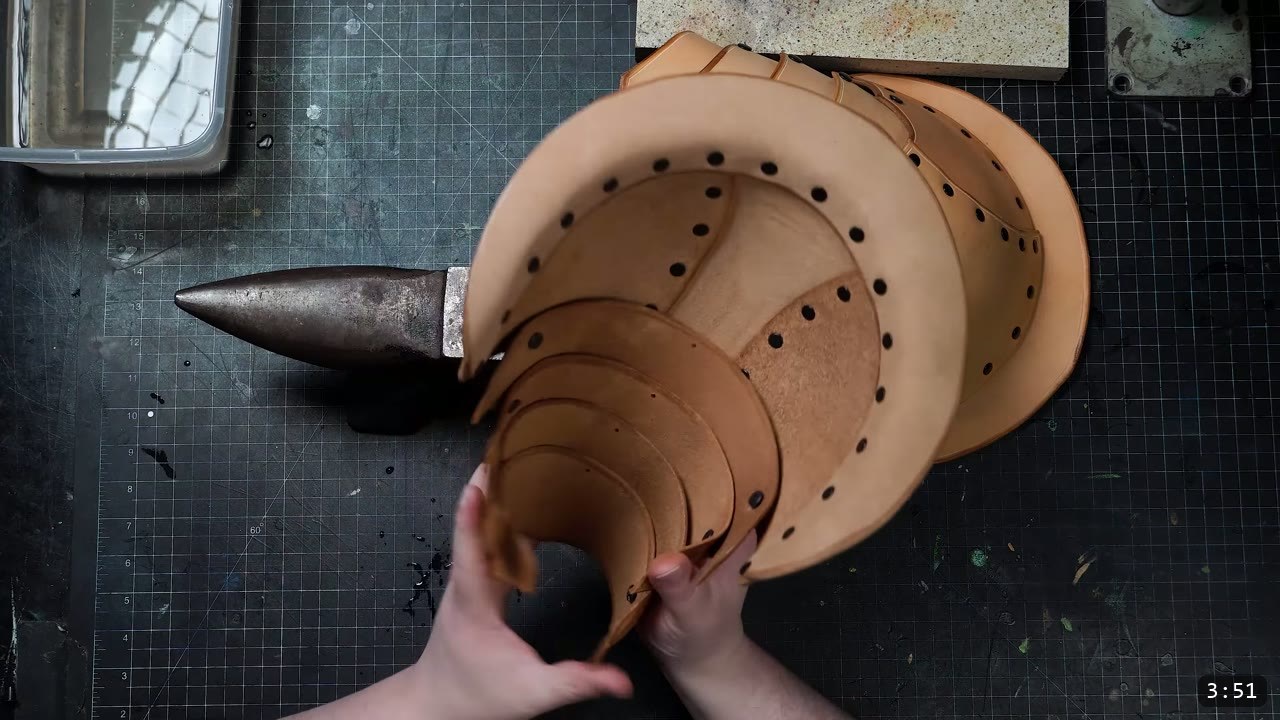
Assemble the two side pieces C1 and C2 to the center piece B. Keep the pattern next to you to confirm orientation. Use black double-cap rivets: snap them together by hand first to hold everything, then come back with the rivet setter to set them for good. Start at the bottom and rivet all the way up to the top.
There is one choice here. You can rivet all the way up, or you can leave the topmost rivets open until you add the top guard, then set them through all three layers at once. Through three layers you want a longer rivet. Either way is fine.
Step 4: Add the top guard piece A
Attach the top guard piece, labeled A, by starting at the center of part B and working down along each side. Once it is on, refine the shape to your preference. Keep the leather damp while you do this, because you may still be persuading holes into alignment and coaxing the dome.
Step 5: Build the lames with Chicago screws
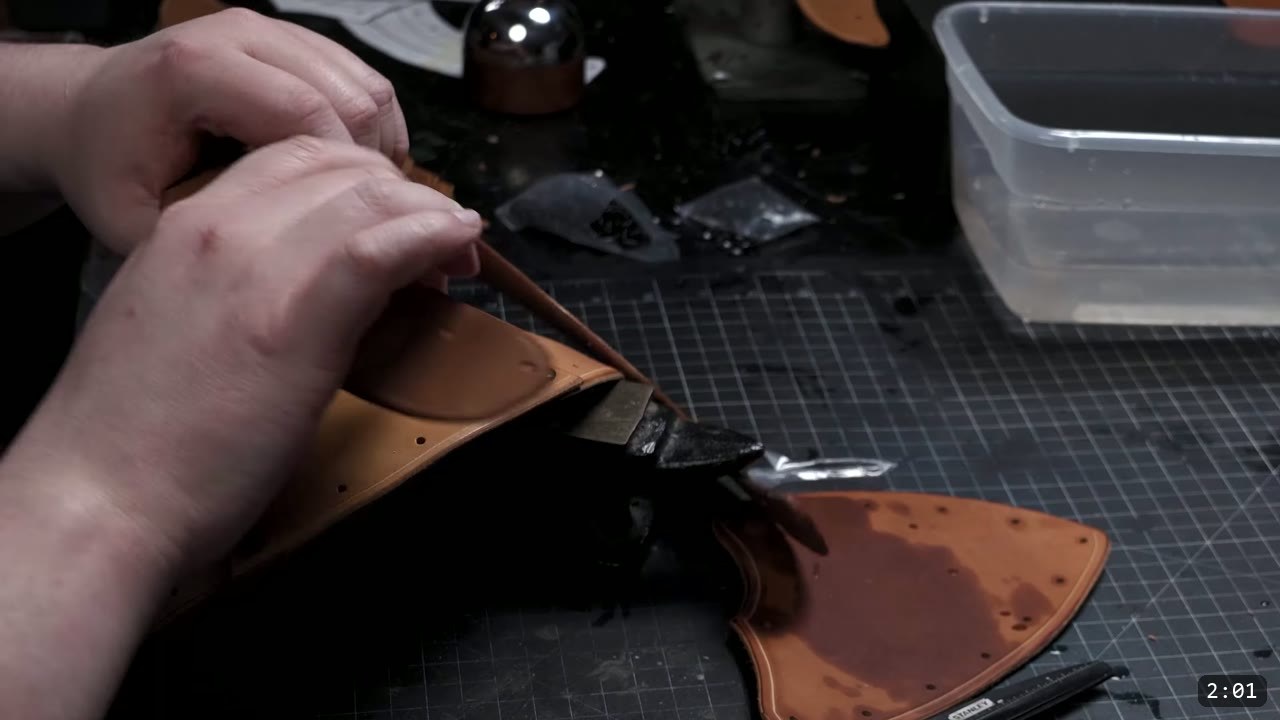
The lames are the lower plates that give the pauldron its articulation. Link them with Chicago screws instead of rivets. Screws let the plates pivot freely, and they are much stronger than rivets. The catch: glue or threadlock the screw post when you are done, or the screws will work themselves loose over time. Do not reach for Chicago screws everywhere. Use them where you want movement, and use rivets elsewhere.
Assemble the lames in order, going sequentially down the lettered pieces. If you want a shorter pauldron, you can leave out any number of lames. It is your call on length.

Step 6: Refine the articulation
With the plates linked, work the pauldron open and closed and refine the overall shape. This is your last easy chance to adjust, so do it now. If a piece has dried out, re-wet it and reshape it. That works freely right up until you dye and seal. Once a finish is on, the leather resists water and will not fully re-wet or reshape, so all shaping happens before color.
Step 7: Dye and seal
Color the piece with a black oil dye. Then give it an ample coat of Weaver’s Tough Coat, which adds firmness as it protects the leather. You may find it easier to dye and finish the individual plates at an earlier stage in the assembly rather than all at once. That is fine, as long as every piece is fully shaped first, because the finish locks the form.

Step 8: The arm strap and the buckle straps
Add a strap on the bottom segment that loops around your upper arm. It holds the pauldron in place much better. You can also add a retaining strap to the middle of the inside, but it usually is not necessary.
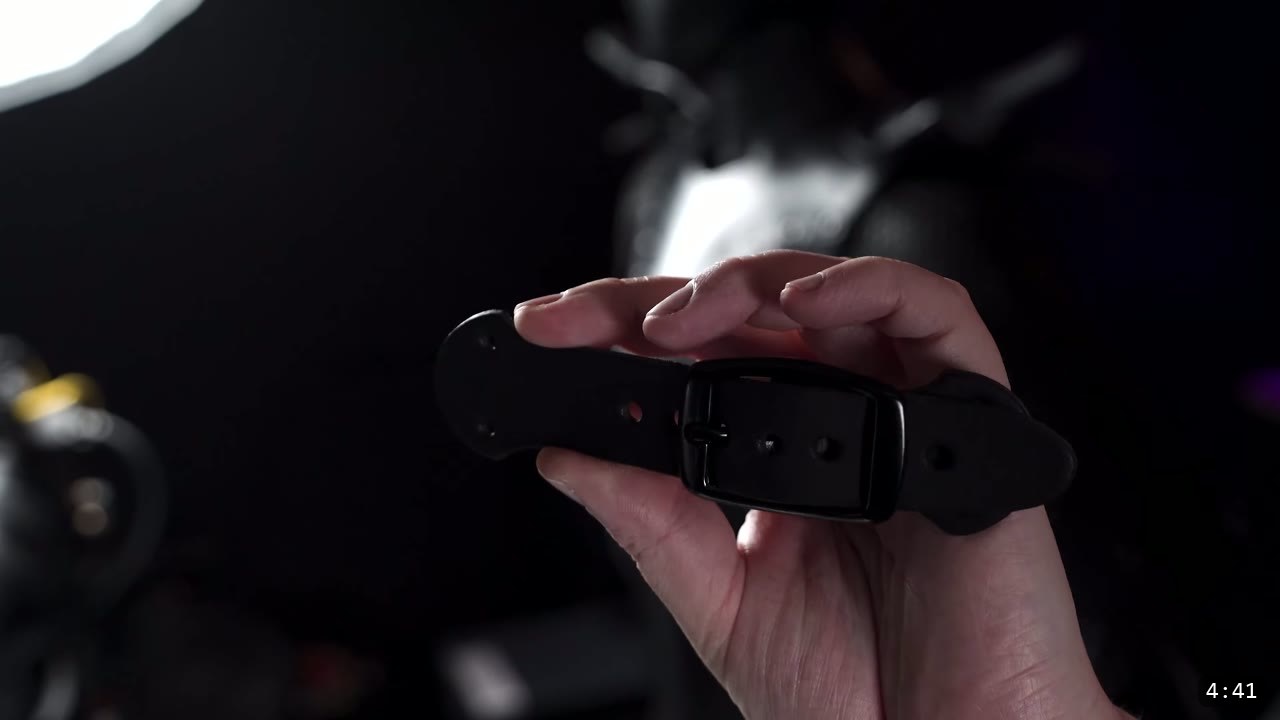
For the straps that connect the pauldron to your armor, buckles are the typical choice for this style. The Academy has free buckle and strap patterns with a complete guide if you want the full method.
Step 9: Mount it to the breastplate
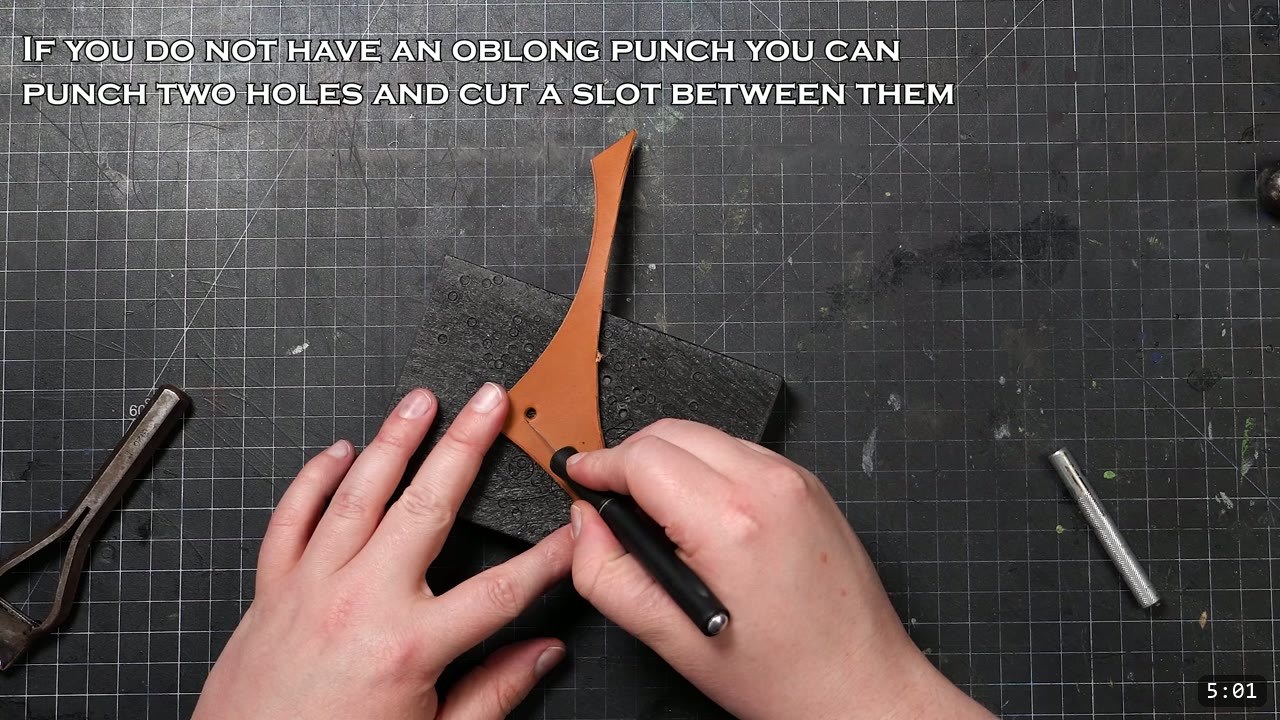
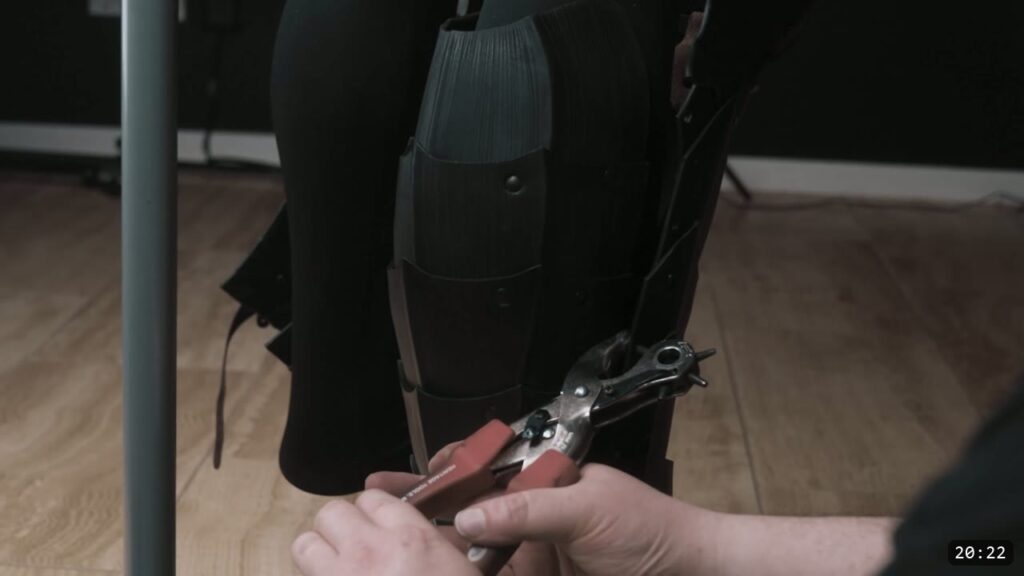
Most people mount the pauldron to the Warrior Armor Breastplate. Put the buckle end of the strap at the top of the pauldron and the tongue end on the breastplate. Then punch a pass-through slot on the guard piece for the strap to feed through. If you do not have an oblong punch, punch two round holes and cut the slot between them.

Step 10: Buckle it on, and size to taste
Buckle the pauldron to the breastplate and that is the build. When you print and scale the pattern, remember there is a lot of wiggle room. You can size the whole thing up or down for the look you want. If you are pairing it with the female breastplate, plan to size the pauldron down by about 10 percent.
One finishing note on the straps used here: they have a wide tab at the base, and mounting the buckle tongues upside down under the rim of the collar lets them fold over cleanly. If that is more than you want, use smaller straps mounted to the top instead.


FAQ
Is this a beginner project?
Yes. It is beginner friendly and mostly assembly. If you can cut cleanly, punch holes, and set a rivet, you can build these. It is a good first articulated piece.
What leather should I use?
Nine to ten ounce vegetable-tan. That weight holds the wet-formed dome and takes dye and a groove well.
Why Chicago screws instead of rivets on the lames?
Chicago screws let the plates pivot with your arm and are stronger than rivets. Just glue or threadlock the posts, or they loosen over time. Use them only where you want movement.
When do I dye and seal?
Last. Do all your shaping and fitting first. Once the leather is dyed and sealed the finish resists water, so it will not fully re-wet or reshape after that. You can dye individual plates earlier if each one is already shaped.
How do I attach the pauldrons?
With buckles. Mount the buckle end at the top of the pauldron and the tongue end on the breastplate, and punch a pass-through slot on the guard piece for the strap. No oblong punch? Punch two holes and cut a slot between them.
Are these the same as the Fantasy Spaulders?
No. These are the Warrior series pauldrons and they mount to the warrior breastplate. The Fantasy Spaulders are a separate tutorial with a different shape, and they can be worn standalone with a strap across the chest.
Where to go next
- Cut your own: Warrior Pauldrons Pattern, tiled print, scalable.
- Mount them to: Warrior Armor Breastplate Pattern.
- Building the whole kit? The Warrior Armor Bundle is the beginner path through the full set.
- New to leather armor? Start with 5 tips for getting started with leather armor.
- Want a deeper look at shaping? Watch Hand-shaping Leather for Armor Making.
- Prefer a shoulder piece you can wear standalone? See the Fantasy Spaulders tutorial.
- Built one? Share it and tag Prince Armory Academy and Weaver Leather; we feature student work.




Responses