



Leather Armor for Beginners: Tools You Need and How to Start

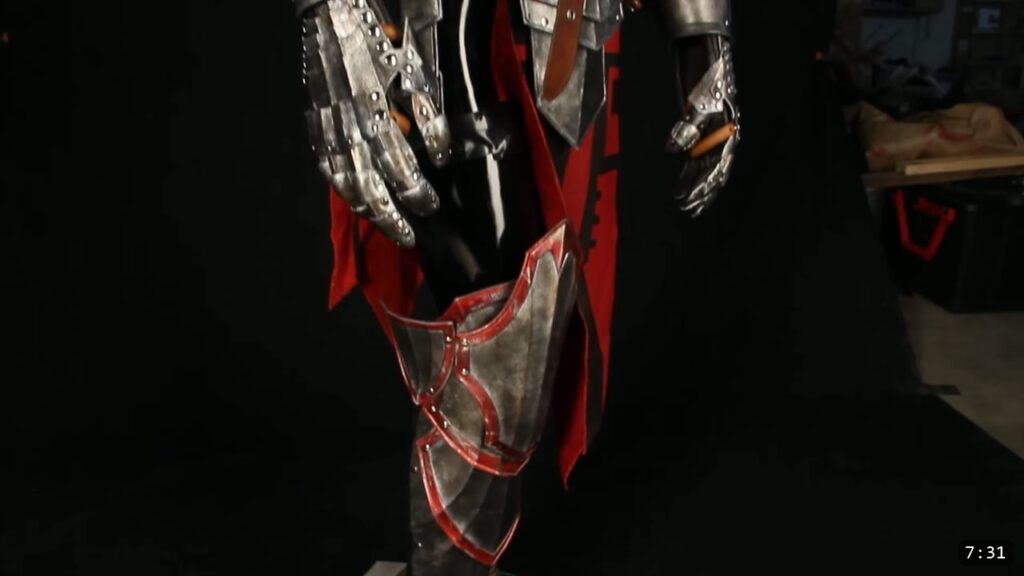
You do not need a shop full of tools to start making leather armor. You need vegetable-tan leather, a hard surface to work on, a way to cut and punch it, a mallet, and, when you are ready to finish, some dye and a sealer. Everything else is an upgrade you add over time. This guide merges two of our beginner intros into one path: what the craft actually takes, the short list of tools that will carry you for years, and how to start your first project without wasting money.
What leather armor crafting takes
Leather armor gets a reputation for being expensive. Part of that is real, because once you fall for the craft, tools are easy to collect. But you can start cheap. Most of the projects I have built over the last twenty years come back to the same short list of tools, and that list is what I would hand my younger self to skip years of trial and error.
The goal at the end of that list is real armor: tooled, shaped, dyed, and sealed. The pieces below are the difference between staring at a finished suit and starting your own.
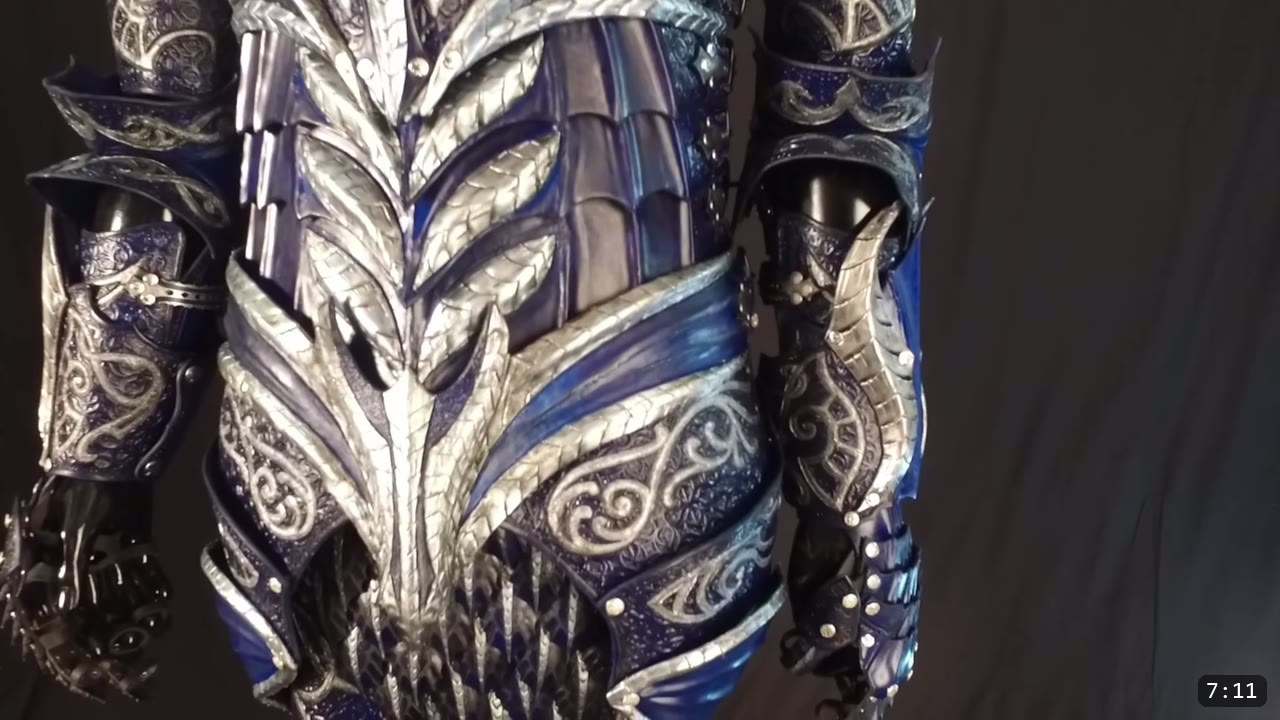
How a beginner starts, tool by tool
### 1. Start with vegetable-tan leather
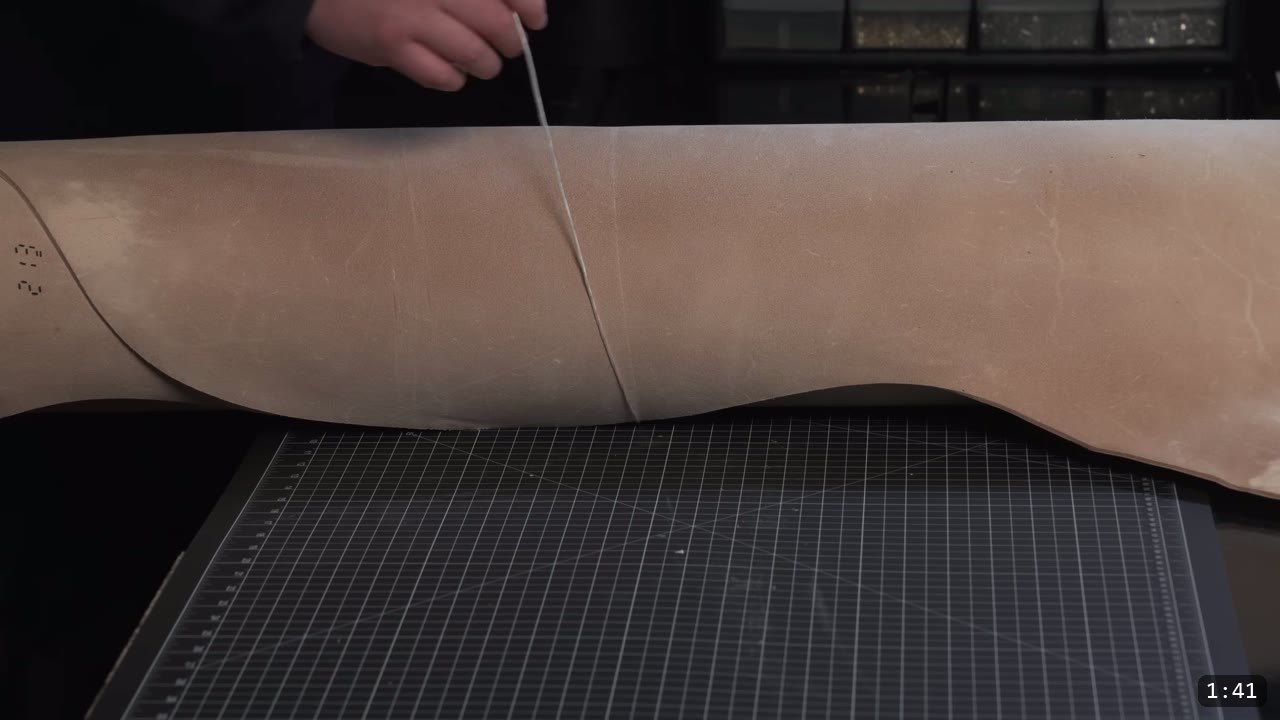
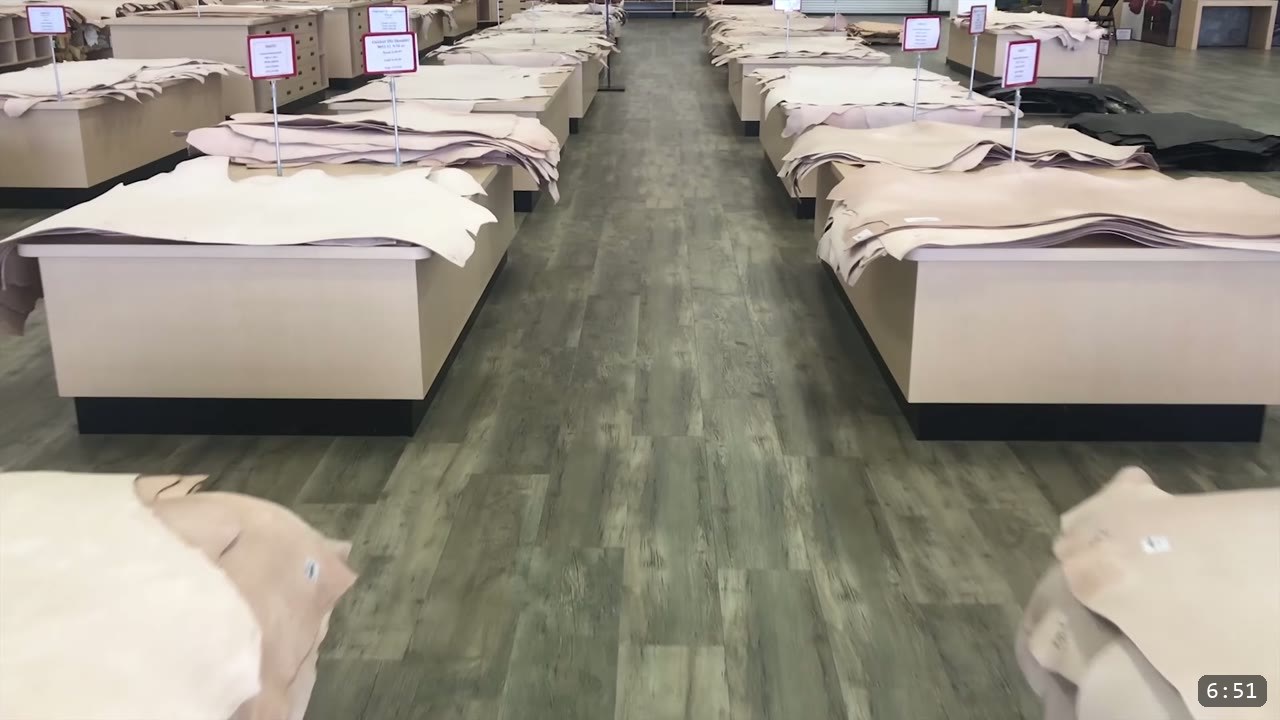
Leather is the number one thing you need, and the type matters. For armor and anything you want to tool and shape, use vegetable-tan leather, or veg tan for short. It is firmer than the garment leather in jackets, and it holds tooling impressions and a molded shape. Chrome-tan will not do that. For thickness, leather is sold by ounces. Look for 9 to 10 ounce as a solid middle ground, a bit less to cut weight, or a bit more for recreational combat. Weaver Select 9-10 oz veg tan is a good all-around value. Buy whatever is most affordable for your first hide. You usually buy a large section up front, more than one project needs, but it lasts a long time.
### 2. Give yourself a hard surface and a cutting board
You need two surfaces. First, something dense to back the leather when you punch, set rivets, and tool. A granite block about a foot square works well. I started with a cheap anvil, then moved to granite. A granite offcut from a sink install is often free, but it is thin and can crack. Machinist blocks are excellent for their mass but cost more. A 12×12 marble tooling slab does the same job. Second, a cutting surface. A silent poundo board, which is dense rubber, is my pick, because it also sits under your slab as a dampening pad and protects the bench. A softer poly cutting board from a leather store works too and is easier on your blades than a hard kitchen board.
### 3. Cut out your pieces
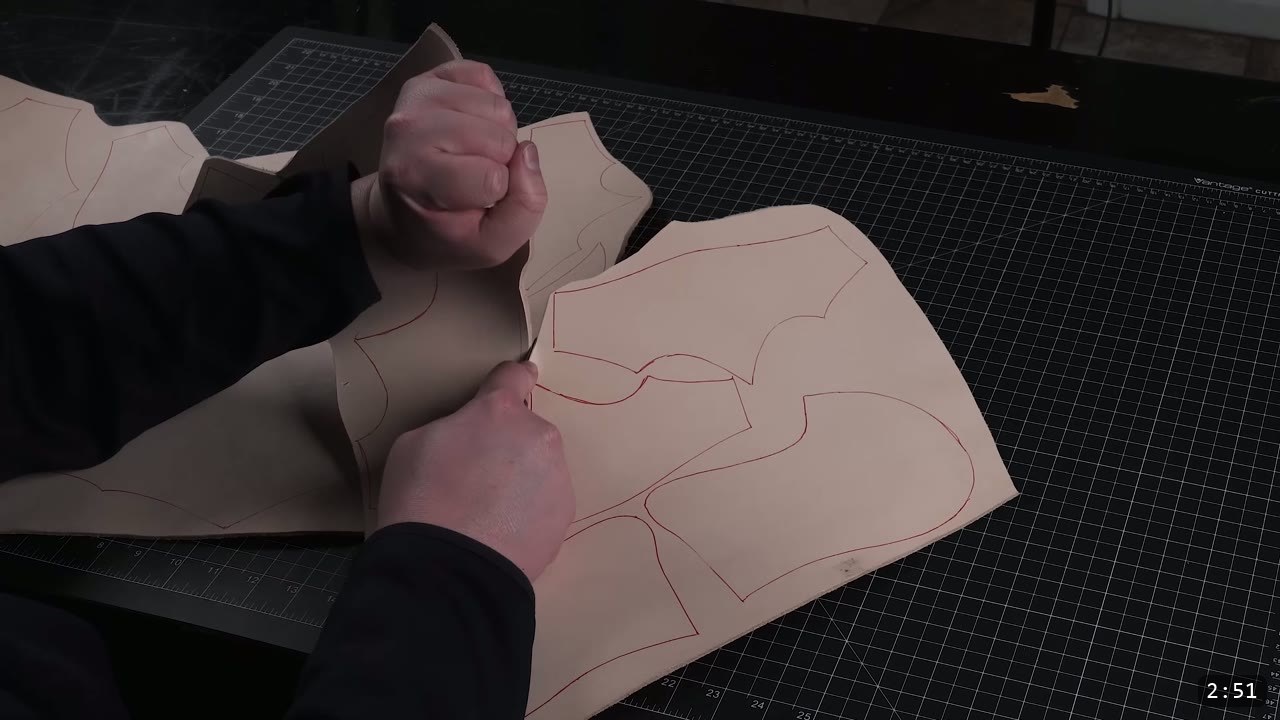
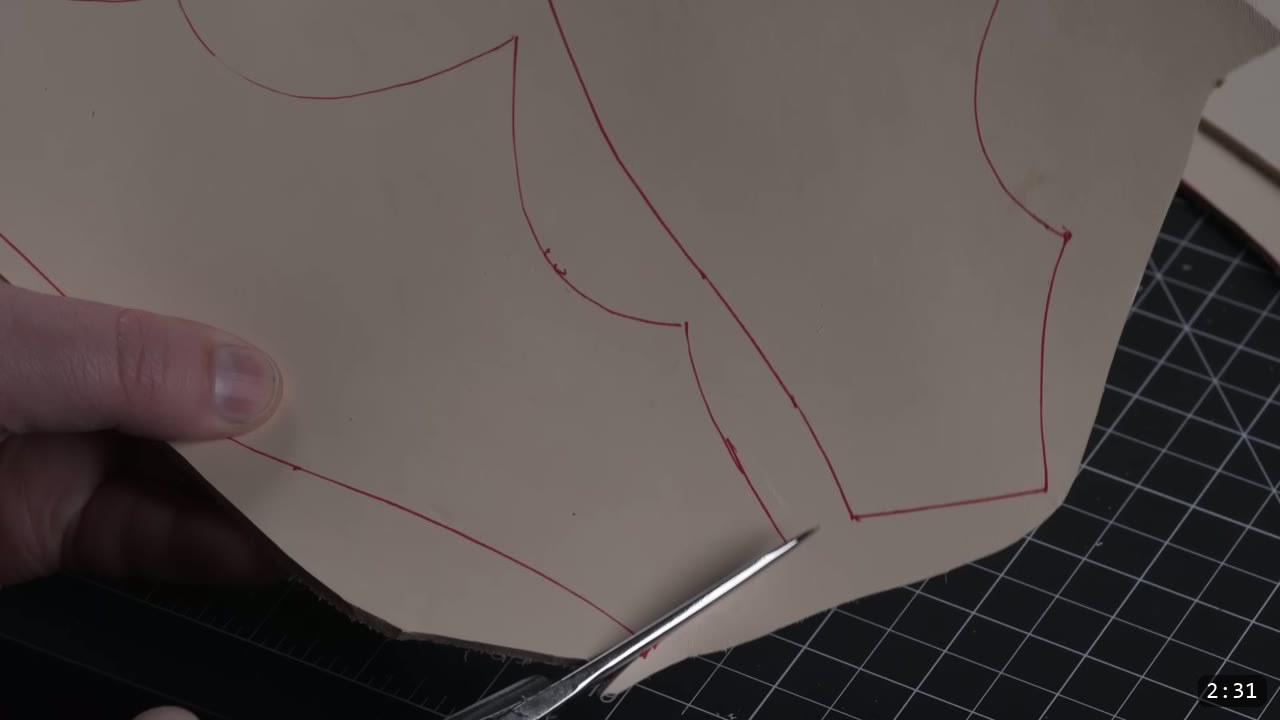
Once you have a project in mind, you cut the parts. I use shears for the parts and a utility knife, box cutter, or any sharp knife to break the hide into manageable pieces. A snap-off style blade is affordable and stays sharp; Olfa makes some of the best. Even with all the fancy tools in the shop, pretty much every hide we touch still gets rough-cut with a utility knife, so it stays useful for the long run. Some traditional artists use a head knife, but I prefer shears because you can cut anywhere without a big dedicated cutting surface. When you started, you did not need shears either, and neither do you.
### 4. Keep the leather damp while you shape it
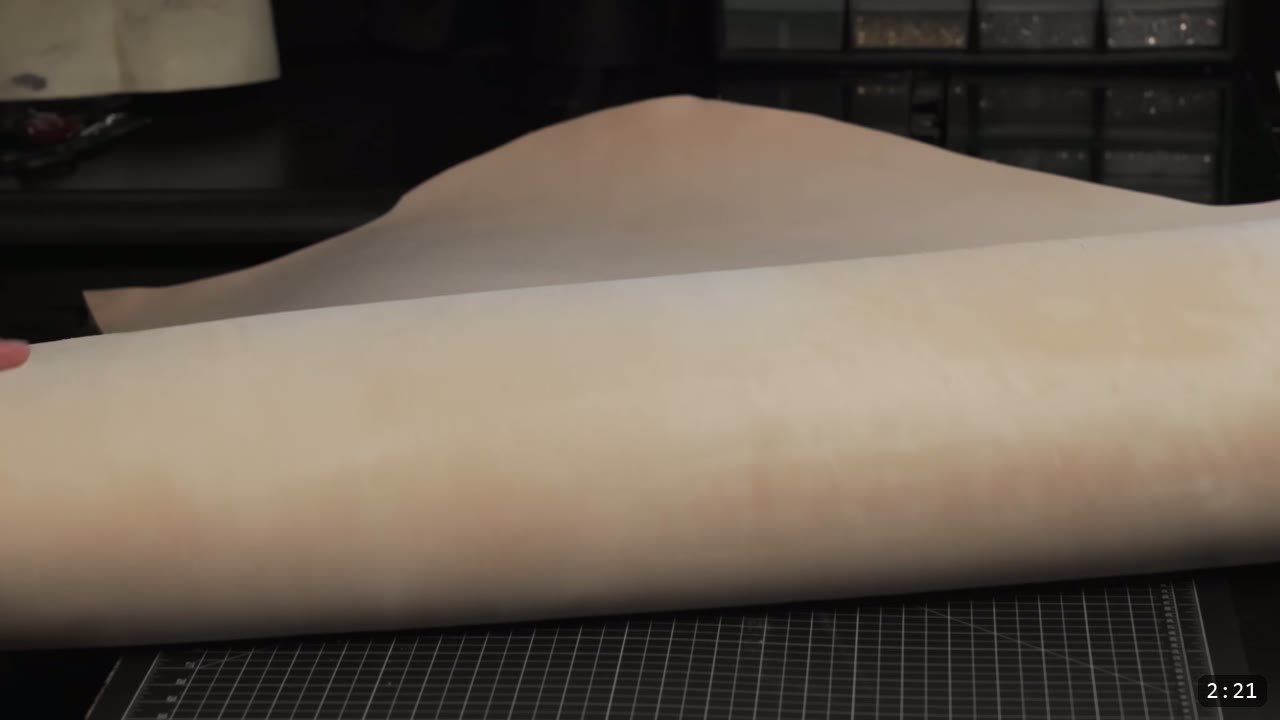
Most of what makes leather workable is unlocked when it is damp. Adding water relaxes the surface and gives you time to shape and decorate. When it dries, it firms back up and locks in the details you added. A misting bottle is the easy way to wet it, but a wet sponge or any water works. This is the one rule to hold onto: do all your shaping and decorating while the leather is damp and bare. Once you dye and seal it, the finish resists water and the piece will not fully re-wet or reshape. That is why dye and seal come last.
### 5. Punch your holes, and pick a mallet
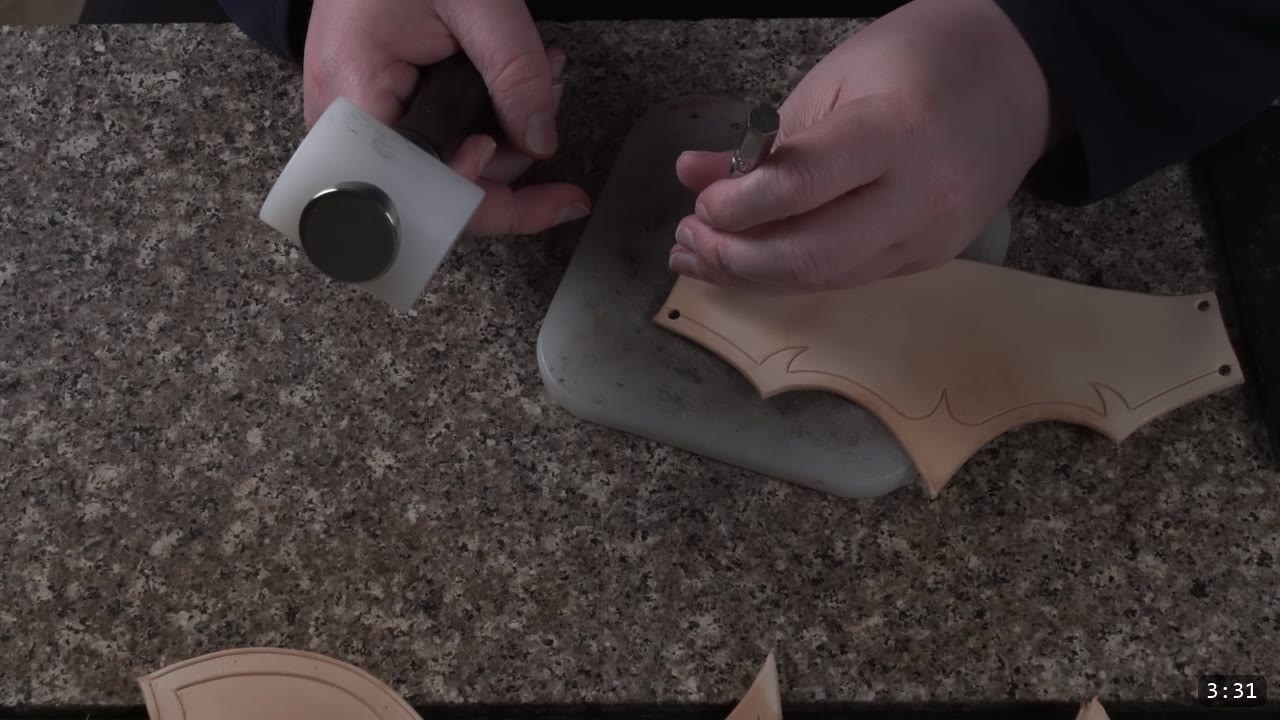
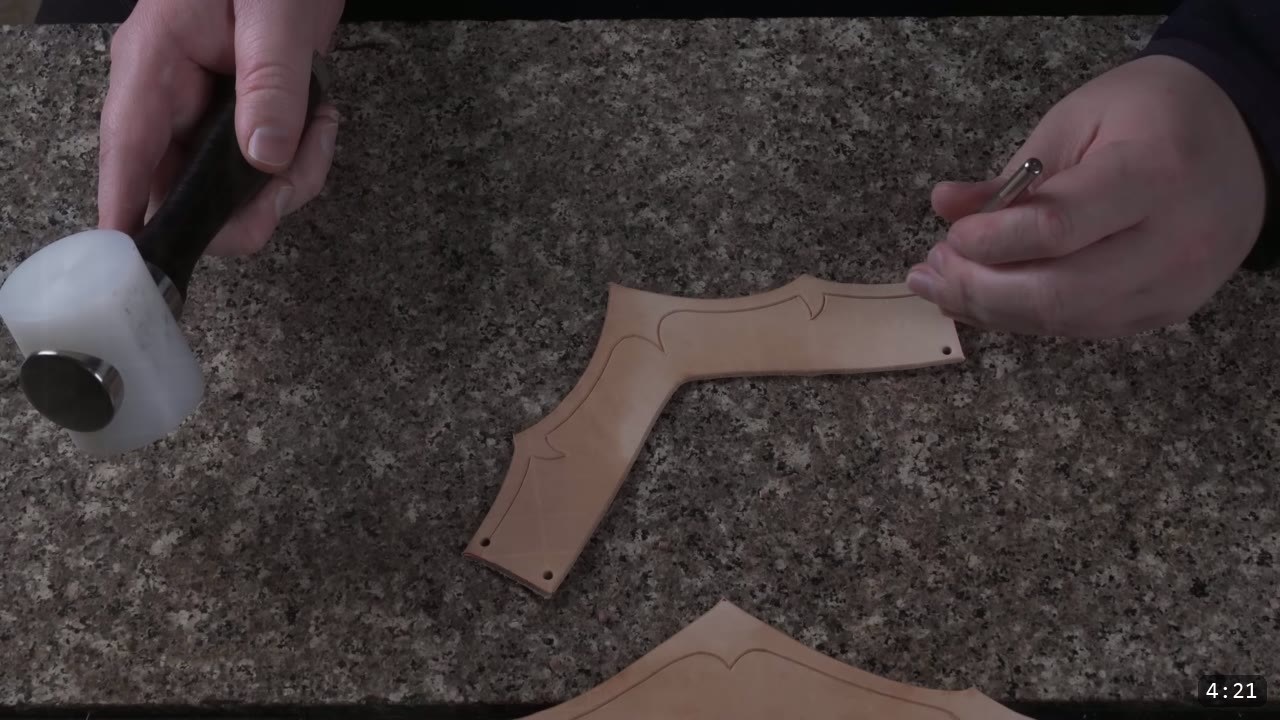
When your parts are cut, you punch holes for assembly and hardware. A hole punch set with interchangeable heads is an essential early buy and covers the sizes you need for rivets, snaps, and screw posts. You will reach for the smaller heads most. You also need a striking tool. My first pick is a 14 ounce poly head mallet. It is the most intuitive to use and doubles for punching holes and setting rivets. I started with a cheap poly mallet, moved to a weighted rawhide mallet, and later preferred mauls, but that is all preference. You can start with any hammer you own, though you will wear your tools out faster if you lean on it.
### 6. Carve decorative lines with a swivel knife
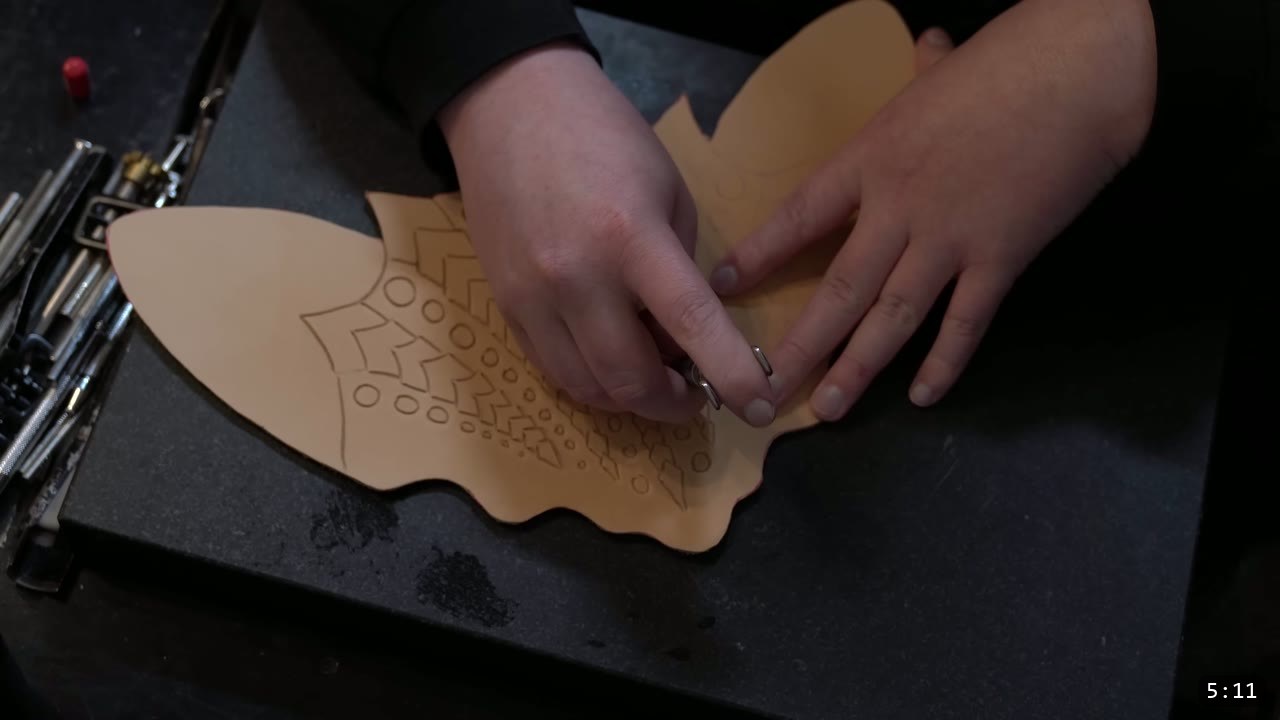
If you want to decorate, a swivel knife is how you get clean lines into leather. A cheaper one is fine, though you may need to hone the blade first. To use it, adjust the yoke to the height you want, rest your pointer finger in the saddle, and twist the barrel to steer the line. Start with shallow, straight cuts to learn how deep you want to go. You can cut all the way through if you push, so stay light and build muscle memory early. Some crafters never pick one up, but the flexibility it gives you is worth the practice.
### 7. Bevel the lines with a stamp
With a swivel knife and a beveler you can do just about any design. Out of thousands of stamps, start with a common smooth beveler. It gets used start to finish on many projects. You bevel the lines you just carved, which adds depth and emphasis. Three sizes cover you: use the widest beveler on straight lines, and the smaller ones for tight curves. Your first bevels may show ridges between strikes. Tap lightly, take your time, and double back to smooth the ridges. Leather is forgiving. Every complex tooled panel is just layers of these simple moves plus more time.
### 8. Assemble with rivets and a setter
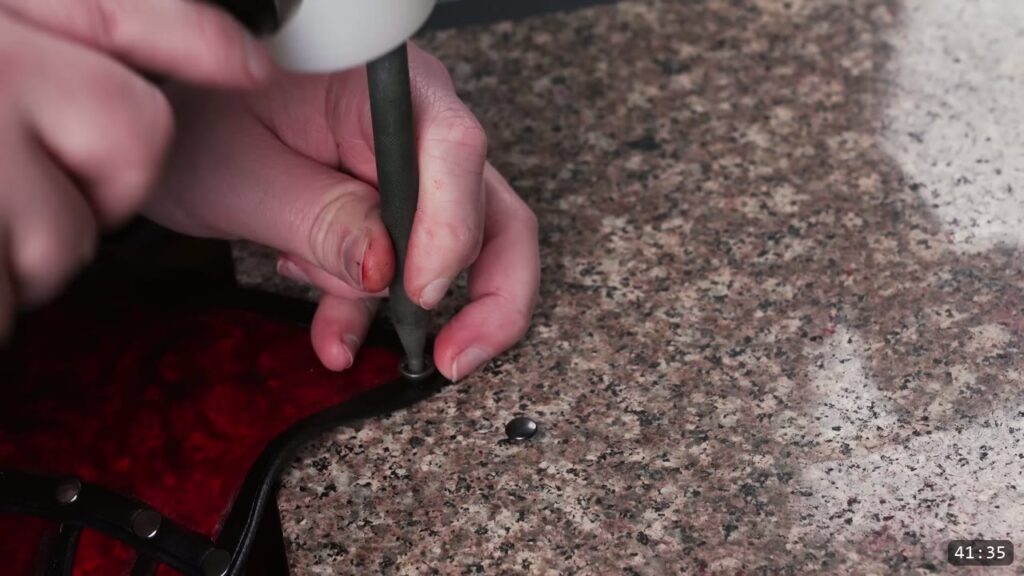
When your pieces are punched, rivets hold them together. Double-cap rivets look clean, and three sizes cover most work: small, medium, and large, where medium and large share a cap size. For the shaped, layered builds we make, rivets are more economical and faster than sewing, which needs flat, straight runs to be easy. Set rivets against your hard surface. A rivet setter focuses the hammer force onto the cap and mushrooms the post inside, making a strong join while keeping the domed look. Sewing has its place, but I save it for later projects.
### 9. Dye and seal last
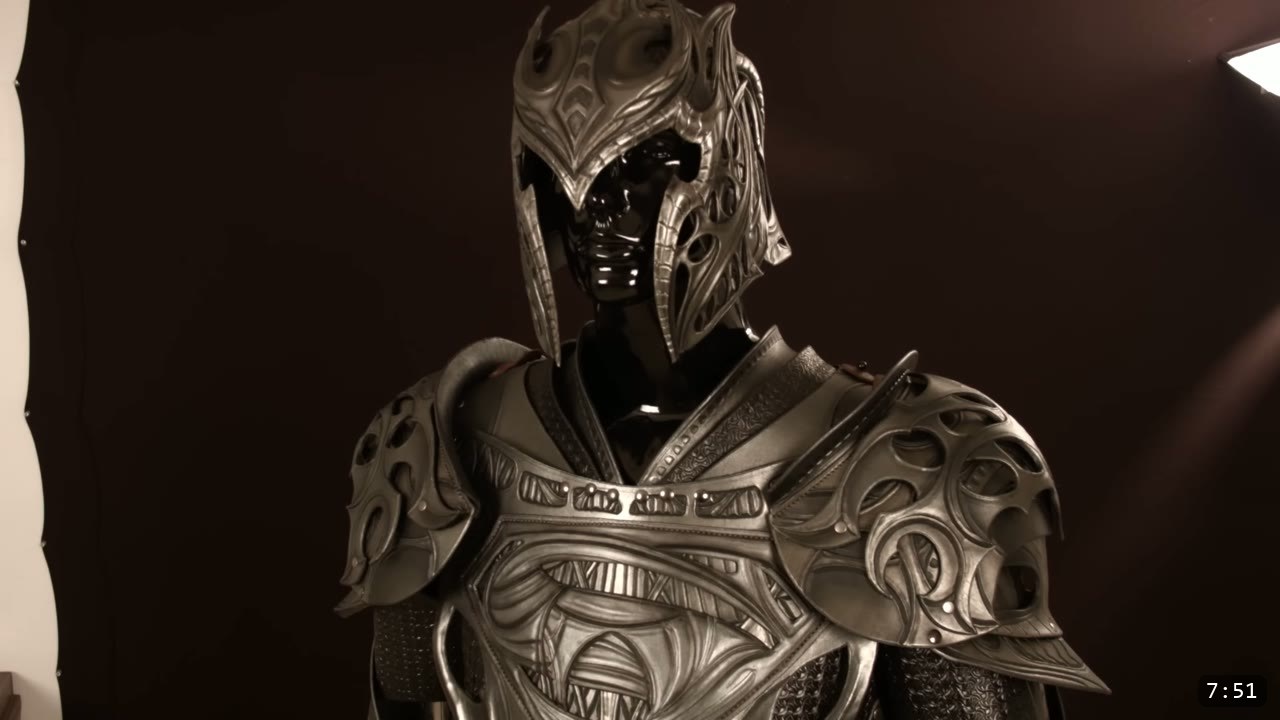
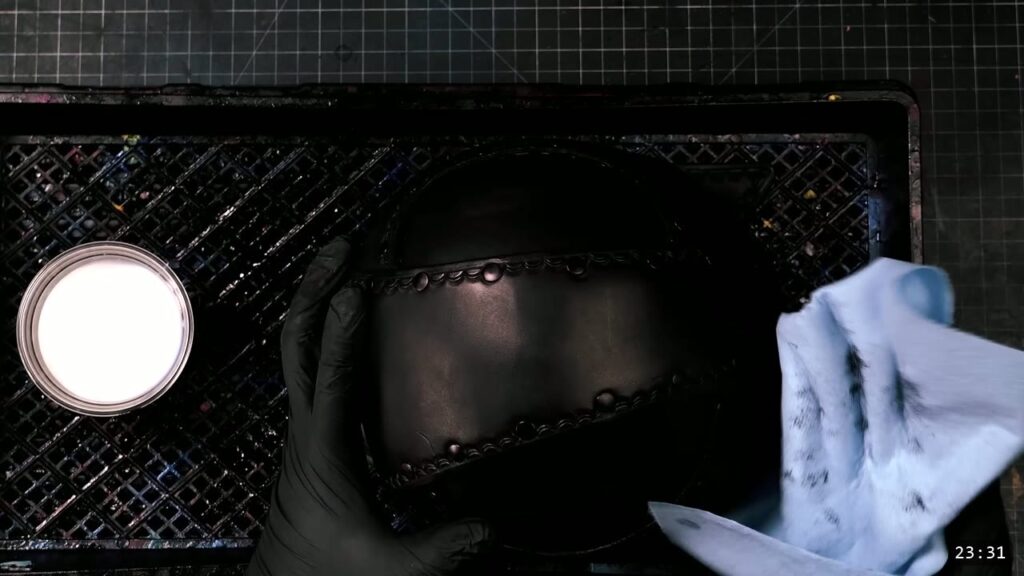
Color and sealing are the last leatherworking steps, after all shaping and decorating are done. For dye, Fiebing’s Pro Oil Dye in a color like black or red gets you started, but leather drinks a lot, so one bottle covers only a project or two. Always test your color first, on scrap, or on the underside if this is your first piece and you have no scrap. To seal, an acrylic finish like Weaver’s Tough Coat protects the leather, adds a slight gloss, and firms the piece up when you use more of it. A sample pack of sanding sponges, like Grit Grip, is handy for smoothing edges and honing tools along the way.
The best advice: just start
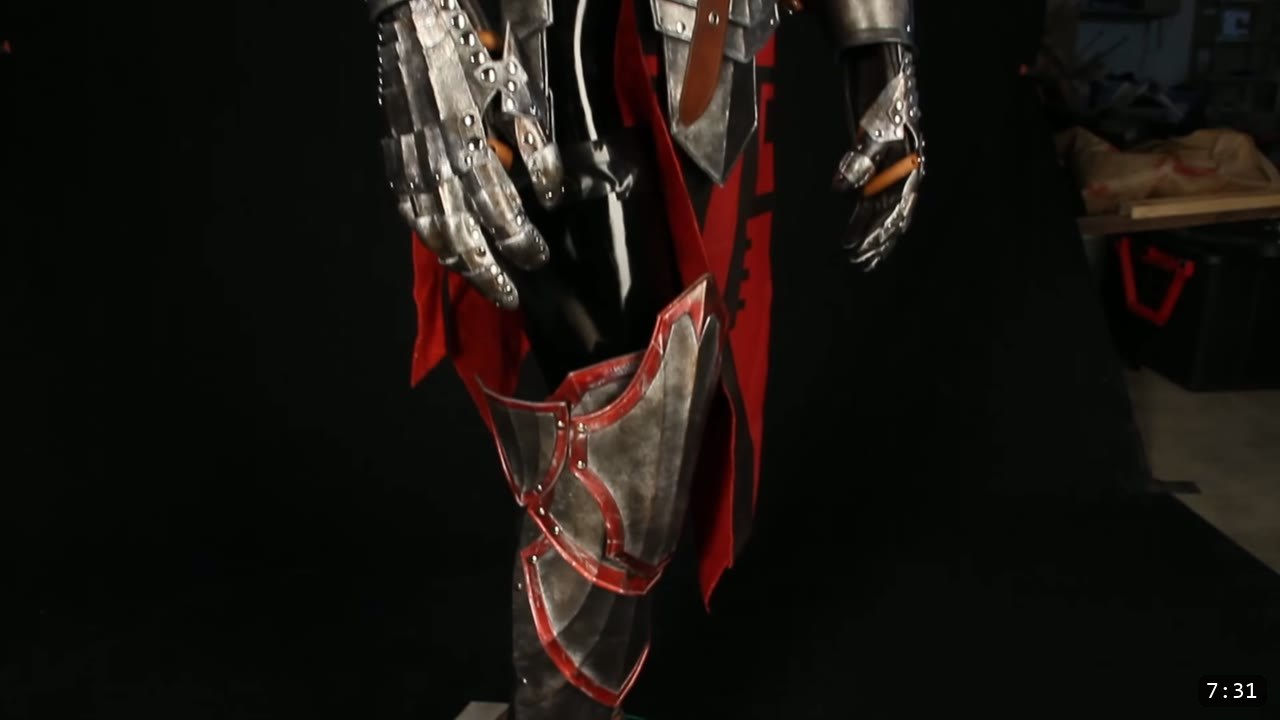
You do not have to buy everything at once. Tools break down into beginner, intermediate, advanced, professional, and master tiers, so buy in the order that gets you building fastest and add the rest as you grow. If you have watched a dozen tutorials and have not started, start anyway, even without every basic tool. Join a leatherworking forum or a group, and visit a leathercraft store, where the staff will help you pick leather and tools and answer questions. If you do not want a lot of leftover leather, a kit is a good way in, because the pieces come ready and you waste less. Our Warrior series is the most beginner-friendly path we have.
FAQ
What leather do I need for armor?
Vegetable-tan leather, 9 to 10 ounce as a good middle ground. It holds tooling and a molded shape, which garment or chrome-tan leather will not. Go a bit thinner to save weight or thicker for recreational combat.
What tools do I actually need to start?
A hard surface like a granite or marble slab, a cutting board, shears or a utility knife, a hole punch set, and a mallet. Add a swivel knife and a beveler for decoration, rivets and a setter for assembly, then dye and a sealer to finish. Everything else is an upgrade.
Do I have to spend a lot of money?
No. Leathercraft can get expensive because the tools are easy to collect, but the starter list is short. Buy affordable leather first, add tools in order of use, and a kit keeps waste down on your first project.
Why does the leather need to be damp?
Water relaxes veg-tan so you can shape and decorate it, and it firms up as it dries and locks in the details. Do all shaping and decorating while it is damp and bare. Once you dye and seal it, the finish resists water and it will not fully re-wet or reshape.
Should I sew or rivet my armor?
For the shaped, layered builds we make, rivets are faster and more economical, and a rivet setter gives a strong, clean join. Sewing suits flat, straight work and is worth learning later.
What is the single best piece of advice?
Just start. Even without every tool, begin your first project, join a community, and visit a leathercraft store for help. Momentum teaches faster than one more tutorial.
Where to go next
- New to the craft? Start with 5 tips for getting started with leather armor.
- Want the easiest single first project? Start with the Warrior Helmet Pattern, the most beginner-friendly piece we make.
- Ready for a full set? The Warrior Armor Bundle is the beginner path through breastplate, bracers, and the rest.
- Watch the source intros: Tools You Need to Start Crafting Leather Armor and New Leatherworkers: Start HERE.





Responses