



Warrior Helmet Build Guide: A Real Leather Helmet with Just a Hammer

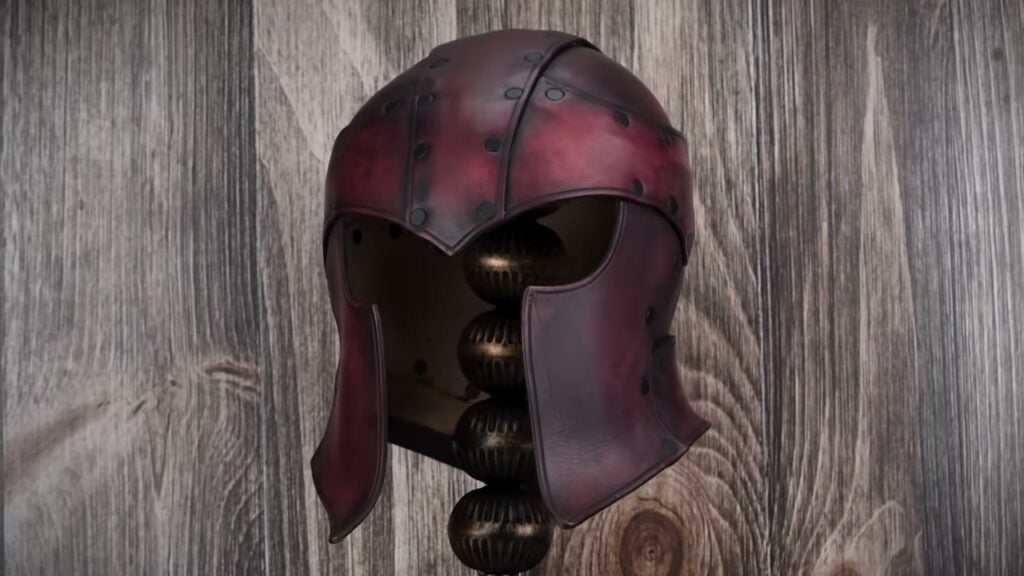
You can build a real leather helmet with one tool: a hammer. The Warrior Helmet kit comes with every piece pre-cut and pre-punched, plus the rivets that hold it together. You soak the leather, shape it while it’s damp, and hammer the rivets home. This guide walks the whole build alongside the video, so you can watch each step and read the details the video moves past quickly.
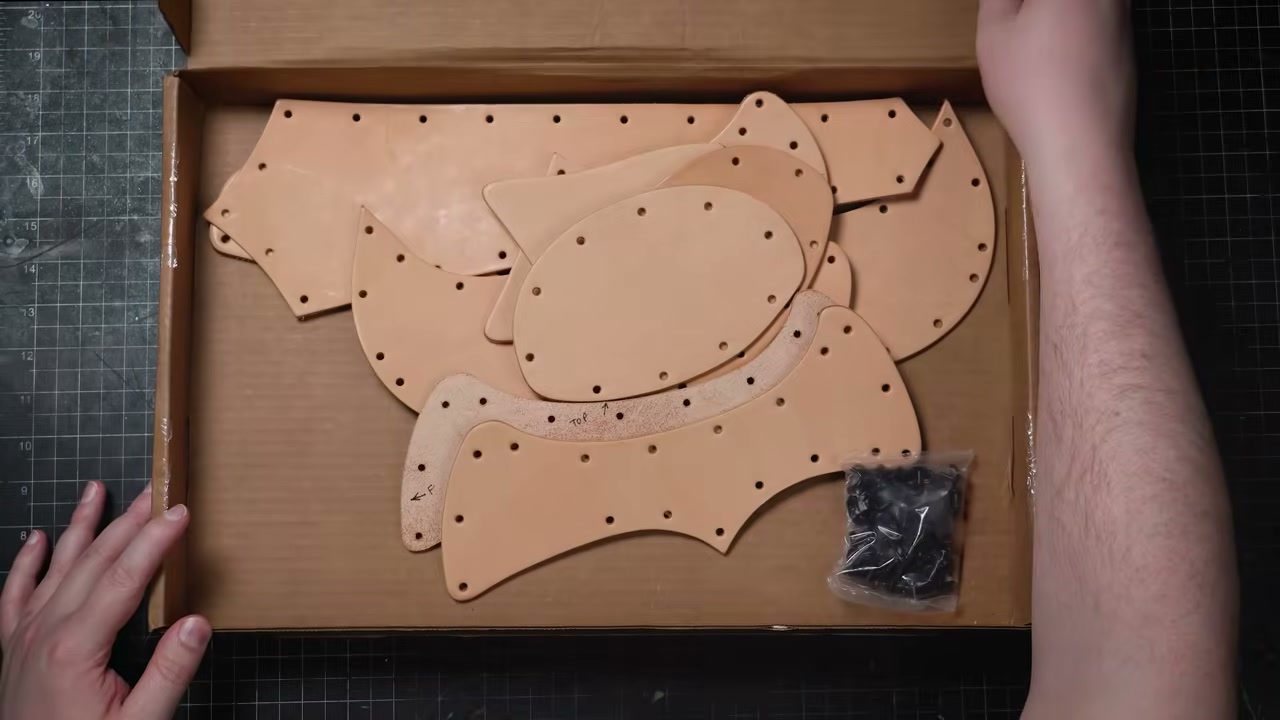
What’s in the box, and what you add
The kit includes all pre-cut parts, marked with letters and directional indicators so you can plan the build, and a package of medium double-cap rivets.
You add three things:
- A hammer. That is the only tool this build requires.
- Water, for soaking and shaping.
- Optional: a small bottle of leather dye and a finish, if you want color. One to two 4 oz bottles covers the helmet, depending on whether you dye the inside.
Two upgrades worth a dollar or two when you’re ready: a rivet setter for cleaner sets, and something dense to hammer against. A small granite slab is handy, but anything solid works.
Prefer to cut your own leather instead of the kit? The same helmet builds from the Warrior Helmet Pattern.
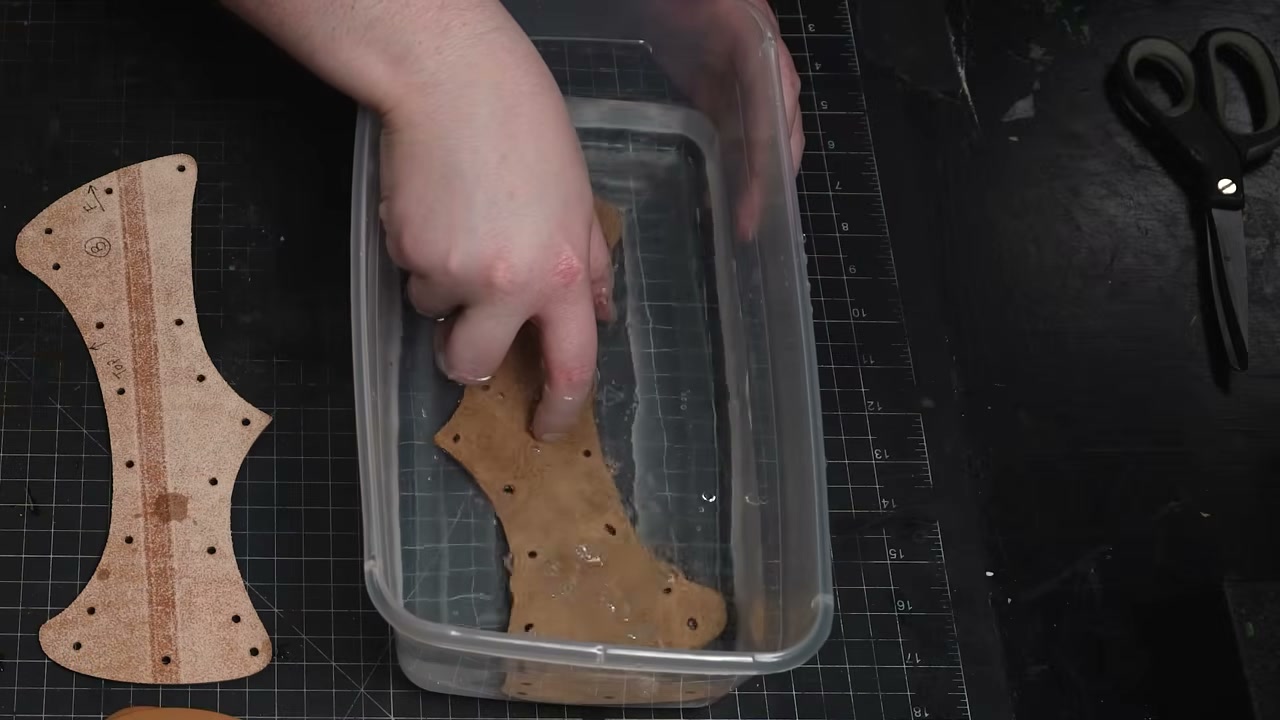
Step 1: Soak the leather
Fully immerse each piece in water, one at a time, for just a few seconds. Damp leather is what makes everything else in this build possible: shaping, riveting through layers, smoothing. If a piece dries out while you work, re-wet it. That works freely right up until you dye and seal the leather. Once a finish is on, the leather resists water and will not fully re-wet or reshape, so do all your shaping before you color and seal.
Step 2: Shape the domes while it’s damp
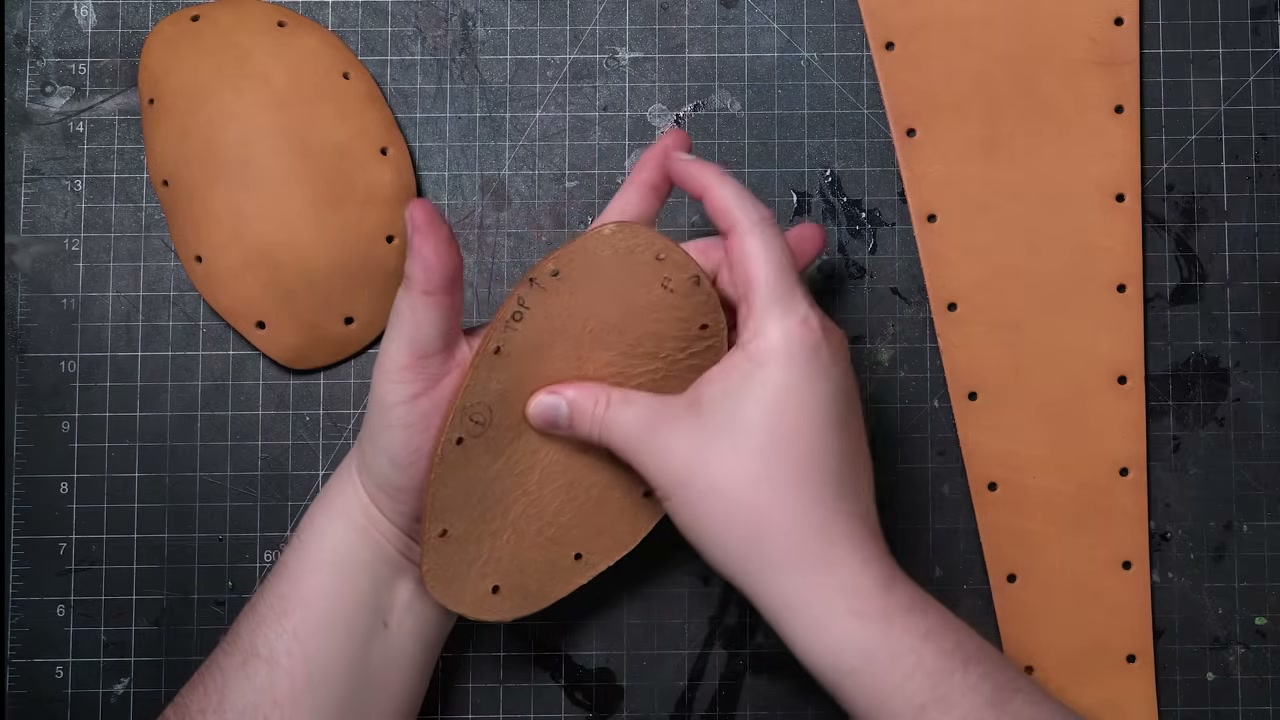
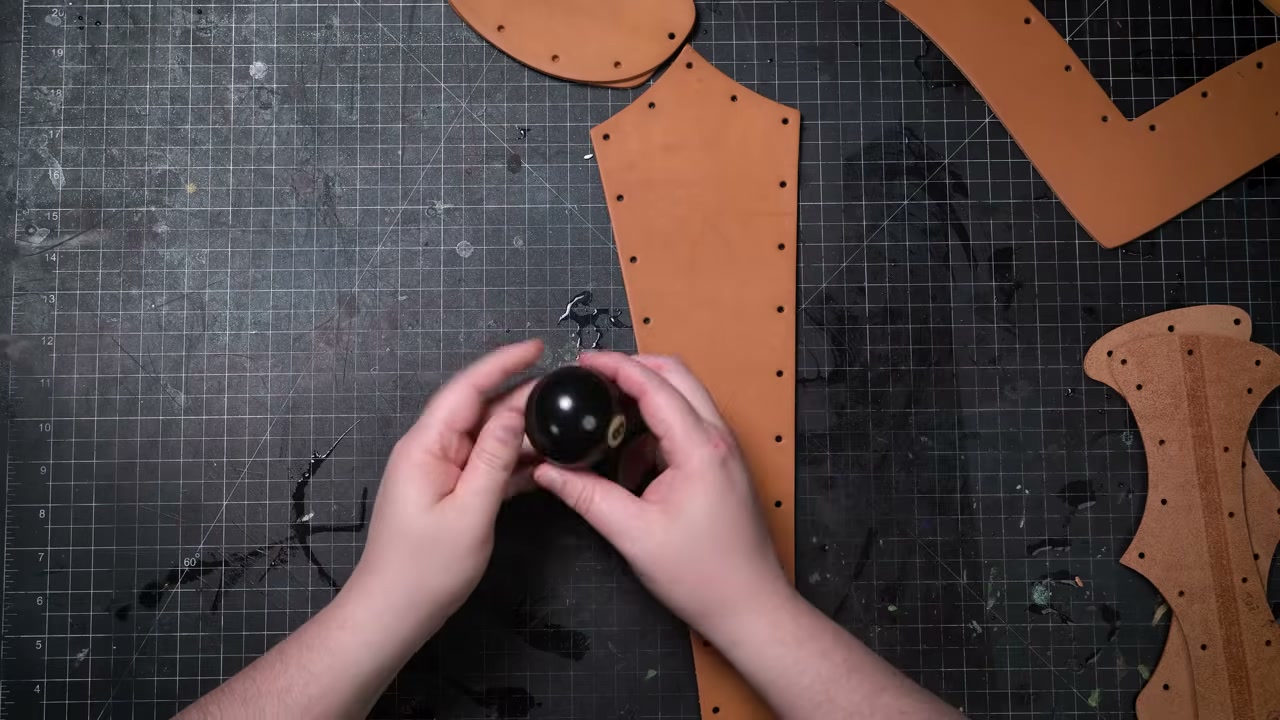
The upper side pieces are slightly domed on the finished helmet. While the leather is damp, stretch a shallow dome into each one. Two ways:
- Press the piece into your palm and work it with your fingers. It does not have to be perfect or deep; the helmet’s design forces the shape as you assemble it.
- Or find anything spherical around the house and use it as a form to stretch against.
This step is optional, but assembly goes easier and the finished helmet looks better. Wet forming is the single most useful skill in leather armor; if you want to go deeper, watch Hand-shaping Leather for Armor Making.
Step 3: Edge groove and bevel
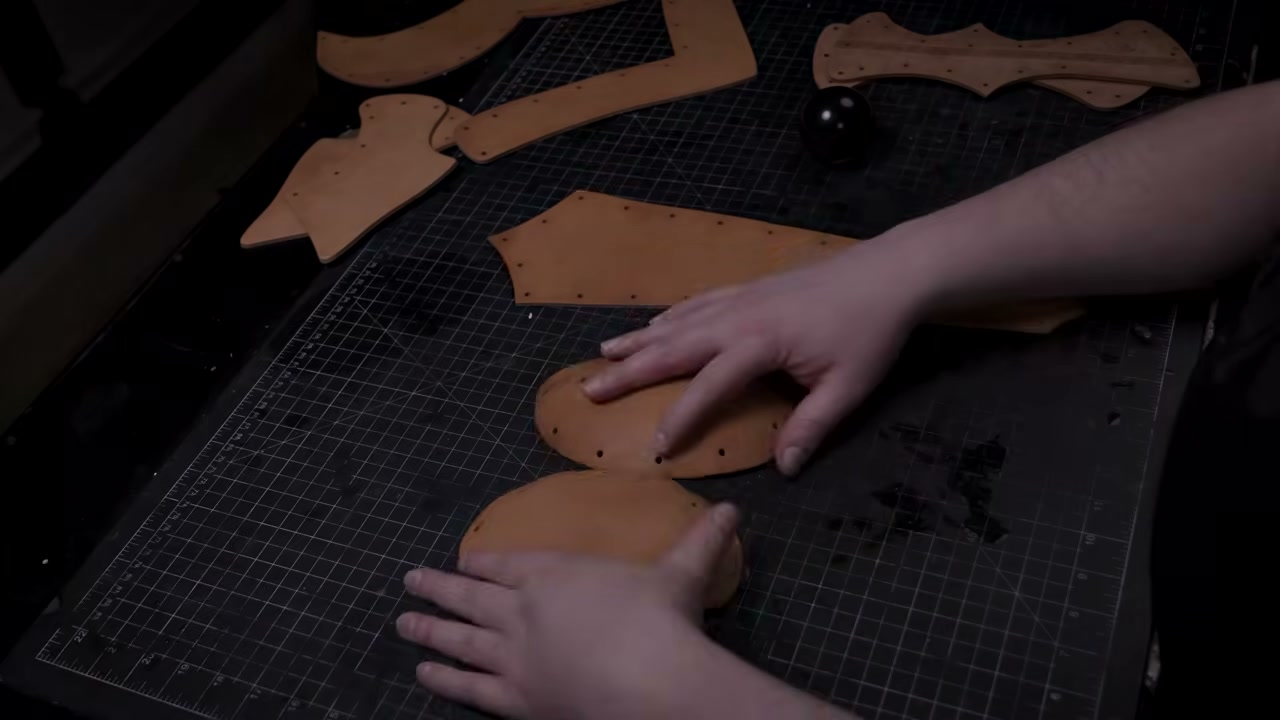
To keep the build simple, run an edge groove and bevel the edges, and stop there. The design leaves a lot of room for decorative work if you want to push further; the border tooling tutorial shows how far a plain edge can go.
Step 4: Learn the rivet, then you know the whole build
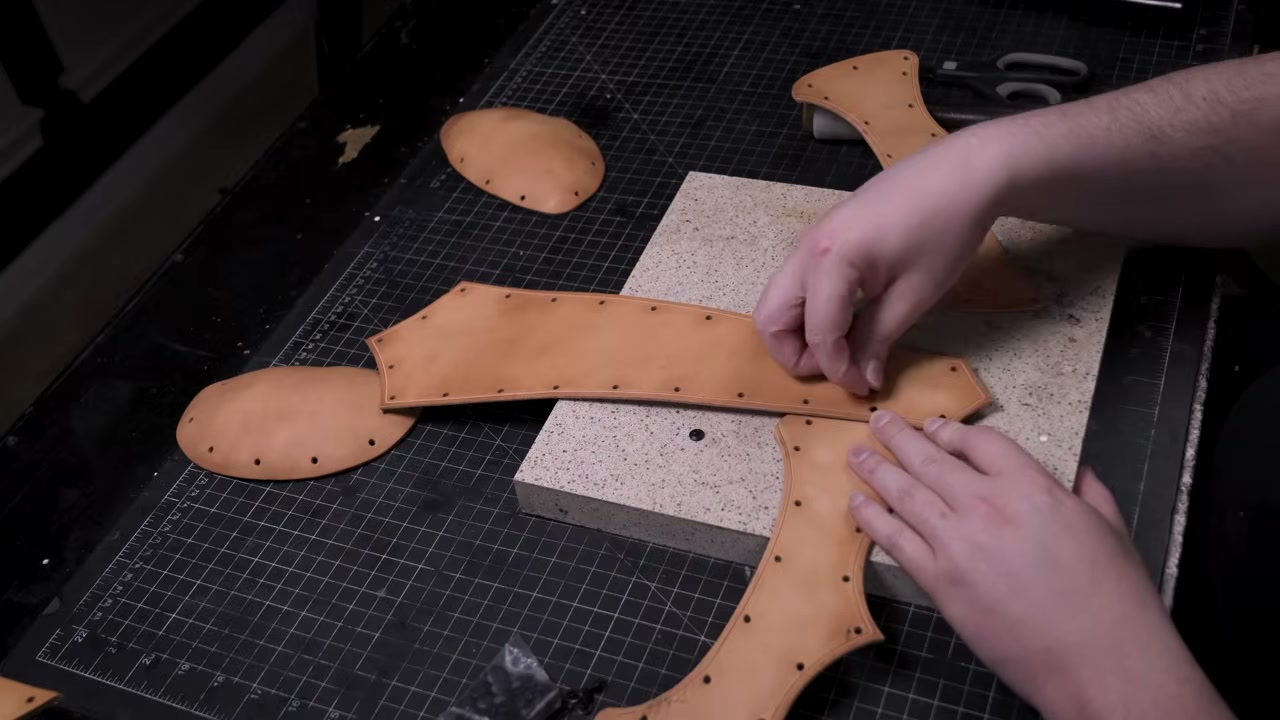
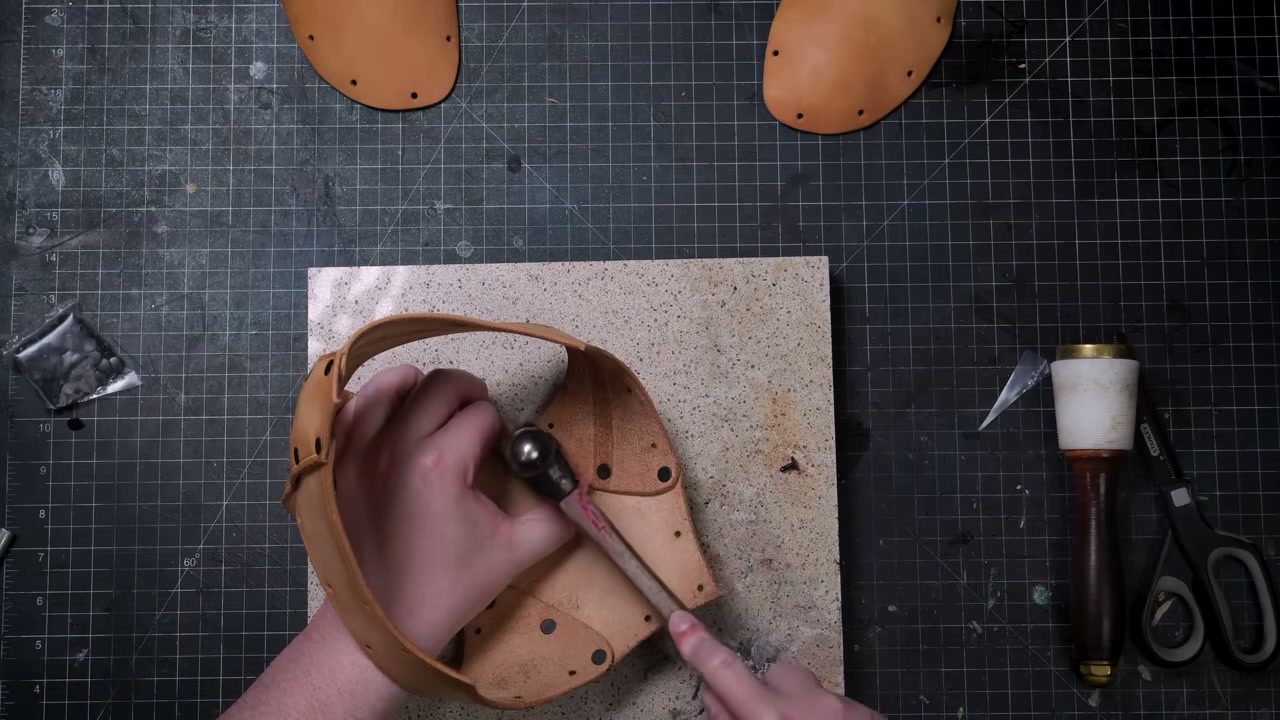
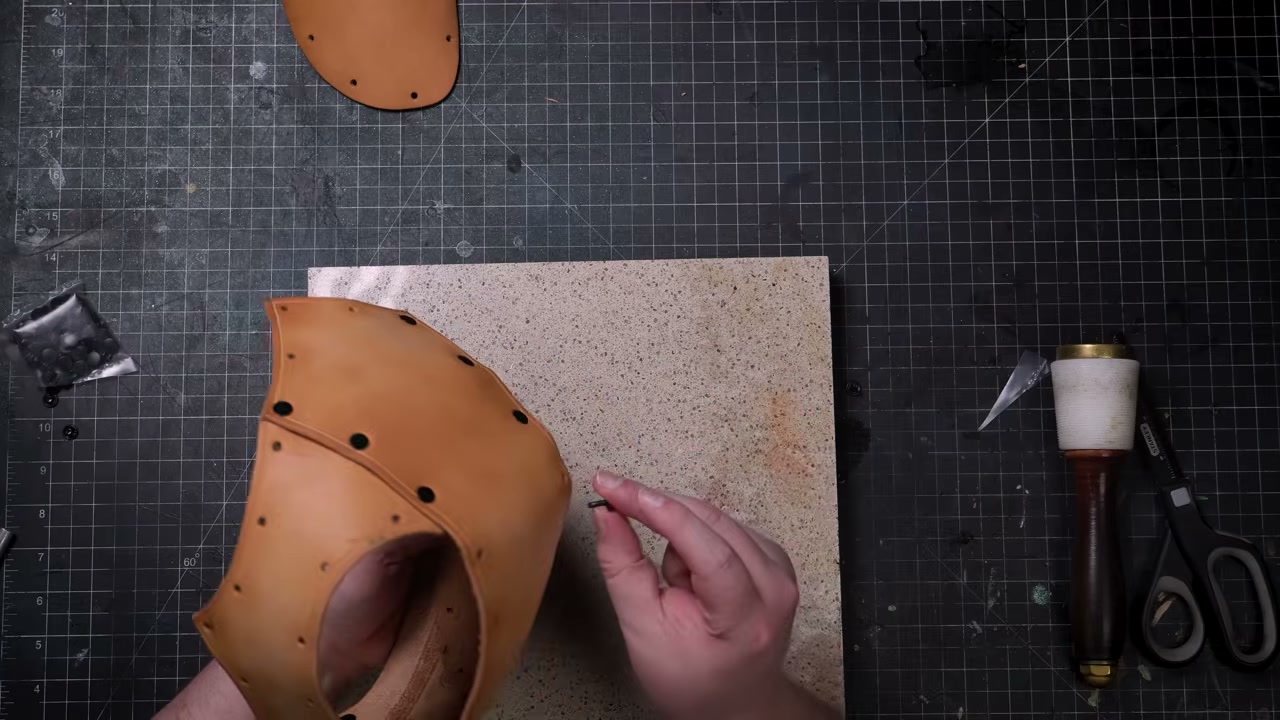
Double-cap rivets snap together by hand first, which holds the parts temporarily, then a firm hammer strike sets them permanently. Set them against something dense and solid. Keep the leather damp while assembling.
Step 5: Build the crown
Attach the center top piece (A) to the side pieces (B). Start with the front two rivets on either side and strike firmly. Then move to the third rivet hole and persuade the holes into alignment; this is the moment the flat parts start becoming a sphere. Set rivets from the inside when the angle is awkward. Loop the sides around to the back of the center piece, start again at the bottom two holes, and force the third into alignment.
Step 6: The rounded inserts
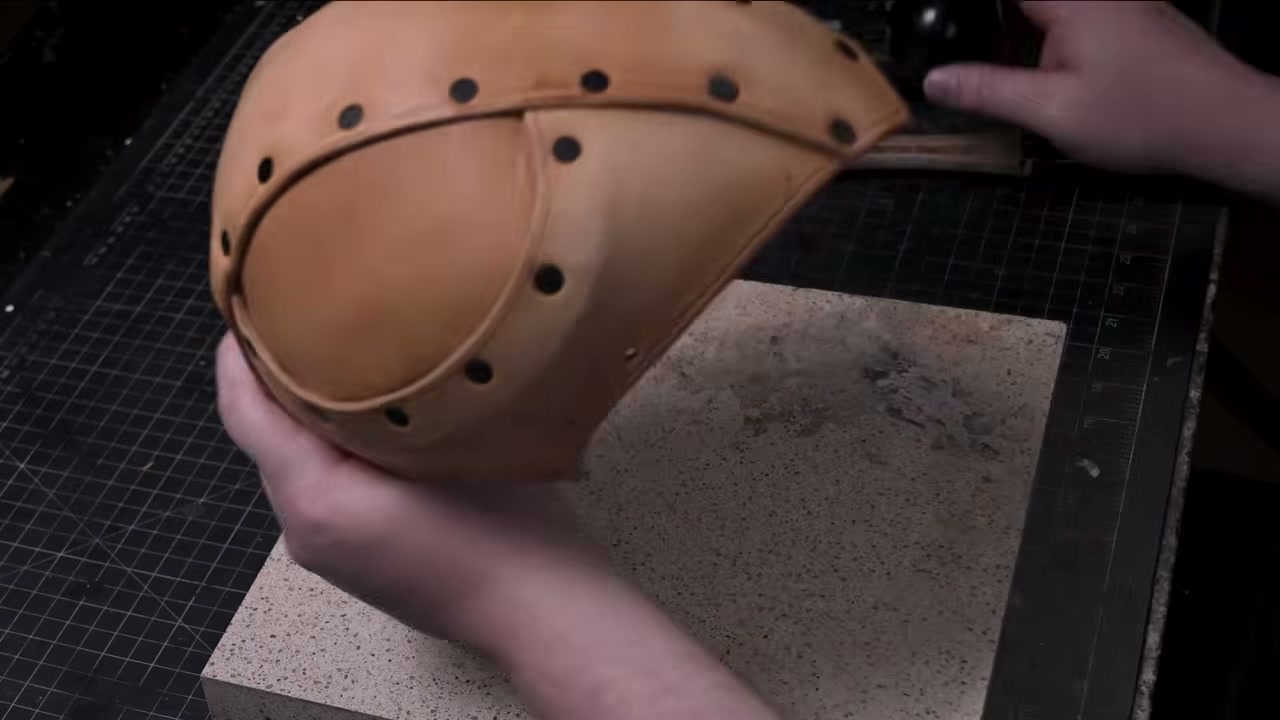
The rounded inserts carry top and front indicators for orientation. Set the top rivets first, along the center piece, and work your way around. If a rivet is hard to reach, push the leather out of the way. When they’re set, tap around the edges to smooth the shape, then mirror everything on the other side.
Step 7: Back panel and cheek plates
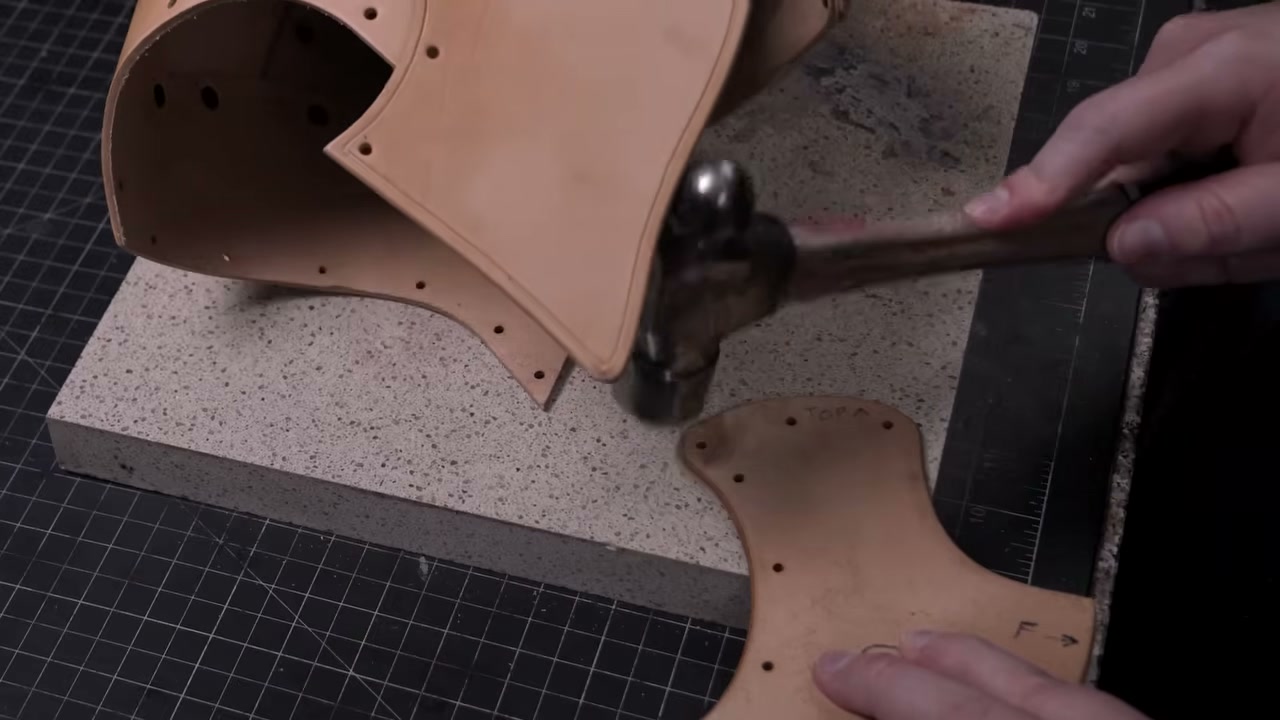
Attach the back panel starting at the center and working outward, and rivet along the sides. Leave the last rivet on each side unset: the cheek plates share those holes, and there you’ll rivet through three layers at once. Two ways through three layers: use a longer rivet, or thin the damp leather by hammering it. Skiving works too if you’re comfortable with a knife.
Step 8: The tail piece
If you like the flared look, curl and stretch the tail before assembling it. Start riveting at the back center and work around. Near the ends you’re through three layers again; same trick, hammer the damp leather thinner.
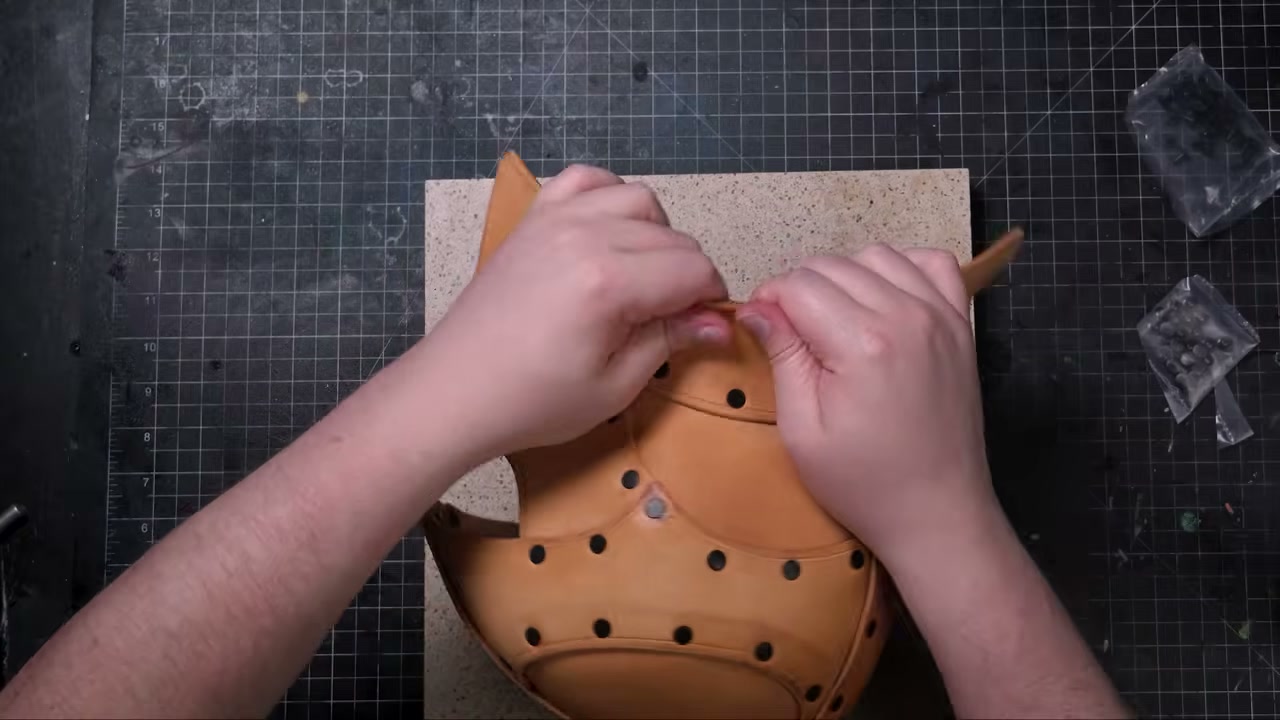
Step 9: Final shaping
Assembly done. Refresh the moisture and tweak the shape to preference; tapping around the riveted areas blends the transitions. If you shaped as you went, this takes minutes.
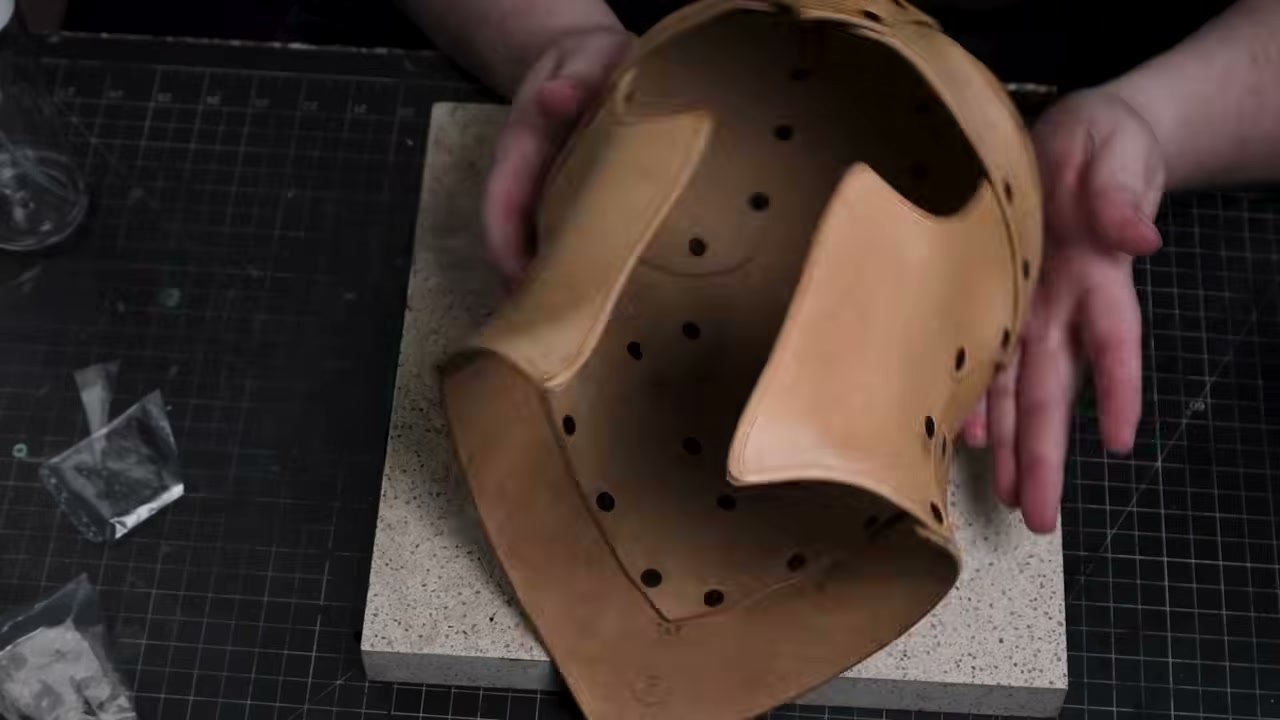
Step 10: Dye and seal it
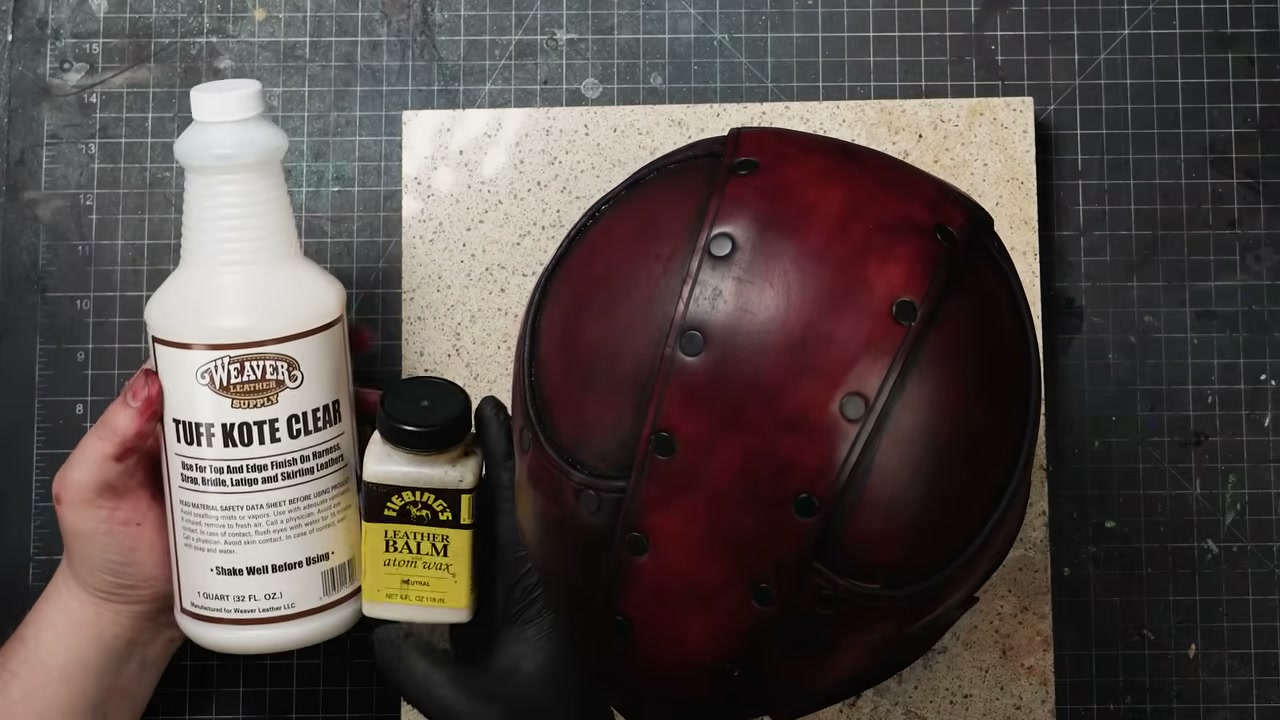
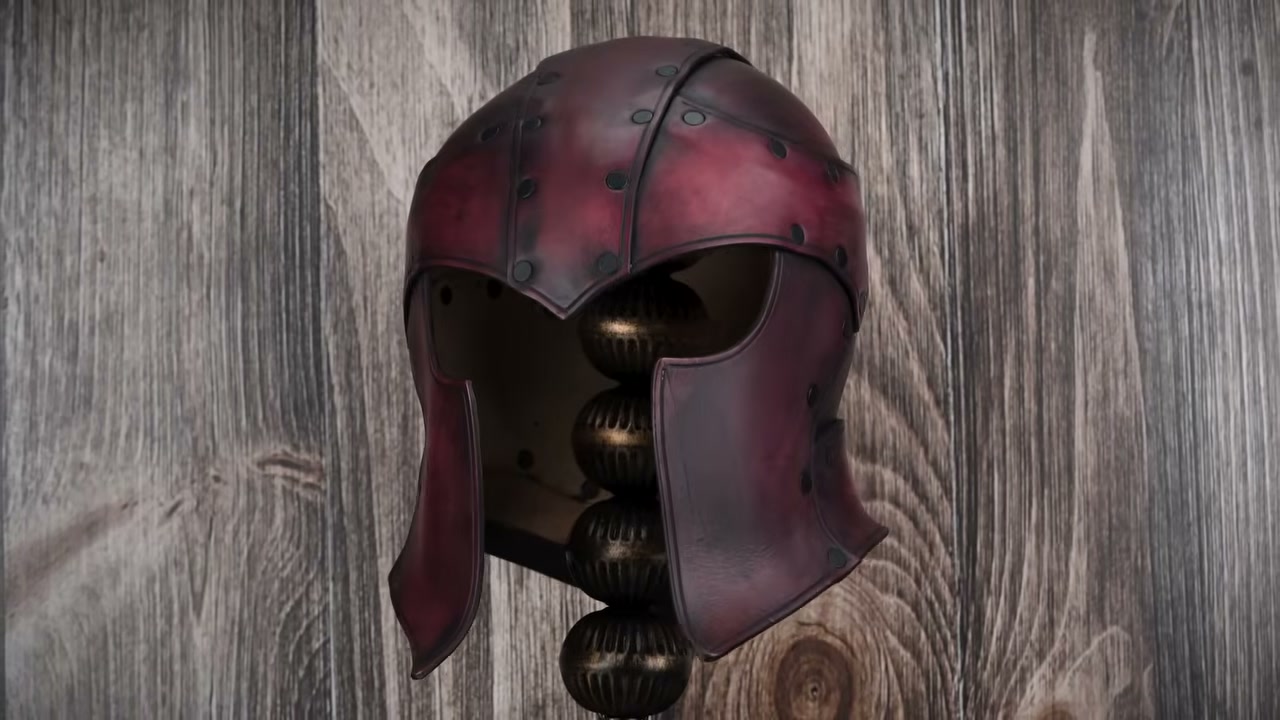
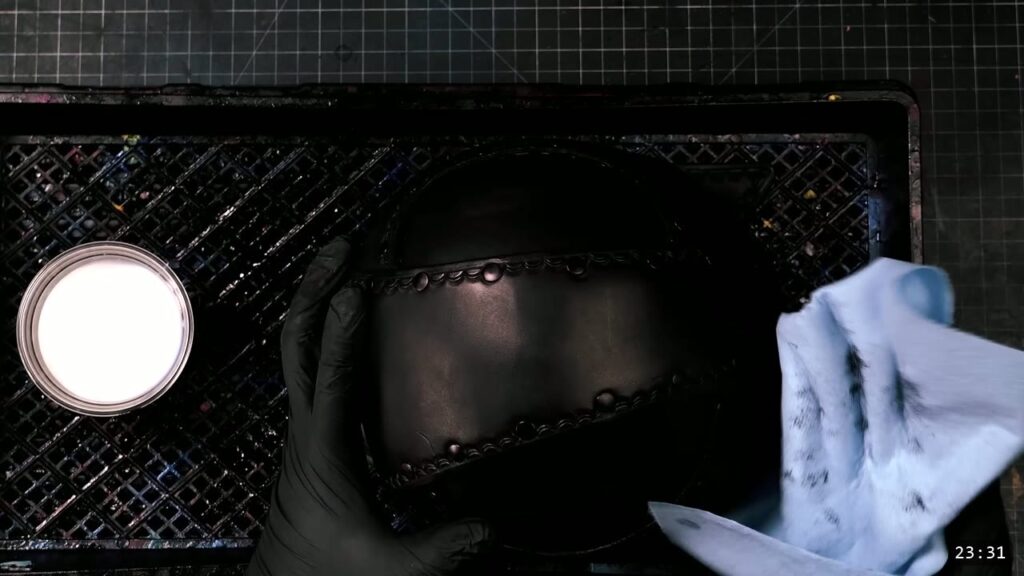
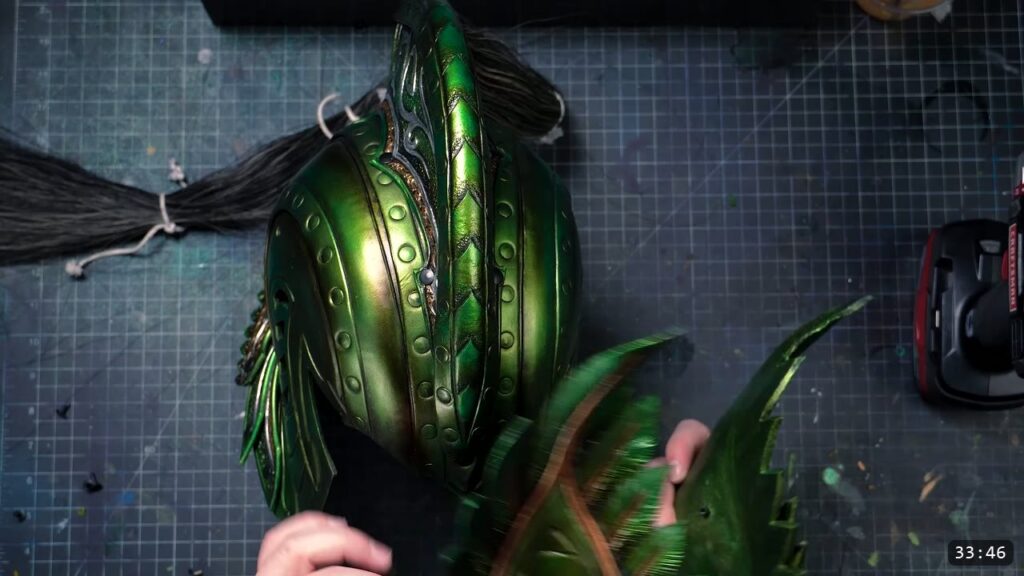
Always test color first: on scrap, or if the kit is your first project and you have no scrap, somewhere on the underside. Plan on one to two 4 oz bottles. The black helmet in the video is black pro oil dye; the brown one is mahogany stain gel. Whatever you choose, seal the piece inside and out; an acrylic finish firms the helmet up as it protects it. The sister video builds this same helmet from the pattern and shows the black dye job start to finish: Warrior Helmet from the pattern.
Frequently asked questions
Do I need leatherworking experience for this?
No. The kit was designed for first-time leather crafters: pieces come pre-cut and pre-punched, and the design forces the correct shape as you rivet. There’s room for advanced tooling if you have the skills.
What tools do I need?
A hammer. A rivet setter (a dollar or two) and a dense striking surface make it cleaner, but neither is required.
How do I color it?
One to two 4 oz bottles of leather dye, tested on scrap or the underside first, then an acrylic finish inside and out to seal and firm the piece.
What if a piece dries out while I work?
Re-wet it, any time before you dye and seal. Once the leather is dyed and sealed the finish resists water, so it will not fully re-wet or reshape after that. Do all your shaping first, then color and seal last.
Where to go next
- Cut your own instead of the kit: Warrior Helmet Pattern
- Ready for the full set? The Warrior Armor Bundle is the beginner path through breastplate, bracers, and the rest.
- New to leather entirely? Start with 5 tips for getting started with leather armor.
- Built one? Share it and tag Prince Armory Academy and Weaver Leather; we feature student work.
Watch the full tutorial





Responses